Fuel your Creativity by Organising your Stash – Part 1
Let’s talk about the size of our fabric stash today! I know – being honest about the amount of fabric and patterns you have might induce a certain amount of embarrassment and guilt. I for one seem to have an alter ego that takes over when looking at fabric. This other version of me has all the time in the world, the wildest ideas and never loses her mojo. Unfortunately this alter ego is not much connected with reality. I buy that fabric or pattern and then find I have no time at all. Thus my stash accumulates and with it my guilt about purchases.
Besides feeling guilty and inadequate, I also found my stash didn’t help my creativity. I knew I had good pieces of fabric but too many to keep all in my head when trying to think of what to sew next. And the same goes for patterns, I had forgotten about most of them. When I was thinking about making something the other day, I wasn’t sure what I had and how much of it. I found this made me uncertain and indecisive. My large stash was inhibiting my creativity, not fueling it.
I think facing your stash will not only empower you to do something about feelings of guilt, it will also fuel your creativity. You need a system to help you be less wasteful. You need to stop buying fabric and patterns, and make an inventory of what you already have. Chances are there are fabrics and patterns just waiting to be paired up without you even knowing about it. In this post and the next I’ll show you how make this happen.
Step 1: Eliminate temptation
To call a halt to spending more, you need to take away the temptation. Try to find all the ways you are exposed to shiny new things, and cut yourself off from them. That means:
- No visits to the fabric shop
- Don’t follow fabric shops on social media
- Unsubscribe from shops’ newsletters
- Unsubscribe from pattern companies newsletters
This is just temporary. Once you’ve reached the goals you’ll set for yourself you can resubscribe if you want. You can’t completely shut out any new stuff that comes by, but this will make it easier.
Step 2: Catalogue your fabric
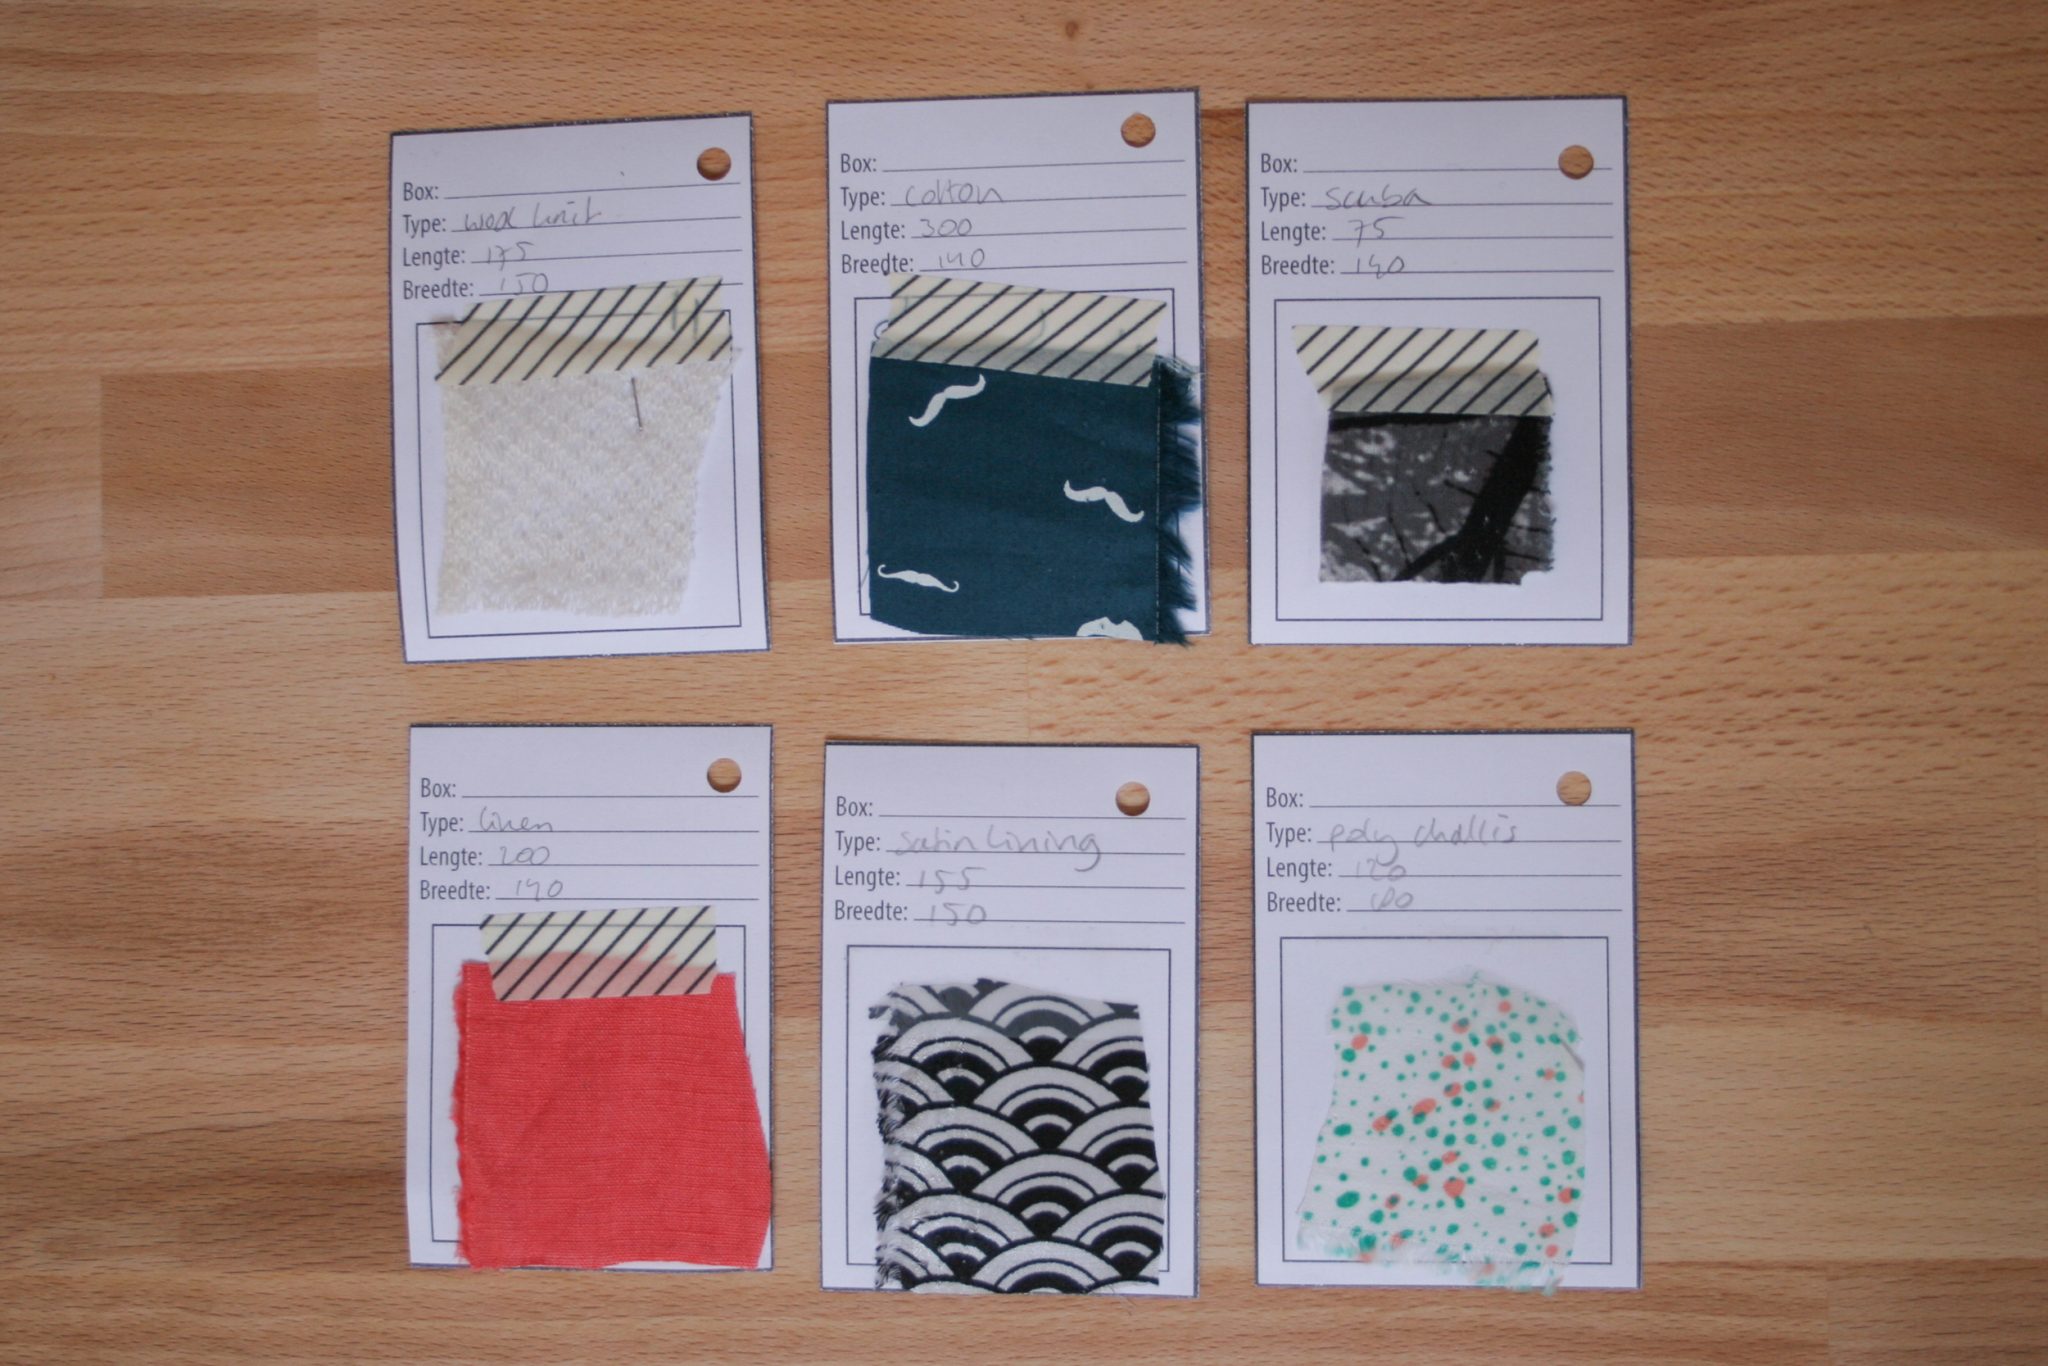
To be able to work through your stash, you need to be able to pair fabrics with patterns in an easy manner. Start with your fabric. It might be a daunting task, but just take it one box or shelf at a time. You don’t need to complete it all at once. The easiest way is to use swatch cards. There are free templates available like this one at Colette Patterns. The most important three things to note down are a description, the size, and the swatch itself. You can add other info, like where you got it, what it cost and if it’s pre-washed. Take out a piece of fabric, measure the length and width and note the type. Cut off a small square and tape or staple it to the swatch card. Sort the cards per type or per fabric location.

It took me almost a day to catalogue 80 pieces of fabric. I admit, I didn’t know I had that much. At first, it made me feel wasteful – I had spent money on all of these and now it was just sitting there. I also felt a bit stressed – all these pieces had an idea attached to them and I had failed to execute those ideas. But it also made me feel relieved – I was doing something about it, and thinking of my stash no longer made me indecisive.

Step 3: Catalogue your patterns
To catalogue my patterns, I made an .excel sheet where I listed the following:
- Pattern name
- Designer
- Type (top, skirt, etc)
- Type of fabric needed
- Amount of fabric needed
I listed both my PDF and paper patterns. You can add other information like notions, and what state the pattern is in: whether you have you already traced or cut it. Save the .excel to your desktop for easy acces.

If you have a large amount of paper patterns, find a way to store them in a way so you can easily reference them from your list. Sarai shows how she did that here. I have mostly PDF patterns, my paper ones fit into one box.
If you have magazines like Burda, you can copy the overview page and bundle them. This way you can get an easy overview of all the styles. I always forget about the patterns in magazines.
Doesn’t that feel better already? All this organising may be a bit of a hurdle, but it will really be worth it in the end. Read part 2 on how to go about choosing your projects for your new to-sew list, and part 3 to read how this system has worked for me a few months in.


Thank you for the great ideas in this post! My fabric stash isn’t huge, but it would be good to get a system in place to keep it from getting out of control. I love those little swatch cards.
For my patterns–which were definitely getting out of control–I recently used Evernote and the camera on my phone to capture the front & back of every pattern envelope. The premium version of Evernote recognizes text in a photo or scanned PDF, so there was very little data entry required, just adding details about the style of the garments and past project notes. I can now search for a garment or fabric type and have it bring up every pattern that meets those terms, e.g. dress patterns where rayon challis is listed as an appropriate fabric, and easily reference how much yardage I need. This keeps me from buying fabrics for which I would need to also buy a new pattern, or from buying patterns which essentially duplicate what I already have. I organize the physical pattern by manufacturer name and number.
That sounds like a great solution too! Being able to actually search the entire envelope content is the ultimate solution, and it doesn’t even sound like that much work to set up. Thanks for sharing!
Oooohhhh yes, I really need to sort and catalogue my fabric stash! I have the same feeling of guilt, but that’s really the wrong feeling for getting creativ. This post hopefully helps me to get that done.
All my patterns are pinned on a Pinterest bord, which is quiet handy I think, at least for me. I marked in the text if I’ve already made them or not and if I would do them again. But there are no additional infomations about how much fabric is needed, so maybe I should sit down and make an excel list too, which is a really good idea.
Thanks for sharing your system! Pinterest is a great way to have a visual overview of your patterns. Maybe you could just add the fabric info in the caption?
Ive been slowly working through my stash too. I use a hang tag on each fabric with it’s details and have my paper patterns in a filing cabinet next to my shelves. Since I have all my patterns pinned, I use pinterest boards to plan projects.
I have a photo album of my stash on my phone. I put all the relevant info on a piece of paper and take a photo of both. That way the info is always at hand when I’m out ants about.
Ah, yes it’s better to have it all on hand when you’re out, it’s not as easy to take all your swatches with you :)
Ah merci. I do it when i come back home next week. ???
100 years of sewing – Here’s how I’ve done my stash. Hope it is helpful to someone. I’m VERY space limited but have 10 tons of sewing stuff.
It may not be the most archivally approved way, but due to finances and space limitations, plus the fact I am often invaded seasonally (Spring and Autumn) with mice, I store my fabric inside large clear plastic bags inside cardboard ‘banker’ boxes with lids. The bags are folded over, not twist-tied. I started over with fresh, new boxes. So far no mice invasions in them (approx. 5 years).
I have bright coloured index cards which I tape on the outside of the boxes. Each box label has a brief colour and fabric type, texture or print description plus the size of each piece. Inside, I measure each piece and staple the measurements onto a corner within the selvage. Most are grouped in colours. If the boxes get moved, the info goes with them. Since they are all the same style, the boxes stack well on top each other. NO computer or other lists.
I try to limit patterns to one easily accessible box in which similar styles are grouped: dresses together, aprons together etc..
When I cut out a garment or other project, I put it in a plastic bag big enough to allow pieces to lay flat. I use non-zip freezer bags (hard to find now but…) Info cards with notes or ideas go in with the pieces. I don’t seal or tape them because it tends to make more mess down the road. Cut articles are laid flat into a topless cardboard fruit box. The fruit boxes are designed to stack on each other which helps with overflow such as a multi-piece hoodie project which takes a whole box. They are lightweight and easily moved as space demands. e.g. it was easy to find the cut T-shirt that goes with the plaid shirt I made last winter.
I purchased a 2″ ring binder for keeping magazine or book articles I’ve copied. Inside front and back covers, I glued a large envelope for keeping miscellaneous notes from straying. During construction, I might write details about my process. I write it on a card inside pattern envelope. If it’s something I want to apply to all patterns, it goes in the book envelope. Cards with stars mean important info.
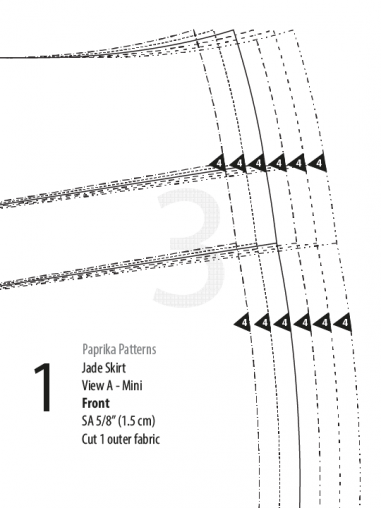
Usually I record fabric used and additional pattern changes or details on the main front pattern piece. On pattern envelopes, I almost always write what I made the pattern with. I also write important info such as sleeve or hem length or “back not wide enough”. I have also taken to writing more info on main pattern pieces; particularly as to which fabric I used. Having the fabric and/or colour written on the patterns is very helpful in recalling, sometimes years later, how much I liked or disliked the garment. Notes such as “Great fitting sleeves” help when planning the next.
At long last, I found the solution to my blouse, shirt and top fitting issue. I took the brunt of a day and made the correction along with any other fitting alterations and made changes to every pattern I might use in X number of years hence. Done all at once, it was a lot faster than one at a time. All are ready to go – no excuses.
Years ago I bought 3 little drawer set-ups. I think they were designed for nuts, bolts and screws. I use some for small thread spools where I have certain colours. The other threads I keep in metal cookie tins. When I first got the drawers I labelled each. Although some have changed or labels have fallen off, I still know where to find the safety pins, bodkins and other small items. I also have a set of rubbermaid translucent containers – thinner than shoe boxes. I keep things like buttons in one, snaps and closures in another, elastic, etc. etc.
I’m not a neat, organized lady by any means but learned long ago that ANY hobby seems to amass a lot of supplies. Keeping track of them from the onset sure helps in comparison to waiting until everything is out of control… like my paperwork and tools.
May 2016 be your year for organizing. I aim to make sewing and organizing a bigger priority! Cheers!
Wow thanks for your elaborate comment! Uhm, you’re NOT an organised lady?? I don’t think it can get more organised than this :) I like your note taking with patterns, I should do that more often. I always forget whether I’ve made changes to the pattern. Cheers!