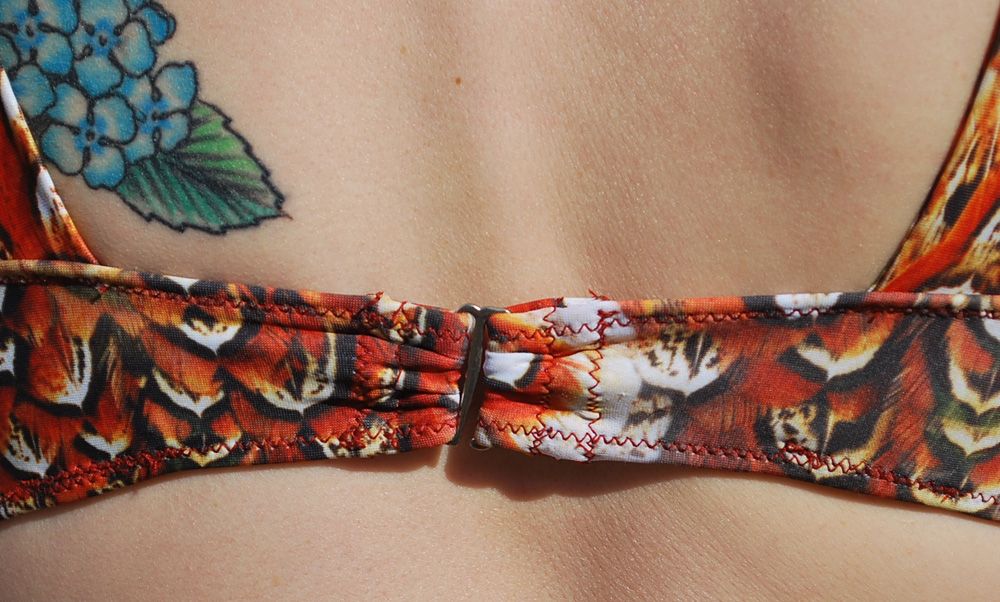
Installing a Swimsuit Hook and Straps
Sewing clasps and straps onto a swimsuit are often the final finishing touches. While these photographs are from construction of the Nautilus Swimsuit, you can use the same techniques to sew a clasp and straps on to any swimsuit that hooks in the back and has straps that go over the shoulders.
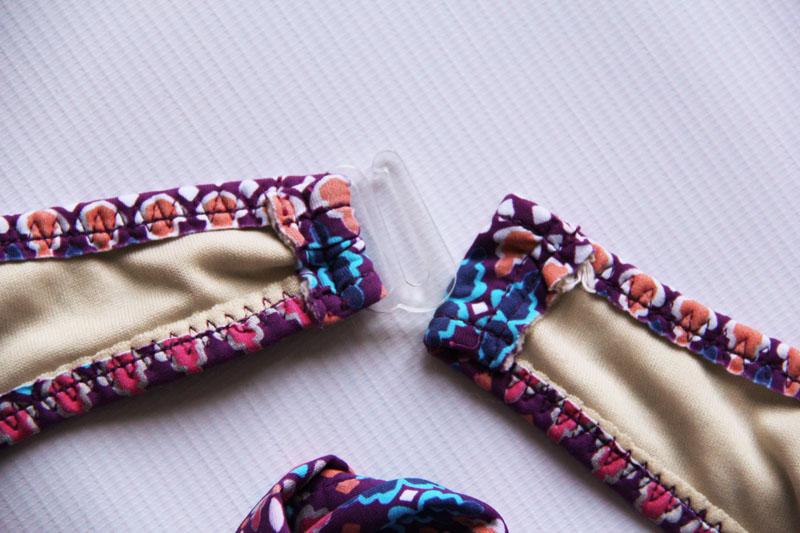
Sewing Swimsuit Straps

The most accurate way to figure out strap length is to try the swimsuit on. Although you can follow suggested markings or measure off of an existing swimsuit, the exact length can be affected by how stretchy your material is and how the swimsuit is fitting on your body. Try the swimsuit on and pin the straps in place so that they are comfortable. Measure the length of each side and then average the two to get your final measurement (since it is unlikely you will pin them at exactly the same length).
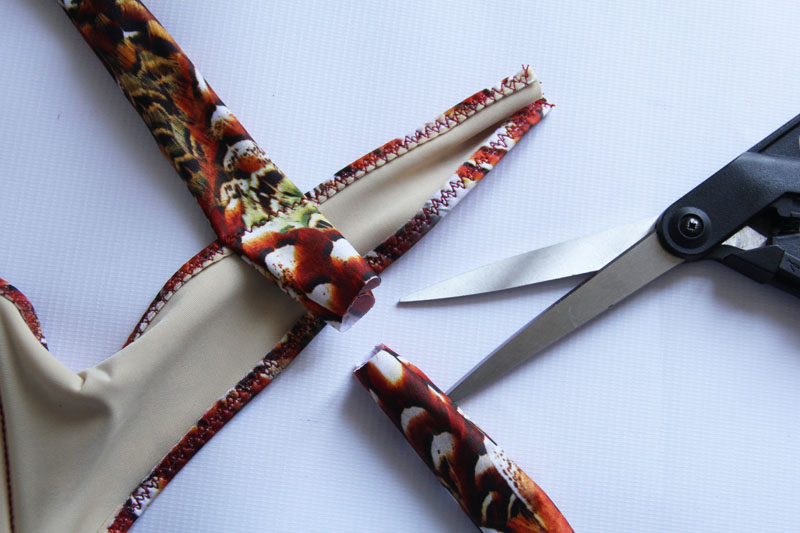
Although you can attach the strap at only one point, you will get a more supportive strap with less distortion on the back if you attach the strap to the top and bottom of the strap. To do this, topstitch across the strap along the stitch line you used to attach the elastic to the top of the back. Then trim of the excess strap length so that it extends beyond the bottom of the back by 3/8″.
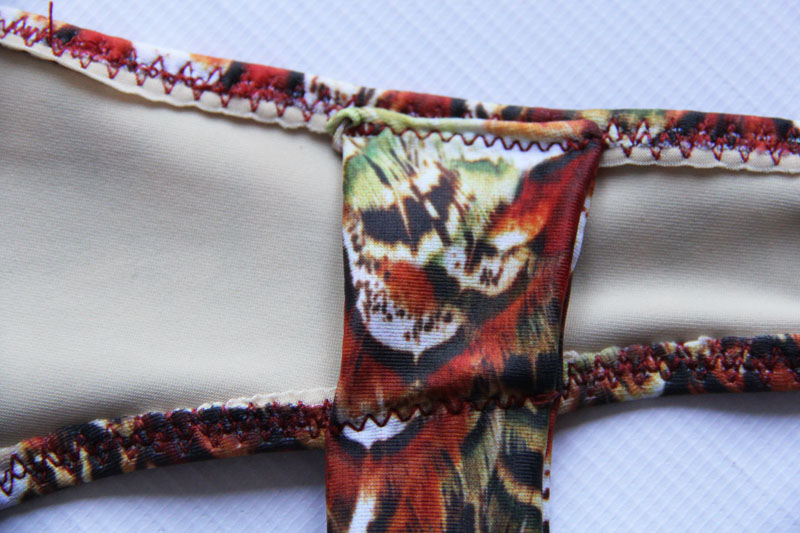
Fold the bottom of the strap up and stitch across the bottom of the strap along the elastic topstitch line to secure it.
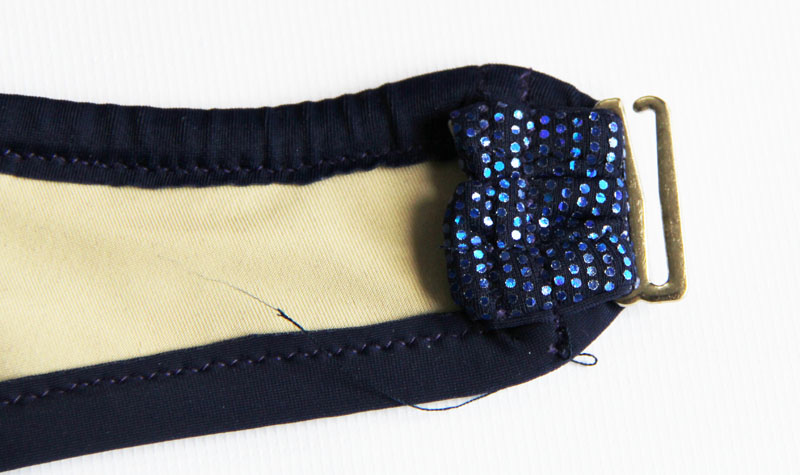
Sewing a Swimsuit Clasp

Start by threading one arm of your suit back into the closed loop portion of your swimsuit hook. You want the hook to be pointing down. Depending upon the width of your back and the width of your clasp, you may have to gather your back a little in to the clasp. This is totally normal and fine. Depending upon the thickness of your suit and the thickness of the hole in the clasp, you may struggle a little to get it through the hold. In this example I used the bound edge technique which adds an extra two layers of fabric thickness along the edges and made it a bit fussy to get my back through the hole in the clasp.
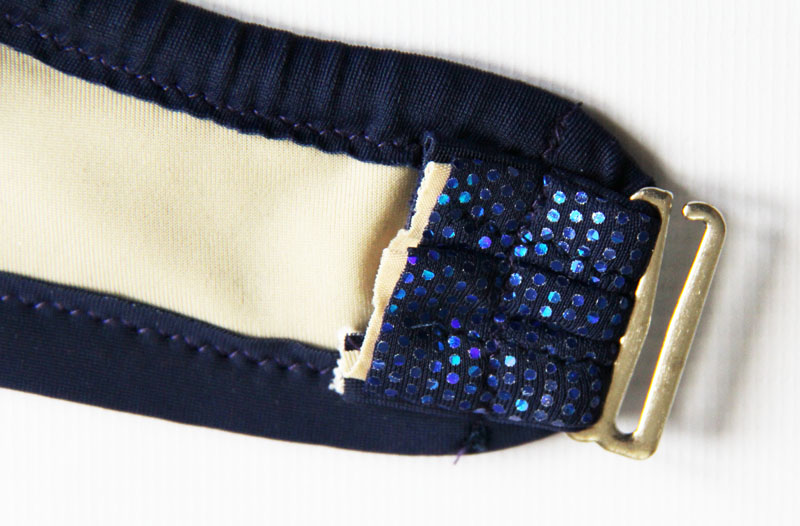
Fold the back to the inside and stitch it in place. You don’t want to stitch right next to the clasp but instead about 1/2″ away. You may find it easiest to pinch the folded portion in to the center (as pictured above, a lesser example in the purple suit below), especially if your back is wider than your clasp or if your elastic is inflexible.
Fold the raw edge of the back to the inside and stitch it down to finish the edge.
If you find the final folding and stitching to finish the raw edge is fussy or challenging, you can just stitch an extra line of stitching for support and then leave the edge raw.
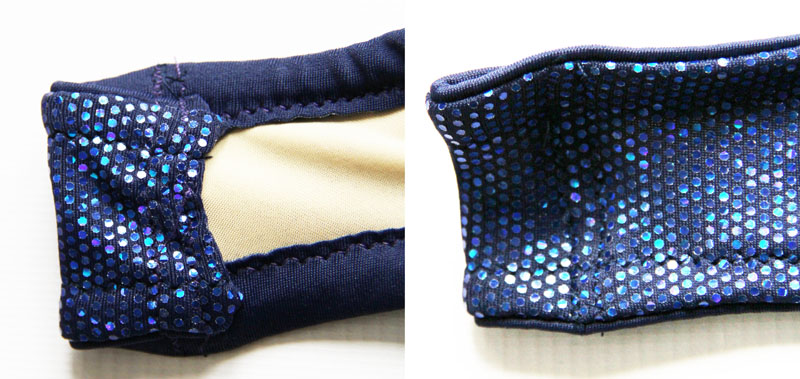
To create the loop portion for the back, on the side opposite the hook, fold the back to the inside and stitch 1/2″ away. Then add a second line of stitching for support with the fabric folded under or left raw. It’s important that your initial line of stitching is at least 1/2″ away because it gives you the wiggle room to get the hook in. If it’s too close it will be very hard to clasp your swimsuit.


