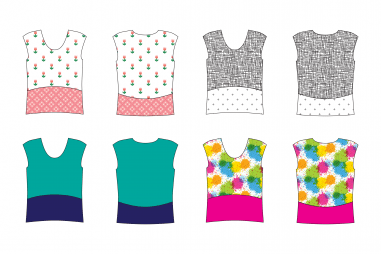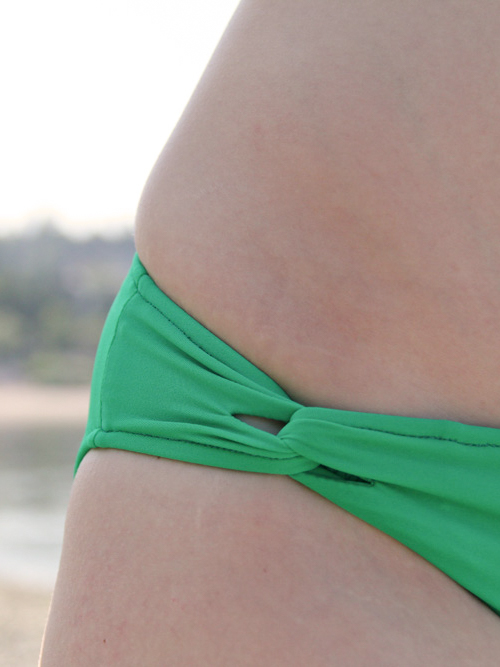
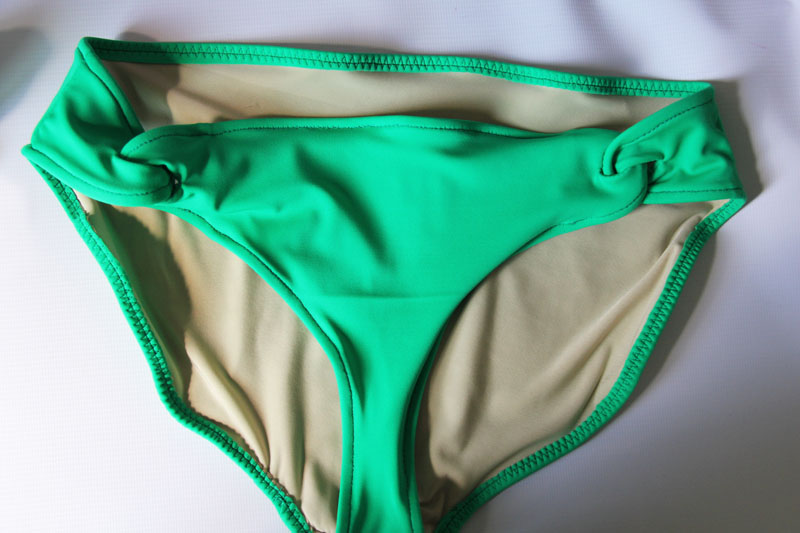
Nautilus Swimsuit View B
View B of the Nautilus Swimsuit is the bikini version with twists at hip bone that echo the twist in the center front of the bikini top. At this point in the sewalong you should have read through the various posts on swimsuit sewing techniques and have sewn the swimsuit top with its straps and closure. The steps below are numbered like they are in the written instructions so you can check back and forth.

Sewing the twists onto the sides of the Bottom is just like sewing the twist at the center of the Top, so you might want to give the Top Sewalong instructions a quick read-over before sewing the top if you haven’t looked through them recently.
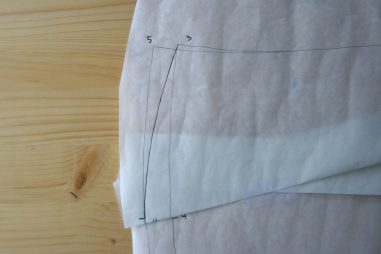
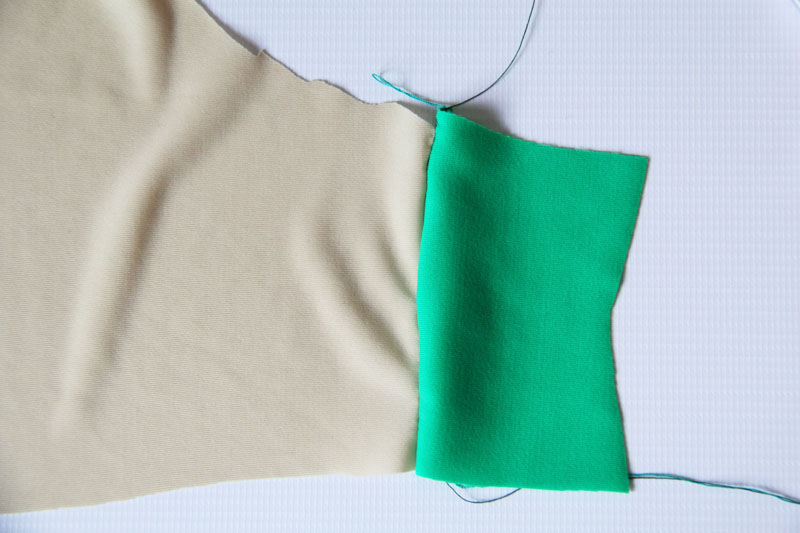
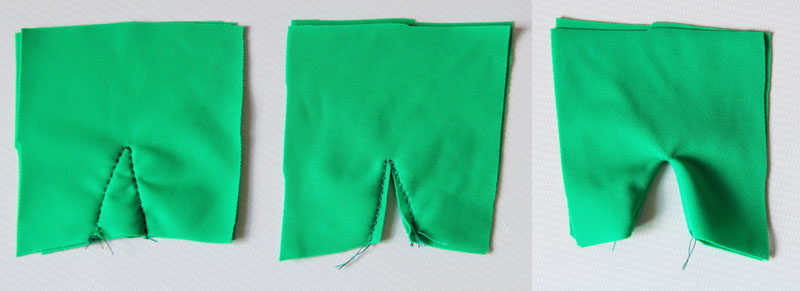
[78] Sew the Bottom Front Facings to the Bottom Front Lining on either side, right sides together. Match the notches. When you sew, stop with the needle down at the center and pivot the fabric before continuing down the second half.
[79] Make a small snip at the center of the Bottom Front Facing seam so that the fabric can relax around the V.
[80] Finger press the Facing to the side.
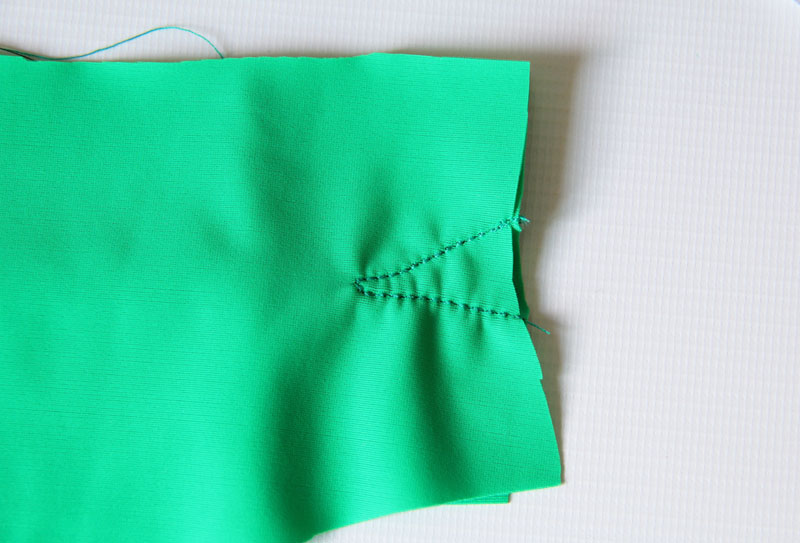
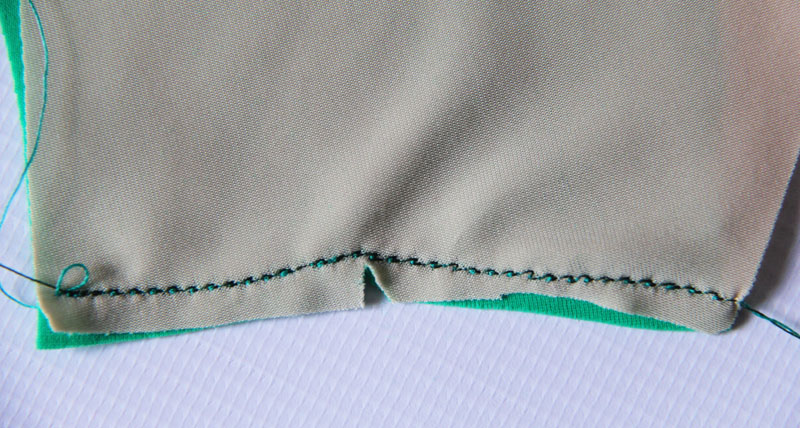
[81] Sew the Bottom Front Facing to the Bottom Front, right sides together, along the twist stitch lines. At the center of the V make a single vertical stitch before continuing your sewing down the other side of the V.
[82] Trim the fabric out of the V being careful not to snip into the stitch line.
[83] Turn the suit right side out (with the wrong side of the front against the wrong side of the lining) and finger press it open.
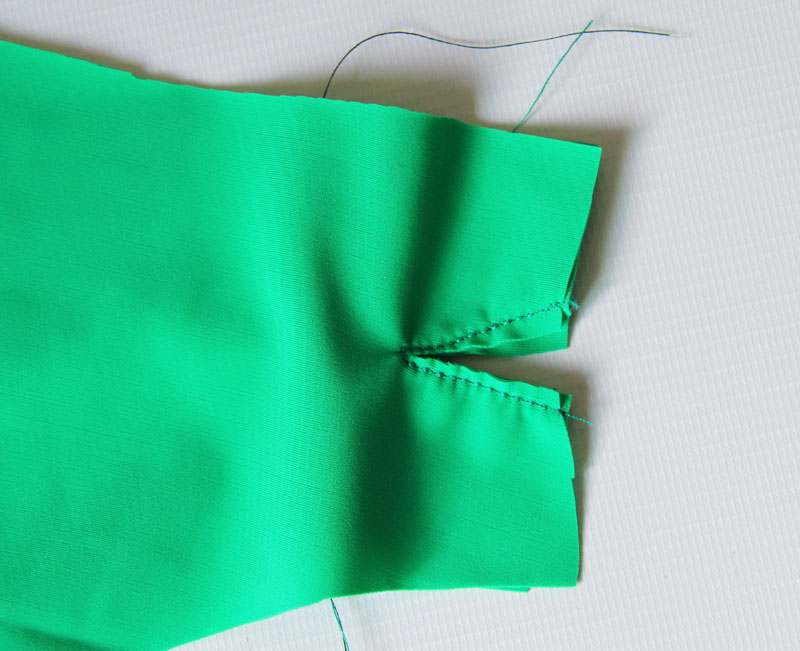
[84]-[86] Place the two Bottom Side Fronts right sides together, sew the twist stitch line (again with the single vertical stitch at the point of the V), trim the center of the V, and turn them right sides out.
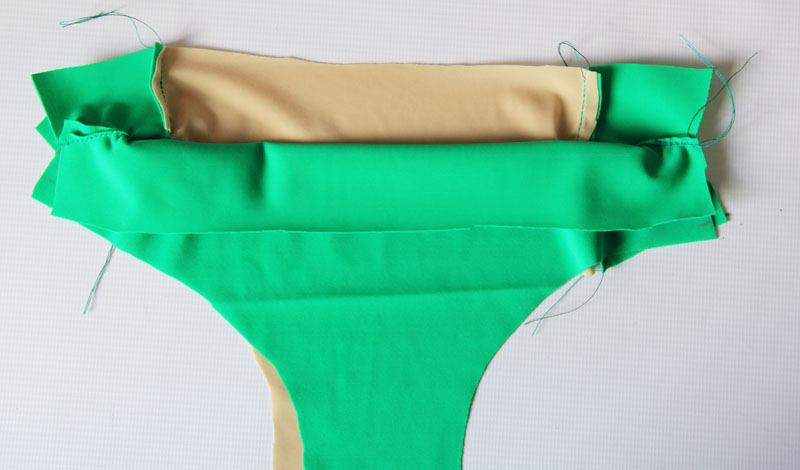
[87] Fold the top of the Bottom Front down so that the triple notches match.
Fold the bottom of the Bottom Lining up so that the double notches match.
[88] Sew the Bottom Front Facing to itself and the Bottom Front to itself along the notched edges.
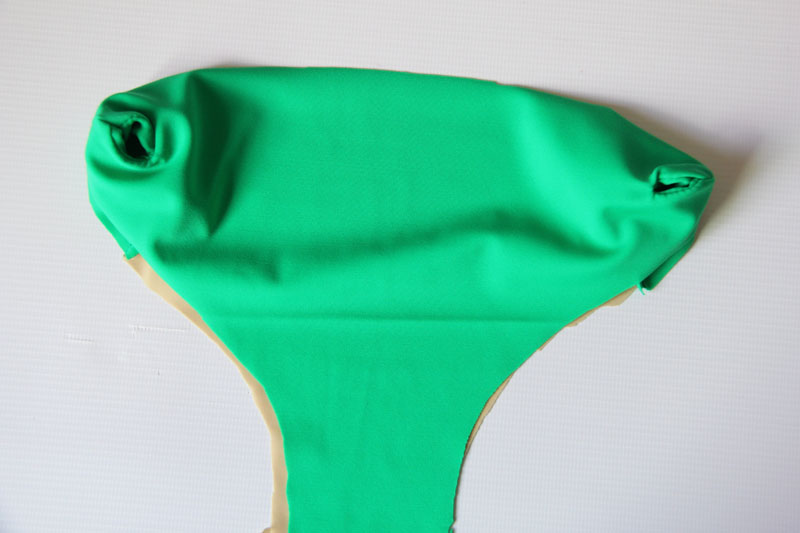
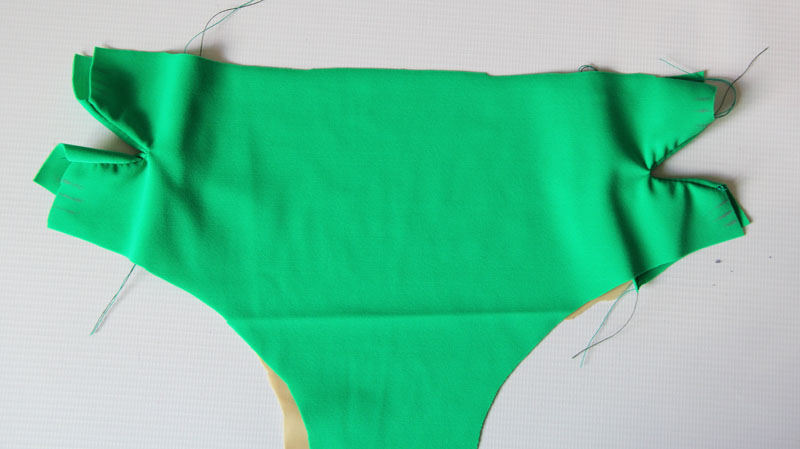
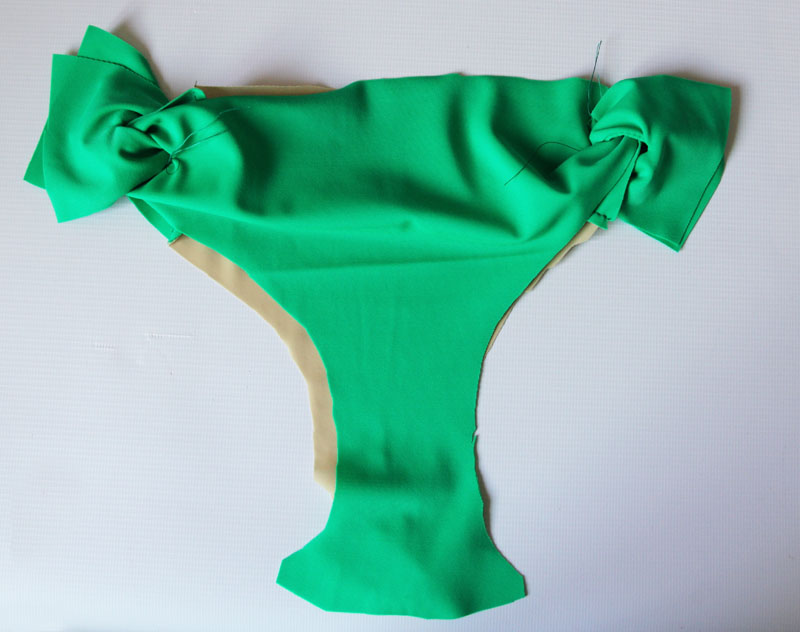
[89] Finger press the suit open. You now have the twist section sewn on the Bottom Front of the suit.
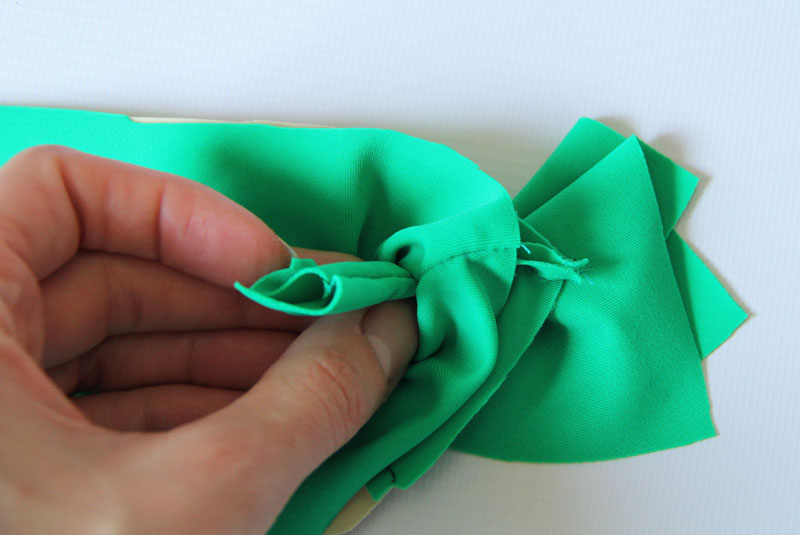
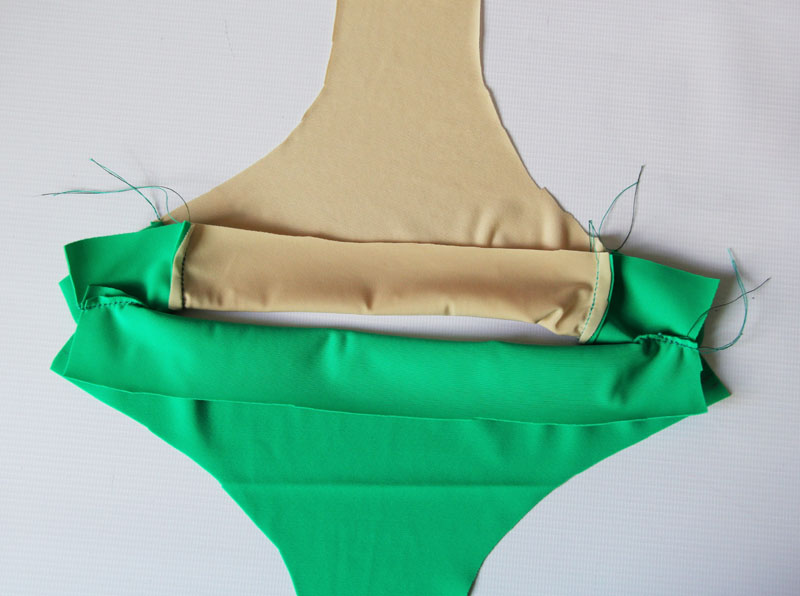
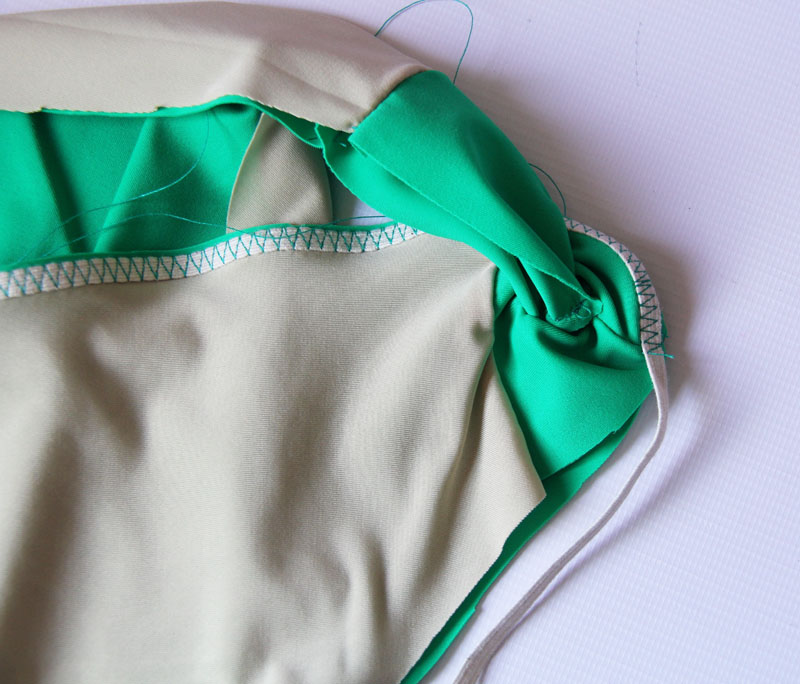
[90] Thread one leg of the Side Front through the twist hole in the Bottom Front.
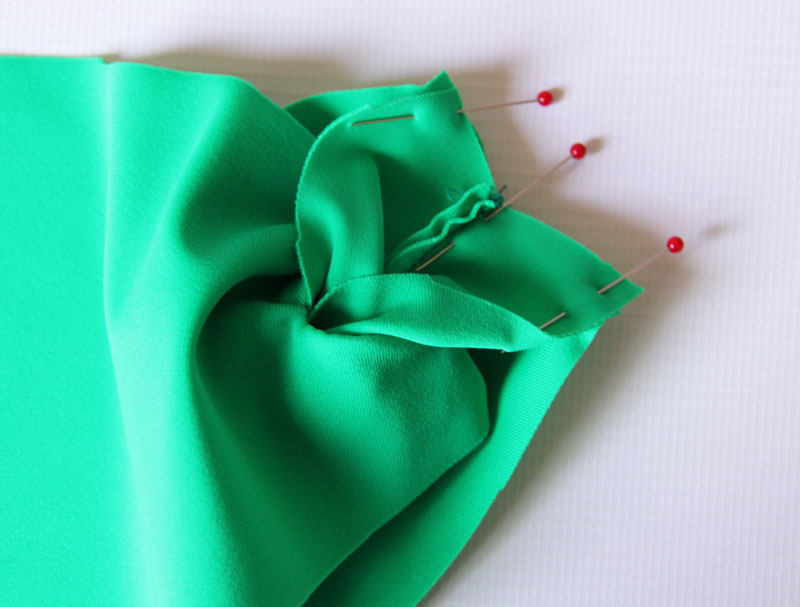
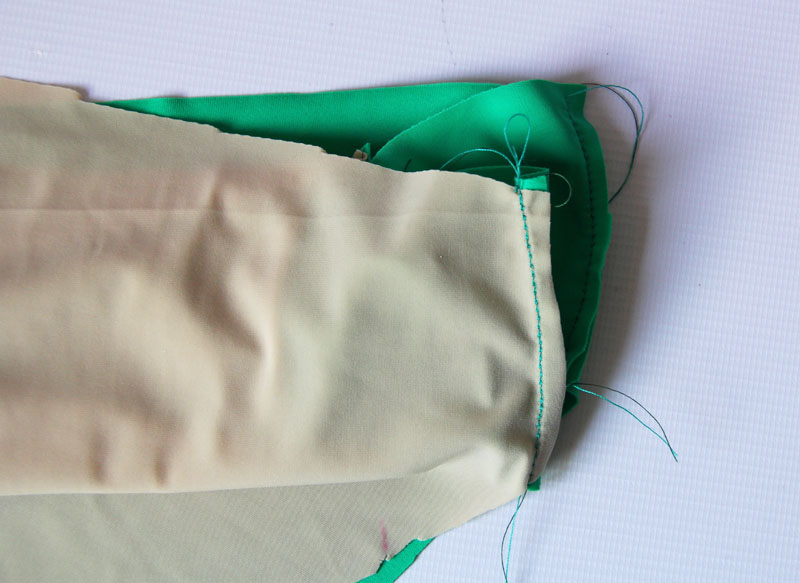
[91] Fold the Bottom Side toward itself and the Bottom Side Facing toward itself. Although it’s not as easy to show all of the topology at this stage, you’ve done the same thing several times before this point so trust your instincts!
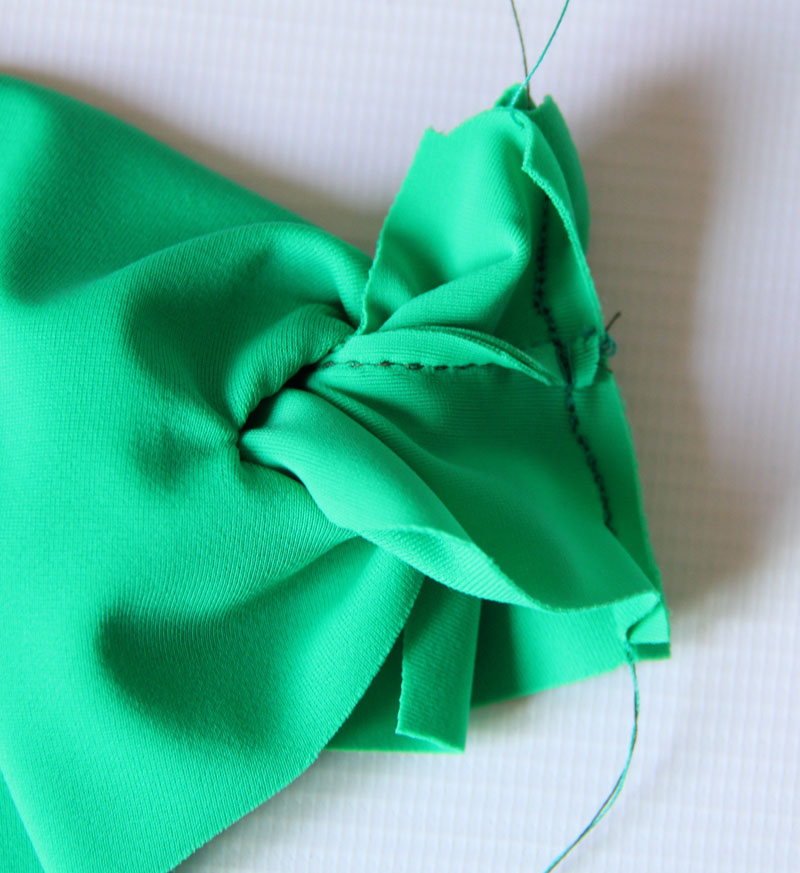
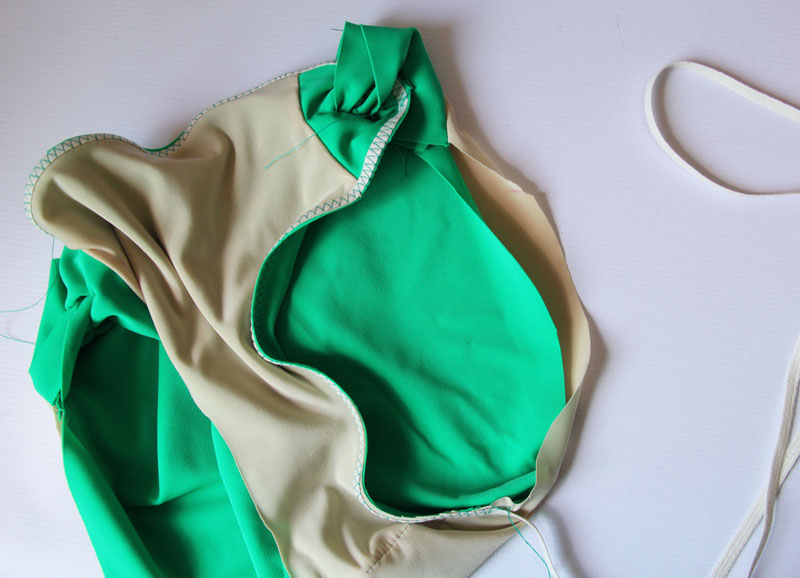
[92] Sew the seam.
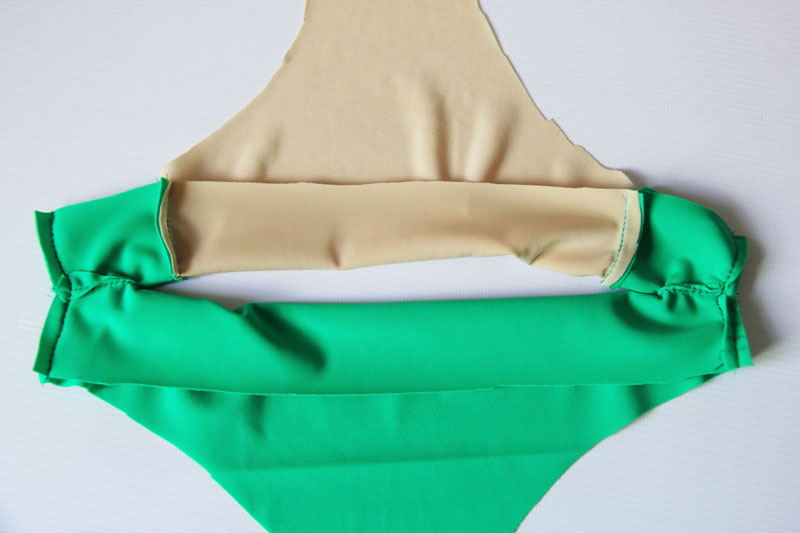
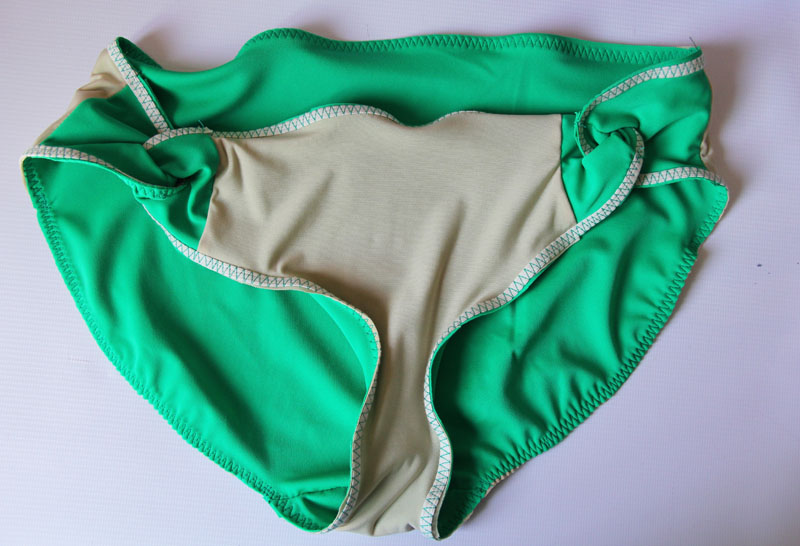
[93] Finger press the suit open. Your twists are now complete!
[94]-[95] Sew the Bottom Side Front to the Bottom Back, right sides together. Sew the Bottom Side Front Lining to the Bottom Back Lining, right sides together.
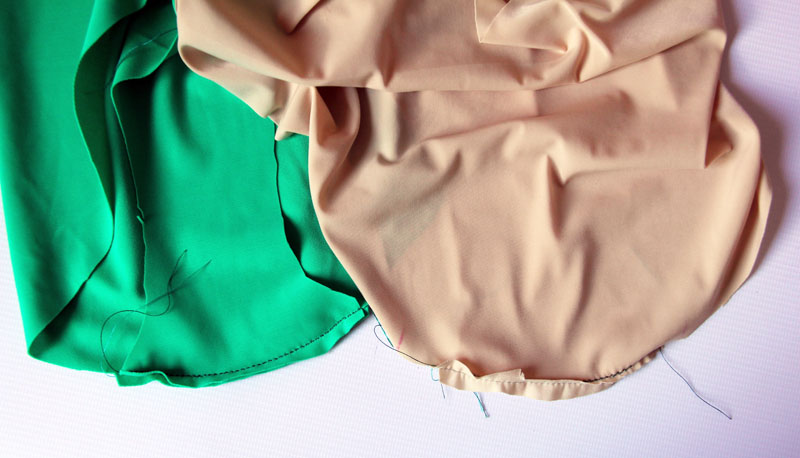
[96]-[97] Sew the Bottom Front to the Bottom Back at the crotch, right sides together. Sew the Bottom Front Lining to the Bottom Back Lining at the crotch, right sides together.
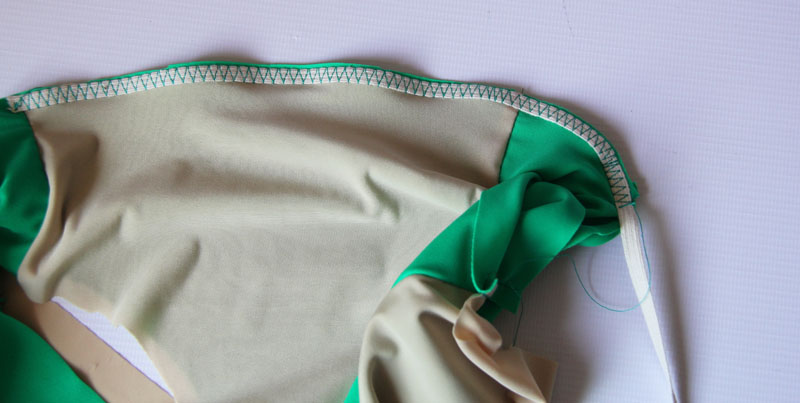
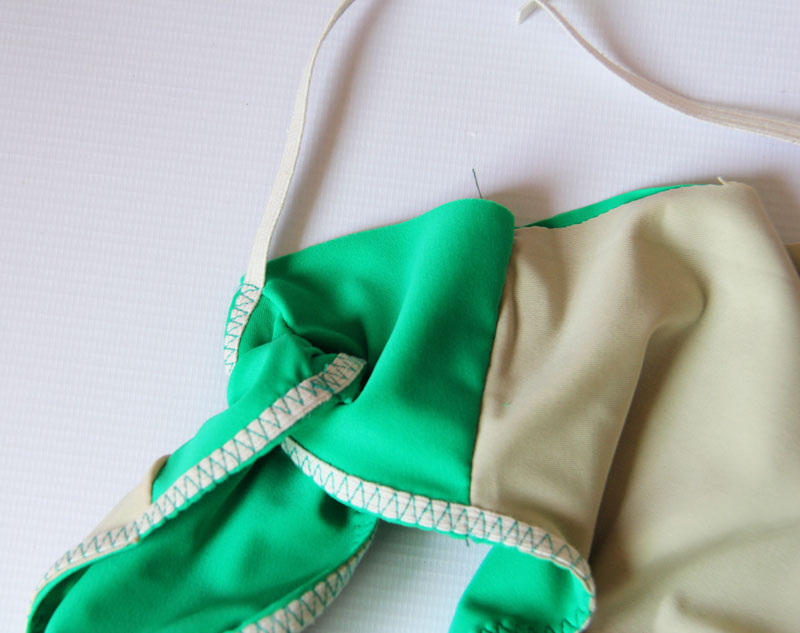
[98]-[99] Tuck the lining into the suit so that it looks like it will when the suit is finished. The wrong side of the lining should be facing the wrong side of the main fabric. Start sewing the elastic to the inside of the top of the suit, stopping your stitching at the center of the first twist.
[100] Pull the suit out from under your machine, rotate the twist, and thread the elastic through the hole in the twist.
[101] Continue to sew the elastic until you reach the lower notch on the Back.
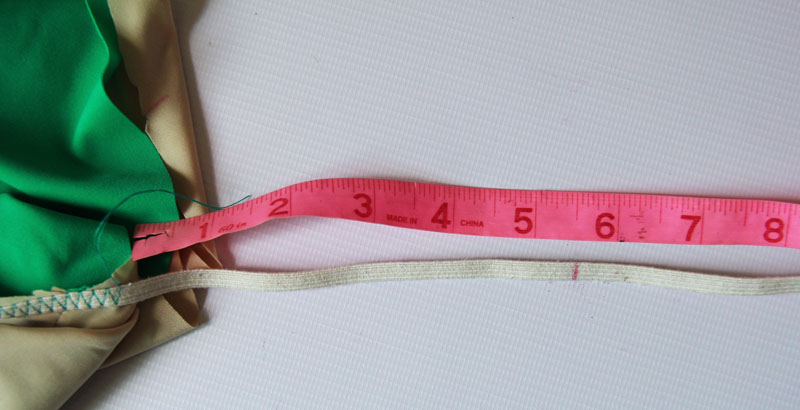
[102] Make a mark on the elastic the length indicated on the Cheek Elastic Table. This sample is a Size 8 so it’s 5.5″.
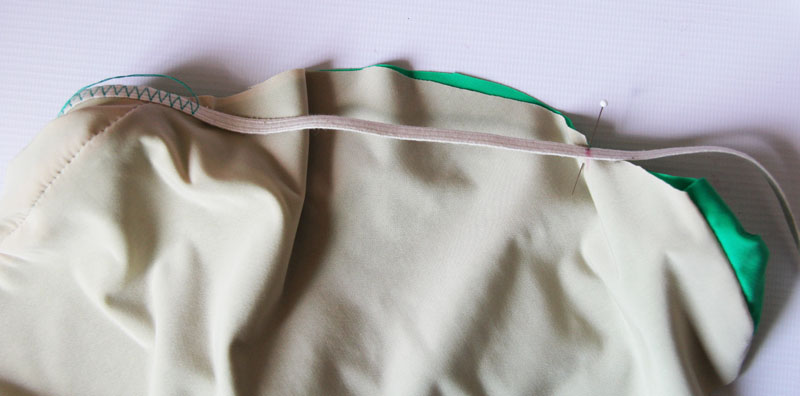
[103] Line up the mark on the elastic with the top notch on the Back.
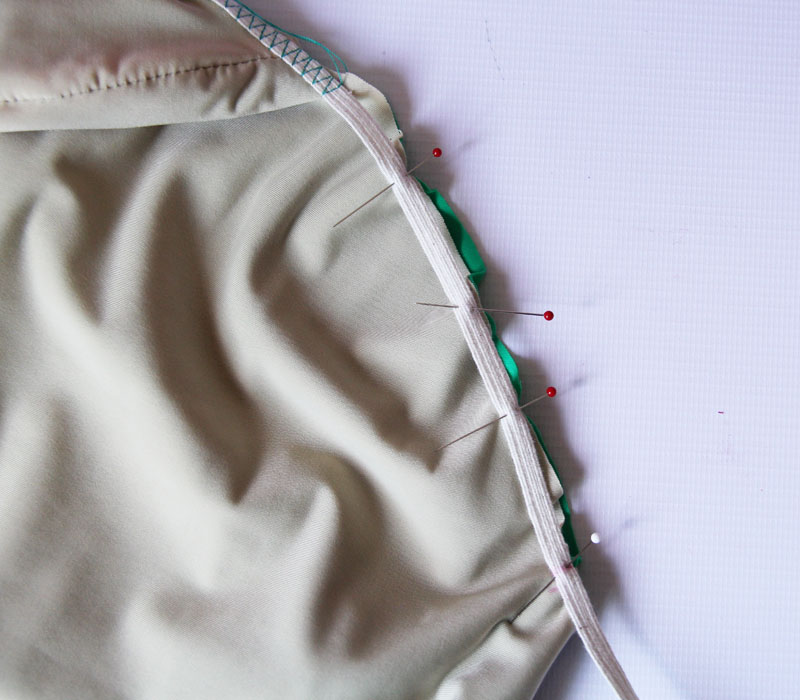
[104] You will probably find it easiest to stretch the elastic the appropriate amount while sewing if you pin it in several locations. Sew the elastic until the notch.
[105]-[112] Continue to sew around the rest of the suit using the same process – stopping and threading the elastic through the center of each twist and stretching the elastic the prescribed amount across the other cheek.
[113] Continue sewing until you reach the start of the elastic and then cut it. (You can see that I did a very poor job of keeping tension on the elastic when I sewed this sample!)
Turn the elastic to the inside and stitch it down. You’re done with your View B Swimsuit!