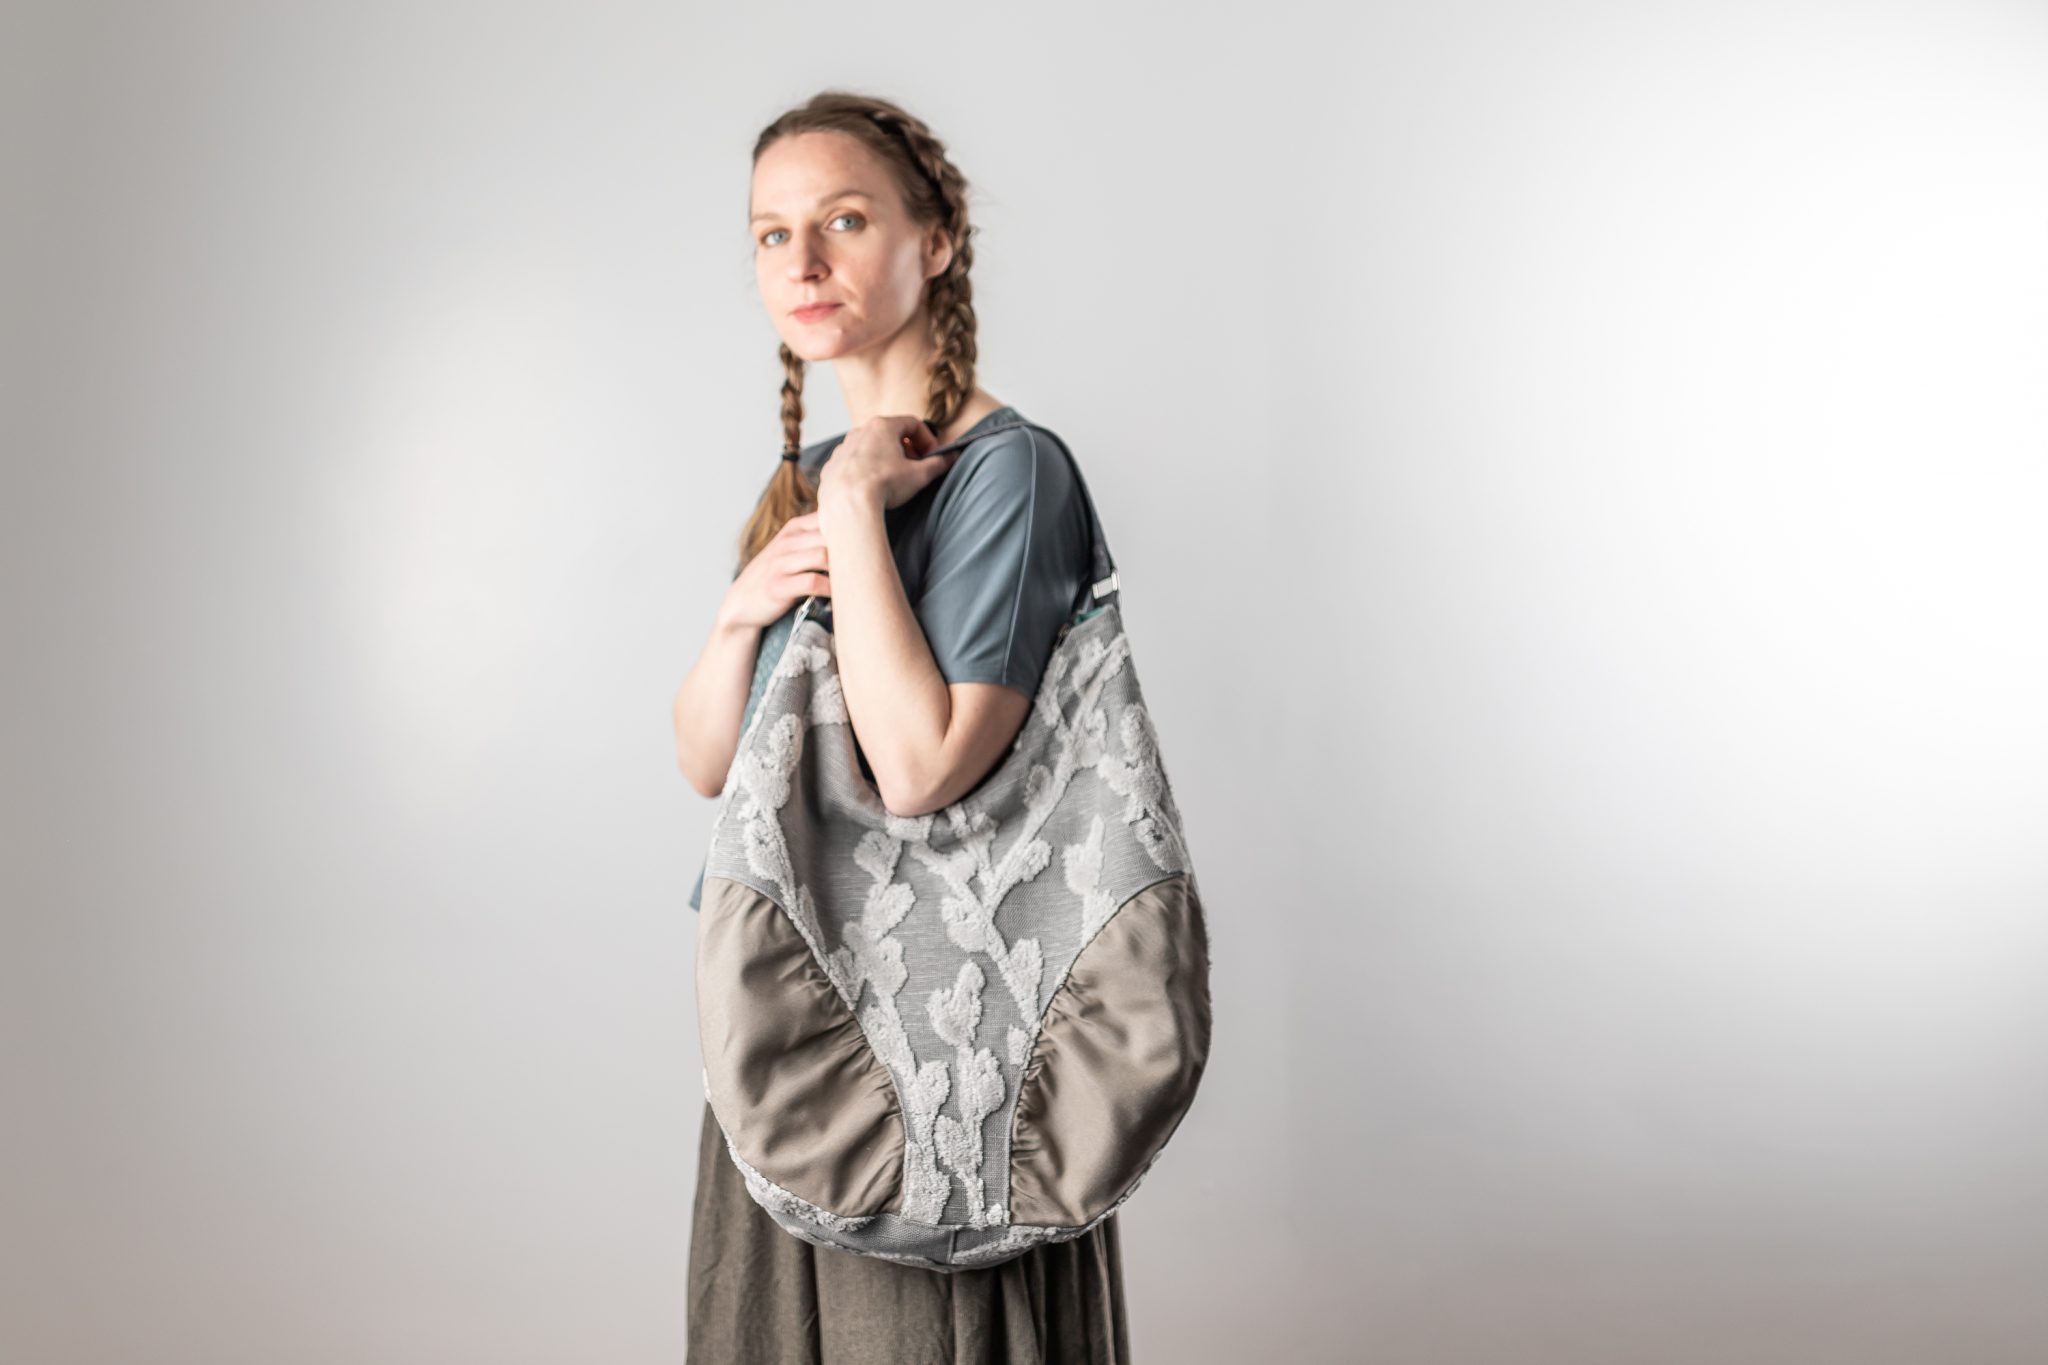
Presidio Purse: Marking the Fabric
There are several different places to mark on this pattern to help you get everything lined up perfectly and several different ways that you can make those marks. In short:
– notches on Front/Back, Front/Back Lining, Insets (plain or gathered), Bottom/Sides and Bottom/Sides lining
– cut lines on Front/Back (for inset insertion)
– handle/anchor placement guides on Bottom/Sides
– pocket placement guides on Back Lining
– stitching guides on Small Pocket
To mark notches, you can snip in, triangle out, or chalk.
To mark cut lines and placement guides you can trace with wax paper, cut the pattern and chalk it, or use tailor’s tacks (How to mark tailor’s tacks). You will want to the placement/stitch lines to be on the right side of your fabric. The cut line can be on the right or wrong side.
Now to go in to detail:
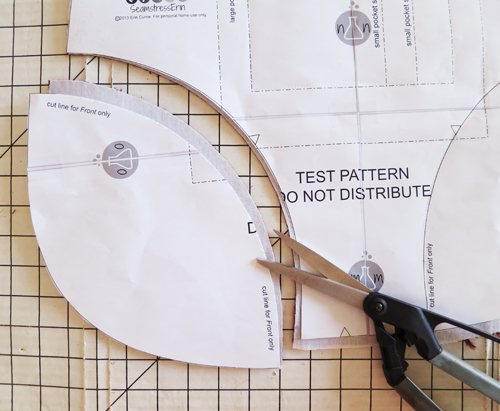
First, we need to mark the cut line for the insets on the Front (NOT on the Back, Front Lining, or Back Lining). [If you are interfacing your Front, Back, and Bottom/Sides (only for lightweight or drapey fabrics), go do that now. And then come back. But DON’T interface your straps yet. That comes soon.] If you don’t want insets, you can skip this step. The first method that you can use to mark the cut line is to simply cut through the pattern piece along the cut line. It does ruin your pattern for future use, but it’s certainly the easiest method. If you want to be able to use the pattern again (without reprinting it), you can tape the cutout back to the main body.

The just-cut-through-your-pattern method also works for places that need to be marked, but not cut. For example, for the anchor marks on the Bottom/Side pieces, I cut out the shape of the anchor placement lines from the pattern and then traced around the edge of the cutout in chalk. It’s not elegant, but it’s easy and it works.

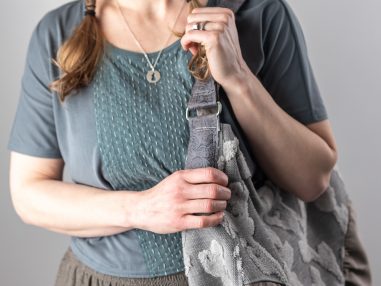
A more elegant way to mark your fabric (and what you might need to do if your fabric is particularly recalcitrant to chalk marks, often encountered in particularly plush or nubby fabric), is to use tailor’s tacks. Read about how to make and use tailor’s tacks here. I think they are particularly useful for when you are marking geometric shapes because you can make a mark at each point. For example, a tack at the bottommost point and the two edges of the strap/anchor placement guide is totally enough to guide the whole placement.

The final marking method I’ll share, and the one I used for the pocket placement lines, is to use tracing paper and a tracing wheel. Lay the cut fabric, wrong side up, then the tracing paper, wax or chalk side down, then the pattern on top.

Roll over the lines you want to mark with a tracing wheel.

You may find that it is hard to see the traced lines. I often trace back over them with a piece of chalk so I can easily see them without squinting as I sew.

Finally, you will need to mark the notches on the pattern. The simplest way to do this is to cut a little nick in your fabric (making sure it is within the 1/2″ seam allowance) at each of the notch points. You can also make a smudge of chalk for each of them.

You can choose to mark your notches while you are cutting the pattern instead of afterward (this is how my mom taught me to sew). Every time that you reach a notch, cut the fabric at that point as if the notch was a little triangular piece of the pattern that stuck out instead of in. This works well on fabric that is particularly prone to raveling or very textured where a little snip might get lost.


Hey, Erin – I will be getting this pattern! I need a larger purse and I’ve never made a purse, just tote bags. Love your fabric! Right now I’m focused on fabric inventory and getting a new machine – current one needs repair and it’s time for a new machine anyway. But once I get a new machine, this is on my list of things to make. Congrats on the pattern release!
Thanks! Looking forward to seeing your purse, once you get your new machine (yay!).