Presidio Purse: Pockets (Simple and Finished Edge Variation)
Stay Stitching
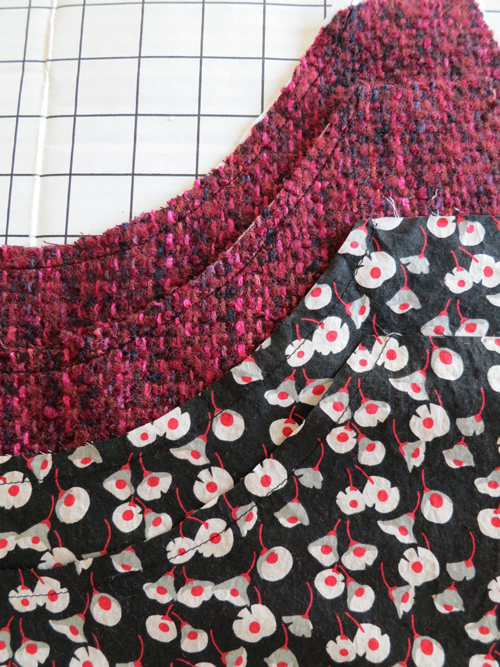
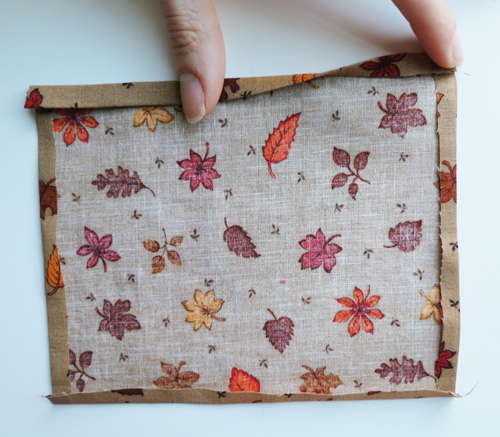
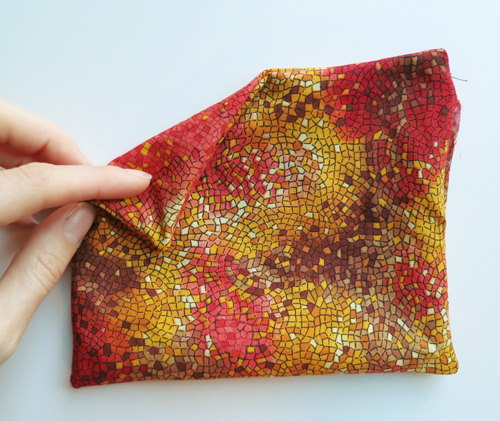
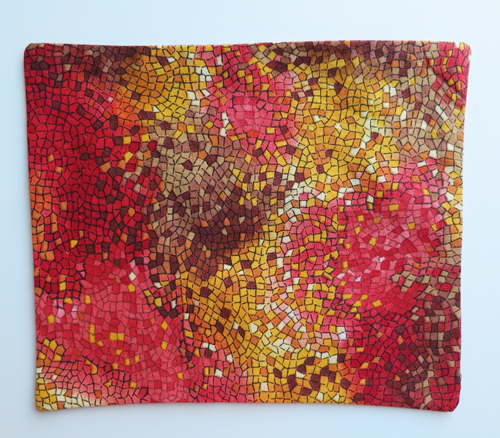
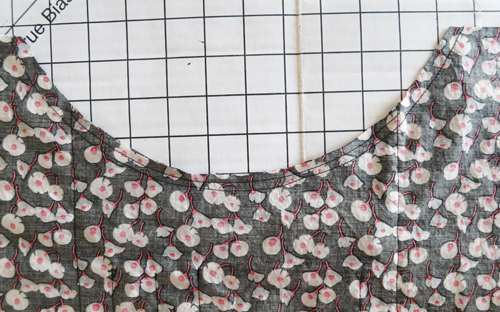
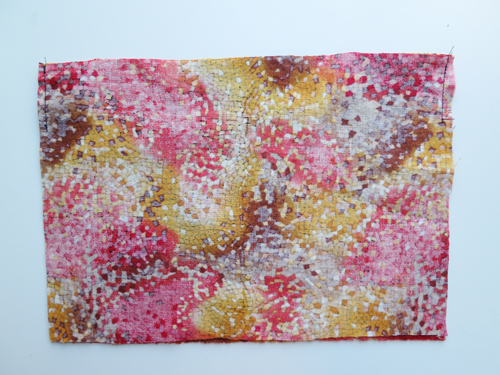
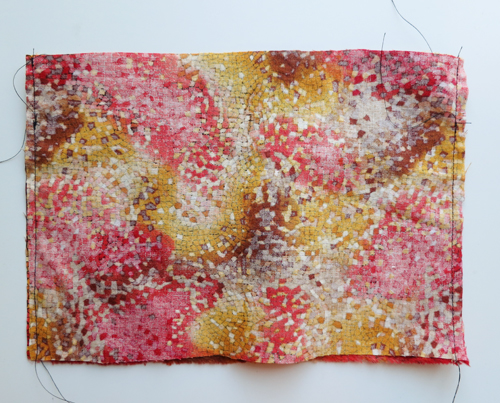
Before doing anything, run a line of stay stitching along the top curved edge of the Front, Back, Front Lining, and Back Lining. Stay stitching is a straight line of stitching that goes just inside of the seam allowance to help prevent curved fabric from stretching as it is manipulated. Use a normal stitch length and a 3/8″ seam allowance to sew just inside of the 1/2″ seam allowance used for construction of the bag.
How to stay stitch the purse in a sewalong video.
Pockets
The Presidio Purse has two pockets on the inside of the bag: a small coin pocket and a larger pocket over that with a zipper. There are two ways of constructing the pockets, and I’ll go through both methods – the easy version and the slightly more difficult fully lined version. Note that while the seam allowance is 1/2″ for the bag construction, all of the seams used in constructing the pockets are 1/4″.
Simple version – Small Pocket
This has the advantage that it is faster and easier and requires less fabric. It has the disadvantage of leaving raw edges on the inside of the pockets. Fold the sides of each Small Pocket to the wrong side 1/4″ and press. The folding and pressing that we do on the pockets are why the pattern recommends cotton as a lining.
Fold the top and bottom of the Small Pocket to the wrong side 1/4″ and press.
Fold the top of the Small Pocket to the wrong side 1/4″ again and press. Stitch along the top edge of the Small Pocket inside of that 1/4″ fold.
Place the Small Pocket on the Back Lining, using the small pocket alignment marks that we marked previously. Pin in place.
Stitch along the sides and bottom of the Small Pocket, removing pins as you reach them, using an edgestitch or scant 1/4″ seam allowance so that you sew down the fabric that is folded to the back. Backtack or stitch a little triangle at the start and end of your stitching for added strength. Stitch along the Small Pocket stitching lines (marked previously) to add the pen dividers to your pocket.
Fully Lined – Small Pocket
It has the benefit of being sturdier and finishing all of the raw edges of the fabric. It has the drawback of being fussier and taking twice as much fabric. Take the Small Pocket pieces and stitch them right sides together, leaving an opening on one side, using a 1/4″ seam allowance.
Turn the Small Pocket right side out.
Press the Small Pocket, making sure that you press the unstitched gap so that it is folded in 1/4″ like the stitched fabric. Align the Small Pocket and stitch it to the Back Lining using the same method as the simple variation.
This video talks through both variations of the small pocket.
Simple Version – Large Pocket
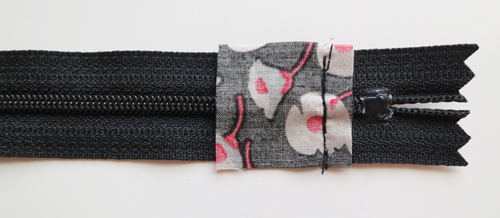
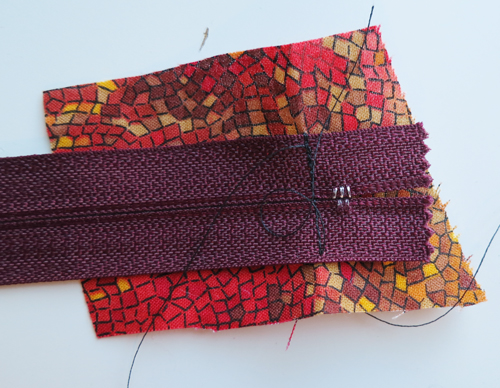
Sew one of the 2″ squares of lining fabric to tabbed end of the zipper, right sides together, just inside the tab, using a 1/4″ seam. (Your square will be larger than the one pictured here).
Sew the other square of lining fabric to the other end of the zipper so that the edge is 7 3/4″ away from the seam you just sewed. Sew with a 1/4″ seam allowance. Make sure that you unzip the zipper a bit so that the open zipper pull is between the two seams that are sewing.
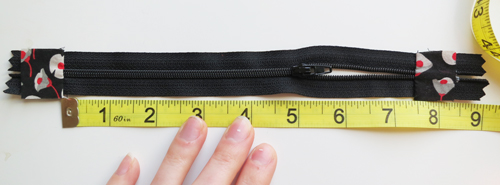
Press the fabric tabs open. There should be 7 1/2″ between the two seams.
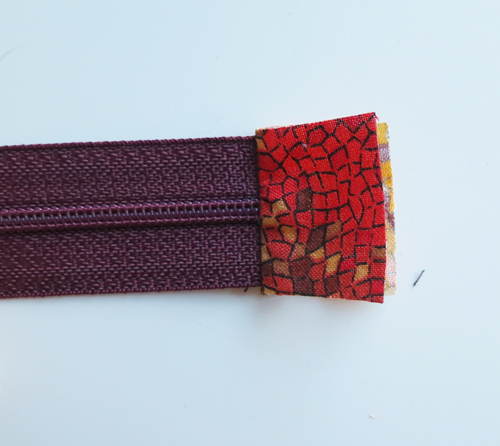
Trim the excess zipper length so that it extends about 1/4″ beyond the seam. Trim the square of fabric so that it is the same height as your zipper. Trim the squares of fabric so that they are 3/4″ from the seam and the total length of both squares and zipper is 9″.
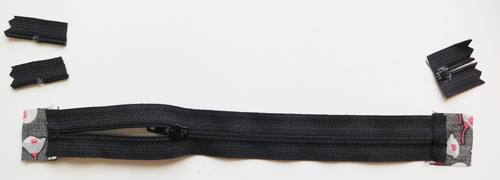
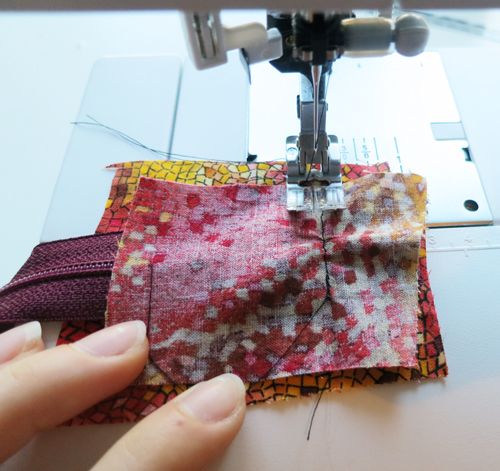
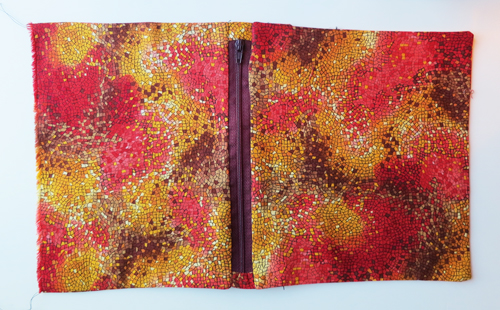
Align the zipper with the top edge of the Large Pocket, right sides together, and sew using a 1/4″ seam. You will probably want to use a zipper foot so that your sewing foot doesn’t bump into the zipper tab. You will be leaving exposed zipper tape so do not worry about stitching your stitch line right next to the zipper teeth.
Align the Pocket Top with the other side of the zipper, right sides together, and sew using a 1/4″ seam allowance.
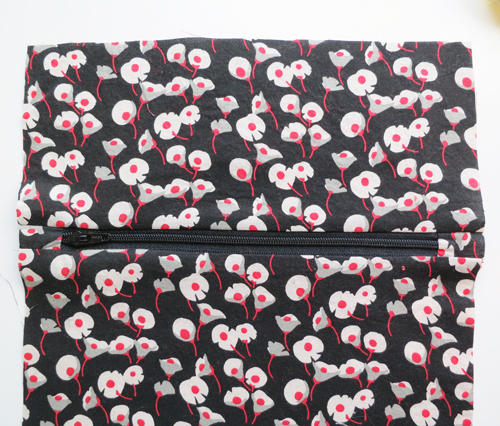
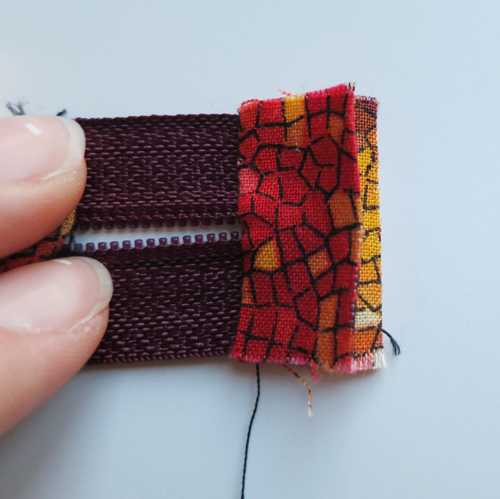
Press the Large Pocket and Pocket Top right sides up. You don’t want to ever iron directly onto a zipper so carefully iron next to it or apply lots of steam and then press it with your hands (after you’ve taken away the steaming iron, of course!). Press the side and bottom seams to the back 1/4″.
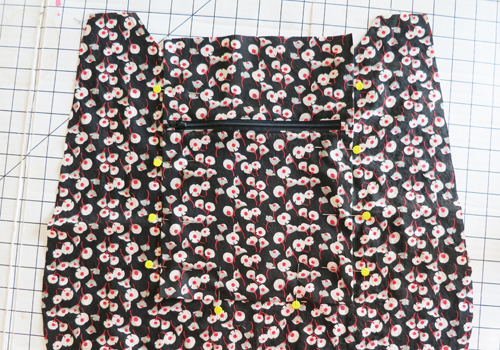
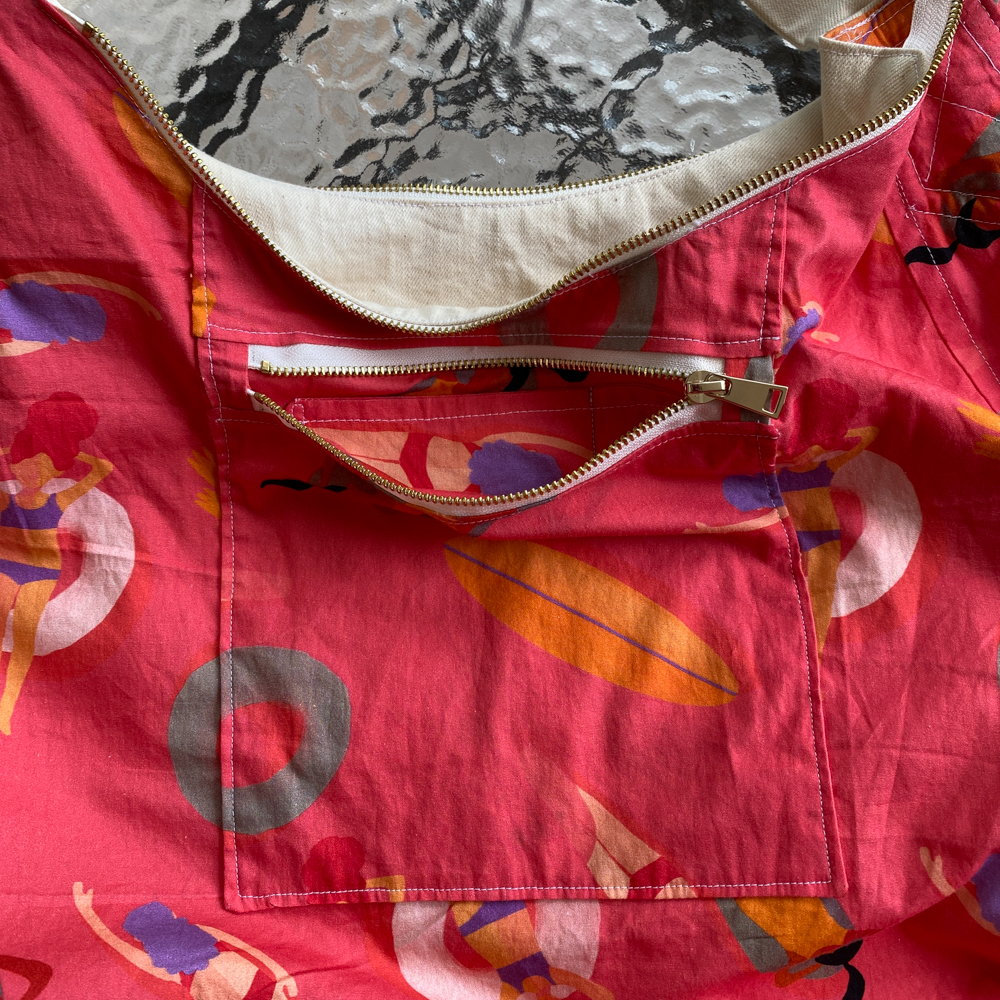
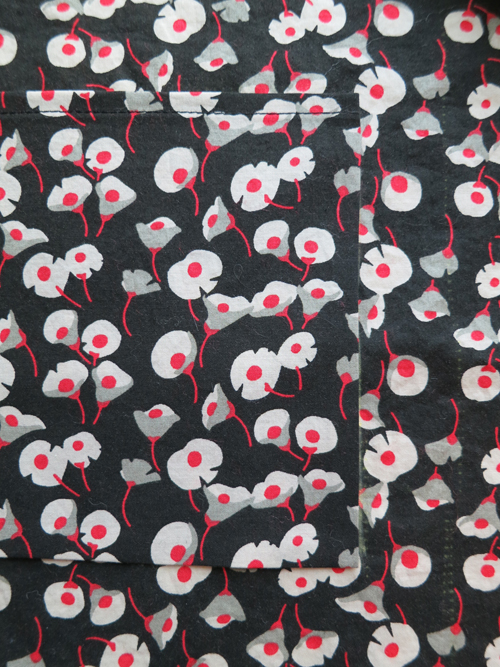
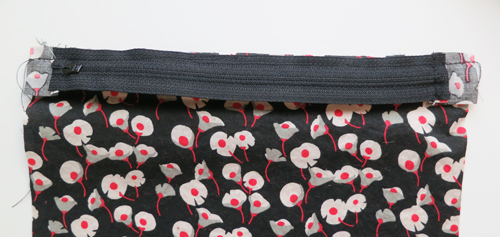
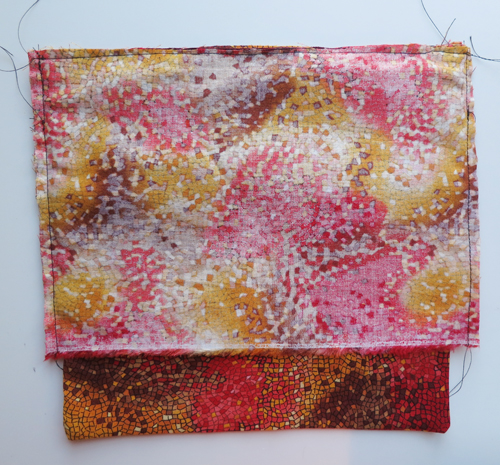
Place the Large Pocket on the Back Lining, covering up the Small Pocket, according the placement guides that we previously marked. Sew along the sides and bottom using a topstitch or scant 1/4″ seam so that you catch the folded fabric with your stitching.
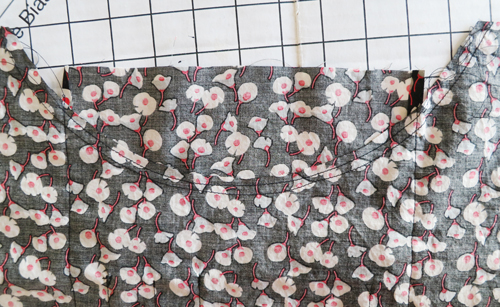
Run a line of stitching along the curved part of the Back Lining inside of the 1/2″ seam allowance, stitching from the wrong side of the fabric so that you can see the curve. This is to hold the Pocket Top in place.
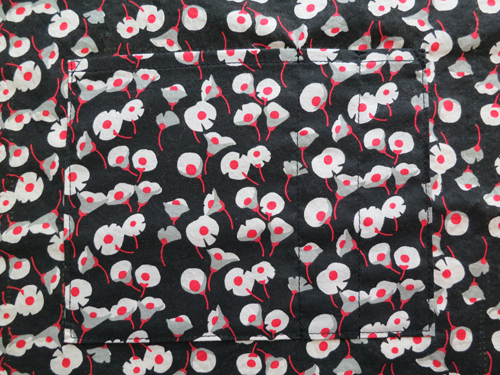
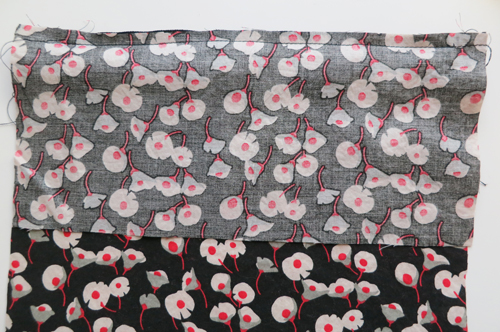
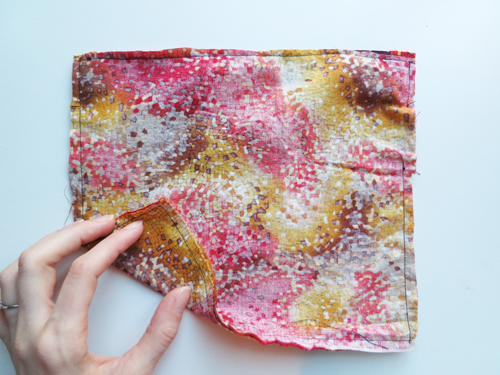
Trim the excess fabric of the Pocket Top along the edge of the curved part of the Back Lining. Whew! We are done with the simple pocket construction.
Fully Lined – Large Pocket
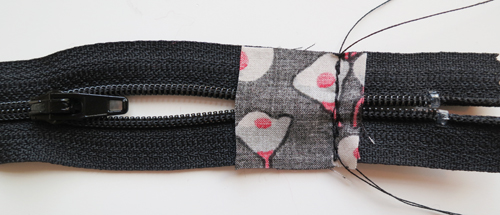
Sew a 2″ square of fabric to the zipper, right sides together, on the inside of the tab (like the simple variation). Since we will be trimming down the square after sewing, you can see that I went ahead and used a large, misshapen scrap. I give you permission to do the same.
Sew the second tab, right side of fabric to the wrong side of the zipper, along the same stitch line. Put the second tab on the bottom of the zipper so that you can see the first stitch line so that it is easy to stitch along it exactly (so that you don’t accidentally veer off and hit the zipper tab with your needle).
Press the fabric so that right sides face out and trim excess fabric and zipper as in the simple variation. This means trim the zipper so it extends about 1/4″ beyond the seam and trim the fabric so that it is even with the top and bottom of the zipper and extends 3/4″ beyond the seam. Repeat the same construction steps on the other end of the zipper. There should be 7 1/2″ between the two seams that are on either end of the zipper and each fabric flap should extend 3/4″ from the seam for a total length of 9″ (the width of the large pocket).
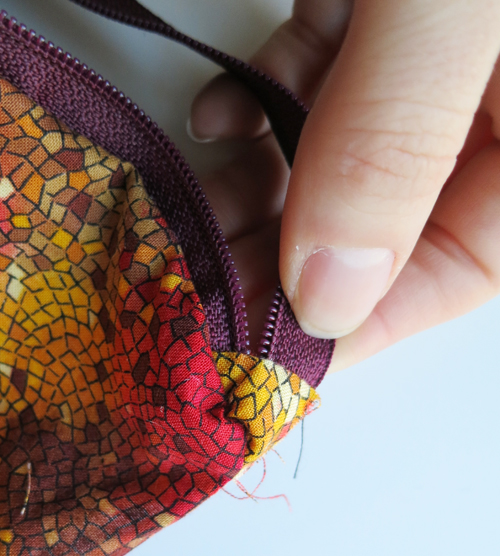
Fold the edges of the fabric to the wrong side (facing inside) 1/4″ and press. The zipper and both tabs now measure 8 1/2″ so that the bottom and top of the zipper will be the same length as the Pocket and Pocket Top AFTER they have been sewn with a 1/4″ seam allowance.
Place the Large Pocket pieces, right sides together. Stitch the top 1″ or so of the sides with a 1/4″ seam allowance.
Slide your zipper in between the layers of the Pocket Bottom so that the edge of the zipper aligns with the top edge of the Pocket Bottom. The folded fabric edges of the zipper should fit exactly between the stitch lines that you already added to the top sides of the Large Pocket. Stitch the top, sides and bottom using a 1/4″ seam allowance and leaving a gap in the stitching along one side. You may want to use a zipper foot so that you don’t bump into the zipper pull but don’t try and stitch as close as you can to the zipper teeth – some of the zipper tape will show.
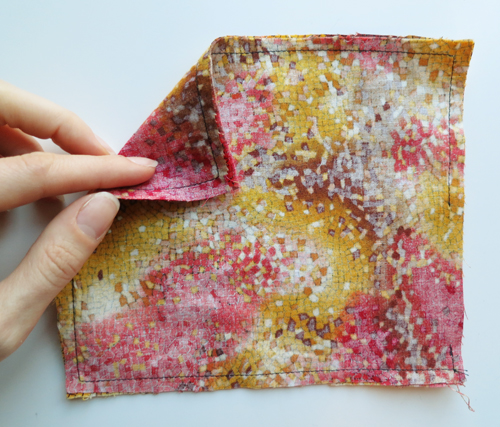
Turn the pocket right sides out and press, folding in the unstitched part of the side so that it is even with the stitched parts.
If you’re trying to zip along and skip steps, don’t. The reason that you fold and press in the edges of the zipper and then stitch the top sides of the Large Pocket before you stitch the Large Pocket tops and sides together is to avoid sewing the edges of the zipper tabs to the edges of the Large Pocket, like I did above.
Take the Pocket Tops and sew them right sides together with a 1/4″ seam allowance along the sides.
Align the zipper so that it is along the top edge of the Large Pocket and stitch using a 1/4″ seam allowance. Again, you may want to use a zipper foot so that you don’t bump into the zipper pull but don’t try and stitch as close as you can to the zipper teeth – some of the zipper tape will show.
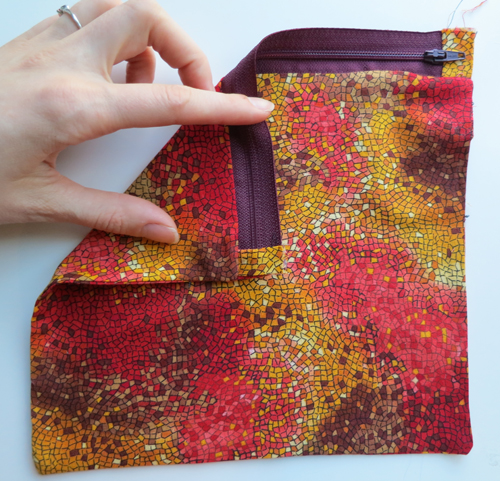
Turn the Pocket Top right side out and press. You don’t want to ever iron directly onto a zipper so carefully iron next to it or apply lots of steam and then press it with your hands (after you’ve taken away the steaming iron, of course!). Align it to the Back Lining and stitch like the simple variation. And voila! You have an extra sturdy set of pockets with no exposed seams.
This video talks through both variations of the large pocket.


Yay for the Finished Edge Variation! Thank you, Erin! (I was a pattern tester and the raw edges bothered me, so I’m really glad that this option has been added for the sew-along!)
I’ve already picked out fabrics for a second Presidio, which will be a Mini Presidio! (I have printed the pattern at 60% of the original size, and I will probably make a few adjustments to that, but keep the neat overall shape—just at a smaller size.)
Once I get around to stitching up my bag, I’ll definitely follow these extra instructions here! Wheee!
OK, so I’m making a finished edge version. I have sewn my little squares on my zipper ends. My zipper length 7 1/2 ” between the squares. How far past that should the trimmed tabs extend once the 1/4″ has been pressed under. I’m getting a bit confused on lengths here. Not all of the measurements seem to be mentioned and I have to keep scrolling between the unfinished and finished sets of instructions and trying to work it out.
I think my zipper plus tabs should just sit inside my 1″ ish of side seams that were sewn at 1/4″ seam allowance so that when I sew round my pocket it catches the side of the zipper but not the end of the tabs, is this right? In which case my tabs only need to be 1/2″ once folded over so I should have trimmed them to 3/4″ before pressing. Sorry if I’m being dim, not my best of days.
No worries, I’m glad you asked! I believe what you are saying is correct. I updated the instructions to include more measurements, so please see the updates and hopefully they will clarify. If not, please ask again!
Thanks for the reply. I was my normal patient self last night and forged on ahead and muddled through. Actually I think writing it down as a comment helped me work out what I meant, It looks ok though. In fact, when I went and showed my husband he said that I’d made something which didn’t look like I’d made it.
Now my problem is that my lining is all done and made up into a bag shape and is so nice I want it to be on the outside. And I have to be patient as I want to wait for the piping tutorial before doing the outside as the ones with piping look great. So in the mean time I might make up another lining as I’m thinking of making a second one for a friends birthday…
P.S,
Just read your updated instructions and they’re super clear now. I love you style of explaining, very clear and thorough, I think your science background really shines through.
Thanks! Very glad to hear that!