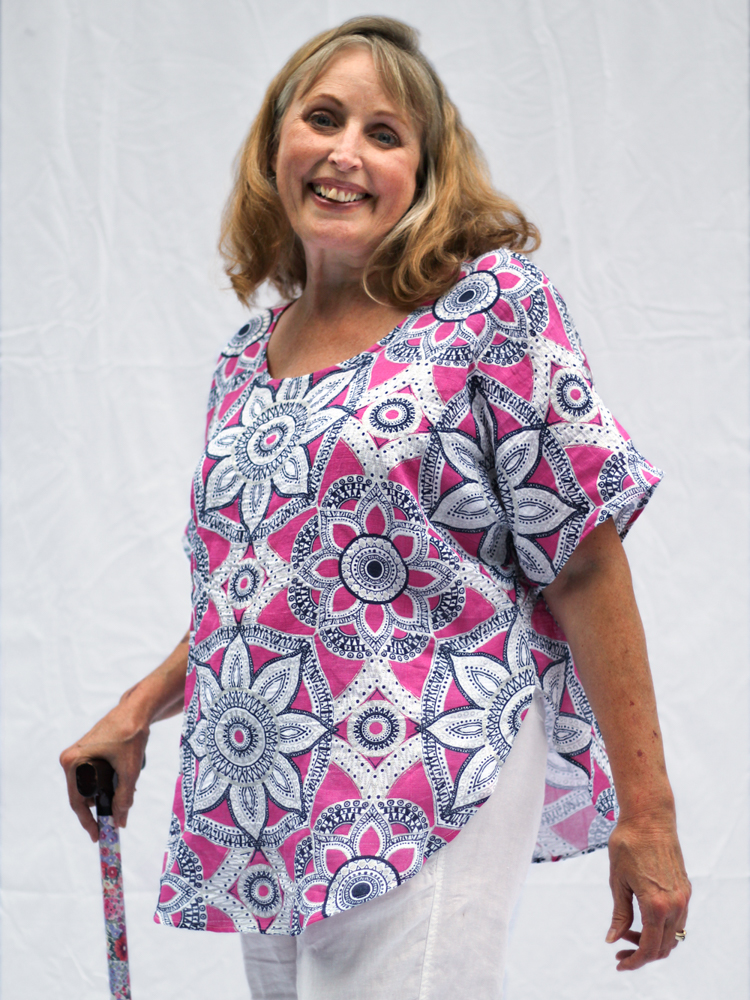
Ultraviolet Tee: Sizing and Fit
The Ultraviolet Tee comes in sizes US 0-30, Hip 35″-64″ (89-162.5 cm). It is very loose fitting with ~9” (23cm) ease at the bust. Because of this it is unnecessary to grade between sizes for most bodies. The ease is such that you can choose the pattern based on your high bust measurement regardless of the size of your waist or hips.

The pattern comes with two different bodices for all views: A-C cup and D-F cup. Because of the horizontal ease in the pattern, most busts will fit in the A-C front. However, busts use fabric horizontally and vertically, so the D-F bodice is adapted for this too. It has darts/gathers (the choice is yours) that lengthen the front so that the shirt is not too cropped (View A) and the hem is even (View B & C). The D-F cup shirt Front is 2” (5 cm) wider and 3” (7.5 cm) longer than A-C cup to accommodate a larger bust. If you are between sizes, size down. The darts will end several inches from your apex. Even though the shirt is oversized, the darts will make the shirt hang better off your bust.

The bicep size is included in the finished measurements chart. For a knit shirt with stretch your bicep should be smaller than the finished shirt bicep measurement. For a woven shirt your bicep should be at least 3” (7.5 cm) smaller than the finished shirt bicep measurement.
Lengthening/shortening
To lengthen or shorten the pattern, start by checking out the finished measurements in the chart, where the hem lenghts are listed. View A is a crop top, designed to hit the top of your pants, so the only skin showing is on the side. View B is a longer standard T shirt hem. View C is the same length as View B, but the sides curve up higher.
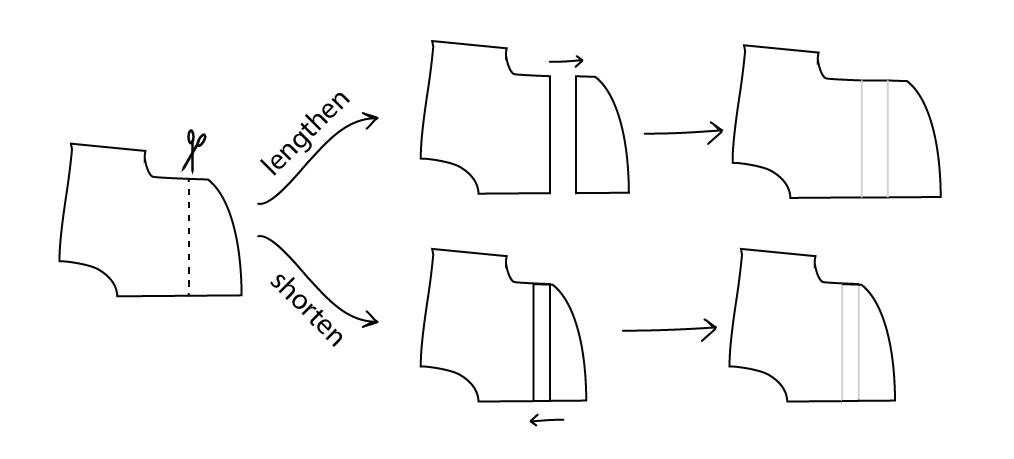
After determining the amount you’d like to shorten or lengthen the tee, cut the Front and Back pieces along the shorten/lengthen line on the pattern pieces. To lengthen, move the bottom part down the amount you desire. Place new paper underneath and tape the pieces together. To shorten, overlap the top and bottom the desired amount, and tape together.