Presidio Purse: Front Insets and Body Construction
Insets
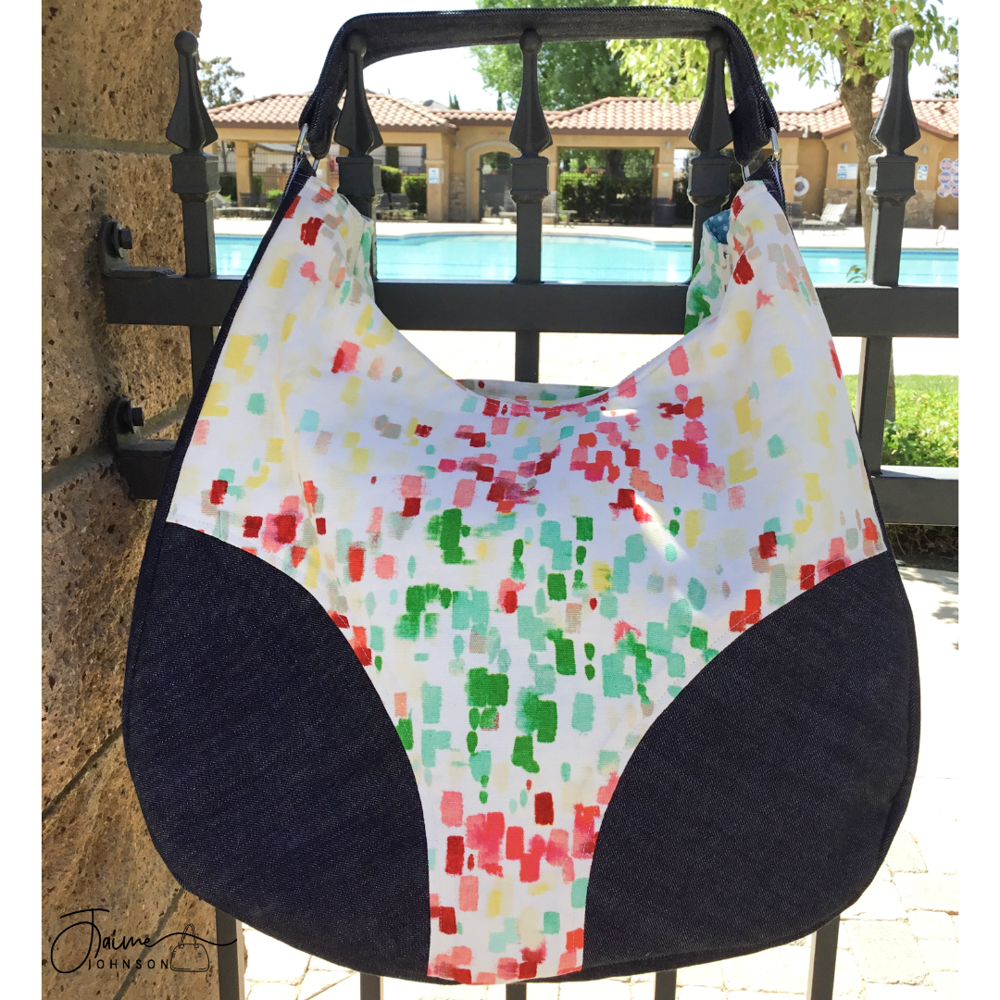
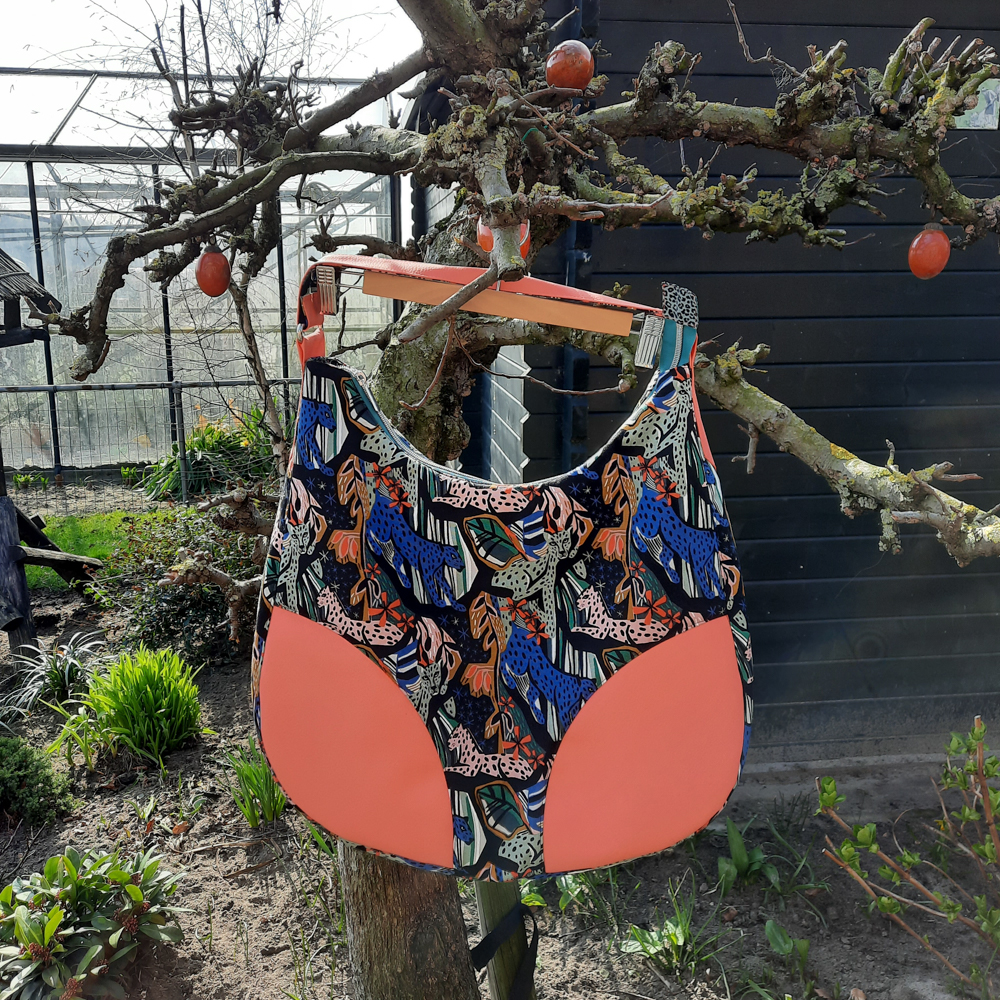
There are three options in the pattern for customizing the front of your Presidio Purse – plain (ungathered) inserts, gathered inserts, or leave them off. Either gathered or ungathered insets can be piped and they can be cut from the main or a contrast fabric.
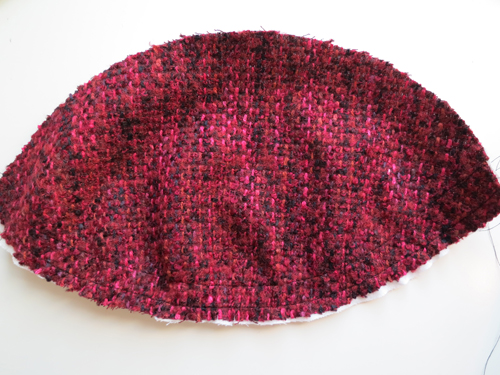
If you are using gathered insets, you will start by stitching two rows of gathering stitches along the notched edge. These are straight stitches using your longest stitch length (like you would for basting). Sew them at 3/8″ and 5/8″, just inside and outside of the 1/2″ seam allowance. Gently pull on the bobbin threads to gather the fabric a bit. If you are using plain insets, you may want to stitch a gathering stitch at 3/8″ (inside the 1/2″ seam allowance) along the notched edge. You don’t want/need to gather the threads, but having that extra line of stitching can help ease the curved fabric.
Alternatively, instead of using gathering stitches, you can zig-zag on either side of a piece of twine within the 1/2″ seam allowance and pull on the twine to gather the edge.
For both insets: Match the edges of the inset to the edges of the front and match the central notches, putting pins at each match point. For gathered insets: Further gather the inset so that it is the same length as the seam you are setting it into. For both insets: Add more pins along the length of the seam.
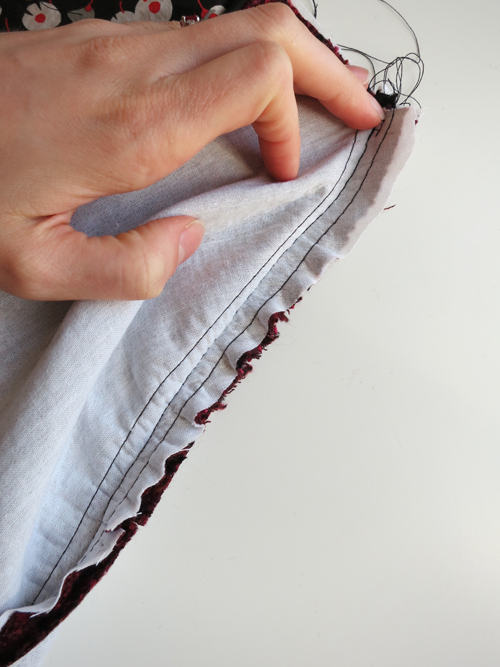
Stitch the insets into the front using a 1/2″ seam allowance. You will see that the seam line is between your gathering lines.

For gathered insets: Remove the gathering stitches that are outside the seam allowance (visible on the front inset after insertion). If you used twine to gather, remove it. For both insets: Notch within the seam allowance on the front and clip within the seam allowance of the inset. (Clip means cut a straight snip and notch means cut out a little triangle. In all honesty, I usually just notch both sides together at the same time, especially as I will be topstitching to make the seam extra sturdy).

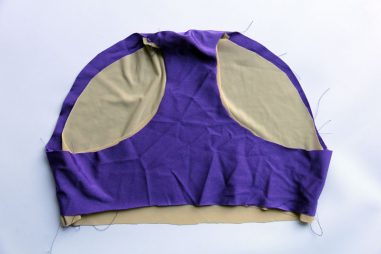
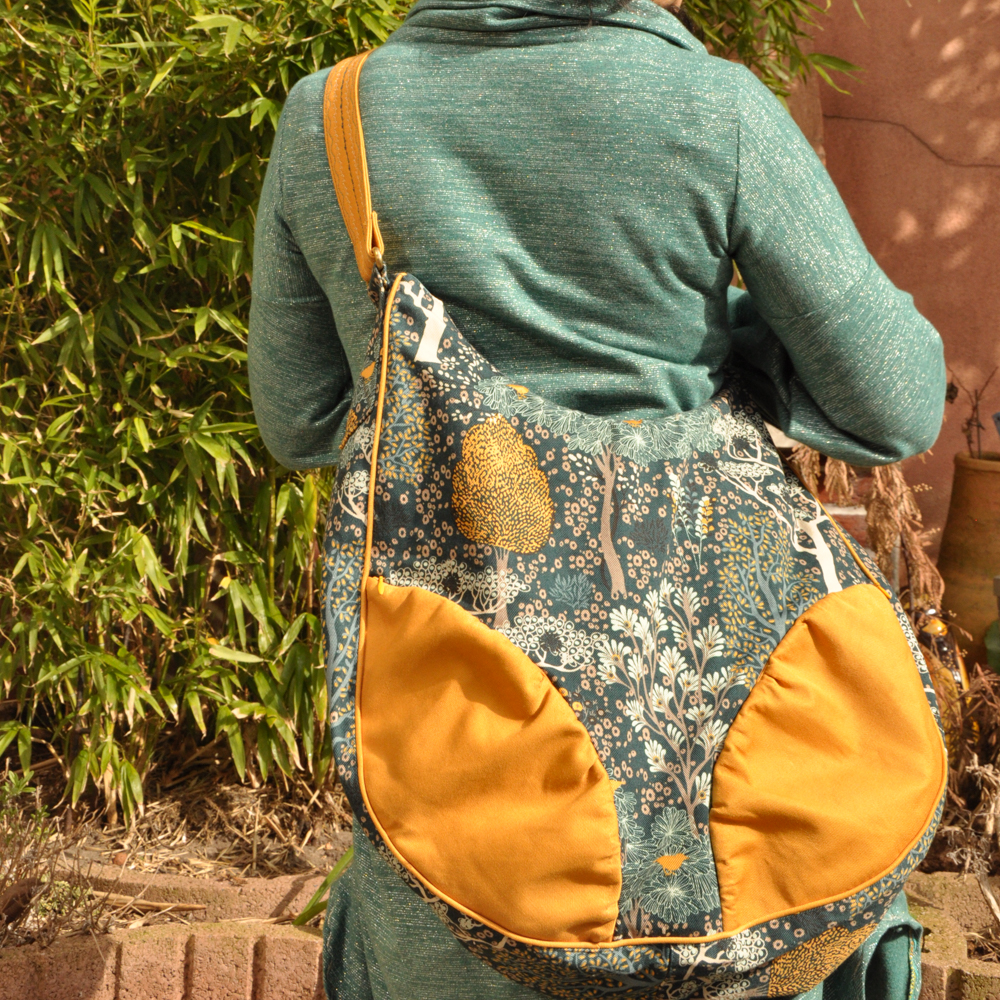
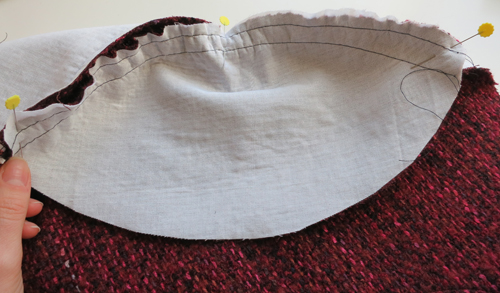
This is what the gathered inset (from the final pattern draft) looks like after it is inserted. For the gathered inset: fold the seam allowance to the front (away from the inset), and topstitch a scant 1/4″ on the front around the inset. This is both decorative and keeps your inset in extra sturdy. If you are using a plain inset, you can topstitch as for the gathered inset or you can fold the seam toward the inset and topstitch inside the inset instead.
Watch the sewalong video all about sewing the insets.
Body
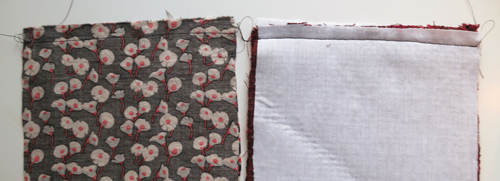
Sew the center bottom seam (the short notched edge of the Bottom/Sides, labeled center bottom) using a 1/2″ seam allowance, for both the main and lining fabrics.

Press the seam allowance to one side and topstitch along that seam, again for both main and lining fabric.

Pin the Bottom/Sides to the Front, matching the tops and the notches. Stitch the seam using a 1/2″ seam allowance. Notch the seam allowances around the curved part of the purse on either side. Do the same for the Bottom/Side Lining to the Front Lining.

Repeat what you just did to sew the Bottom/Side to the Back and the Bottom/Side Lining to the Back Lining.
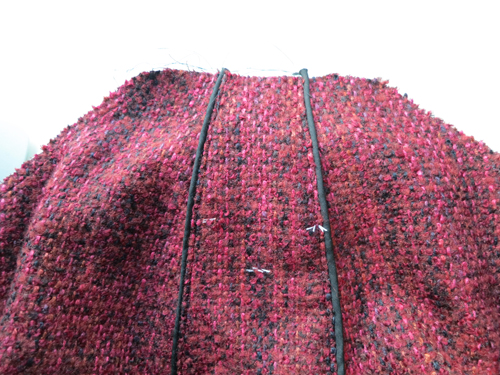
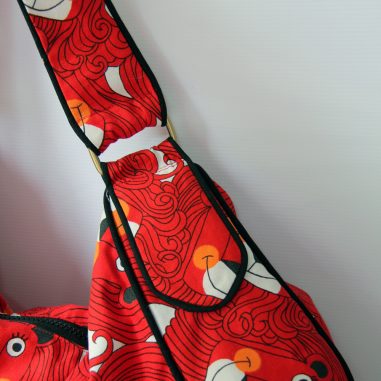
Fold the seam allowance towards the Bottom/Sides and topstitch along both seams. Repeat for the lining. All of the topstitching in the bag makes it extra sturdy, so don’t skip out on it. It’s probably easiest to topstitch this seam from the inside so you can see and easily handle the seam allowance. (In this picture, you can see the tailor’s tacks that I made previously for where I will be adding the handle.)
Here’s the sewalong video for sewing the body of the purse.