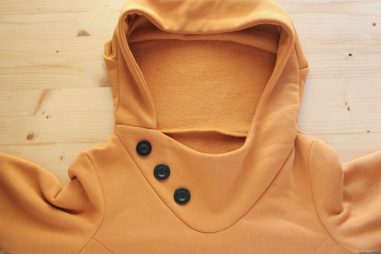
Princess Seam Full Bust Adjustment Pt. 1
The Jasper Sweater/Dress V.2.0 comes in both B/C-cup and C/D-cup, depending on the size you choose. If you have a previous version, the two size sets come in a B and a C cup. Even though it is a sweater, it is semi-fitted through the princess seams and it’s possible that you need to do a Full Bust Adjustment (FBA). I’m going to show you how to do this on the Jasper in two posts. First we’ll look at how to determine if you need an FBA and by how much. I’ll also show how to do a minimal FBA if you only need 1″ (2,5 cm) or less extra room. In this post we show how to do a proper FBA on the Jasper.
When do you need an FBA
To determine if you need a full bust adjustment, you need two measurements: bust and high bust. This article shows how to take those measurements. If the difference between these measurements is 1 3/4″ (4,5 cm) or less, you have a B-cup. If the difference is between 1 3/4″ and 3 1/4″ (4.5 and 8 cm), you have a C cup. So if you do and you’re also in the 6-10 size range of the Jasper, you’re good to go. If the difference is bigger than that, you need an FBA.
Start by choosing your pattern size not by bust, but by high bust measurement. If you would take the normal bust measurement, you’d end up with a pattern that fits in the bust, but is too big in the shoulders, sleeves and neckline. So by going with the high bust measurement you ensure that it will fit in those areas, and you’ll adjust the bust.
How much to add
Now that you have established your need for an FBA, you need to check how much extra room you need to add to your pattern. For this you need your measurements and the size chart. First, take your high bust measurement, say 34.5″ (88 cm). Then, take your bust measurement, say 37″ (94 cm). The difference is 2.5″ (6 cm). Your high bust measurement places you at a size 3 in our sizechart, and you need to add 2.5″ (6 cm) in total to the bust on the pattern. Considering that you are working on one half of the bodice, you need to add 1 1/4″ (3 cm) to your pattern piece.
Minimal FBA (1″ or less)
Use this method when you need to add up to 1″ (2,5 cm) of room at the bust all around. I’ll be showing this on the sweater version of the Jasper, but the same principles apply to the dress.
What you need
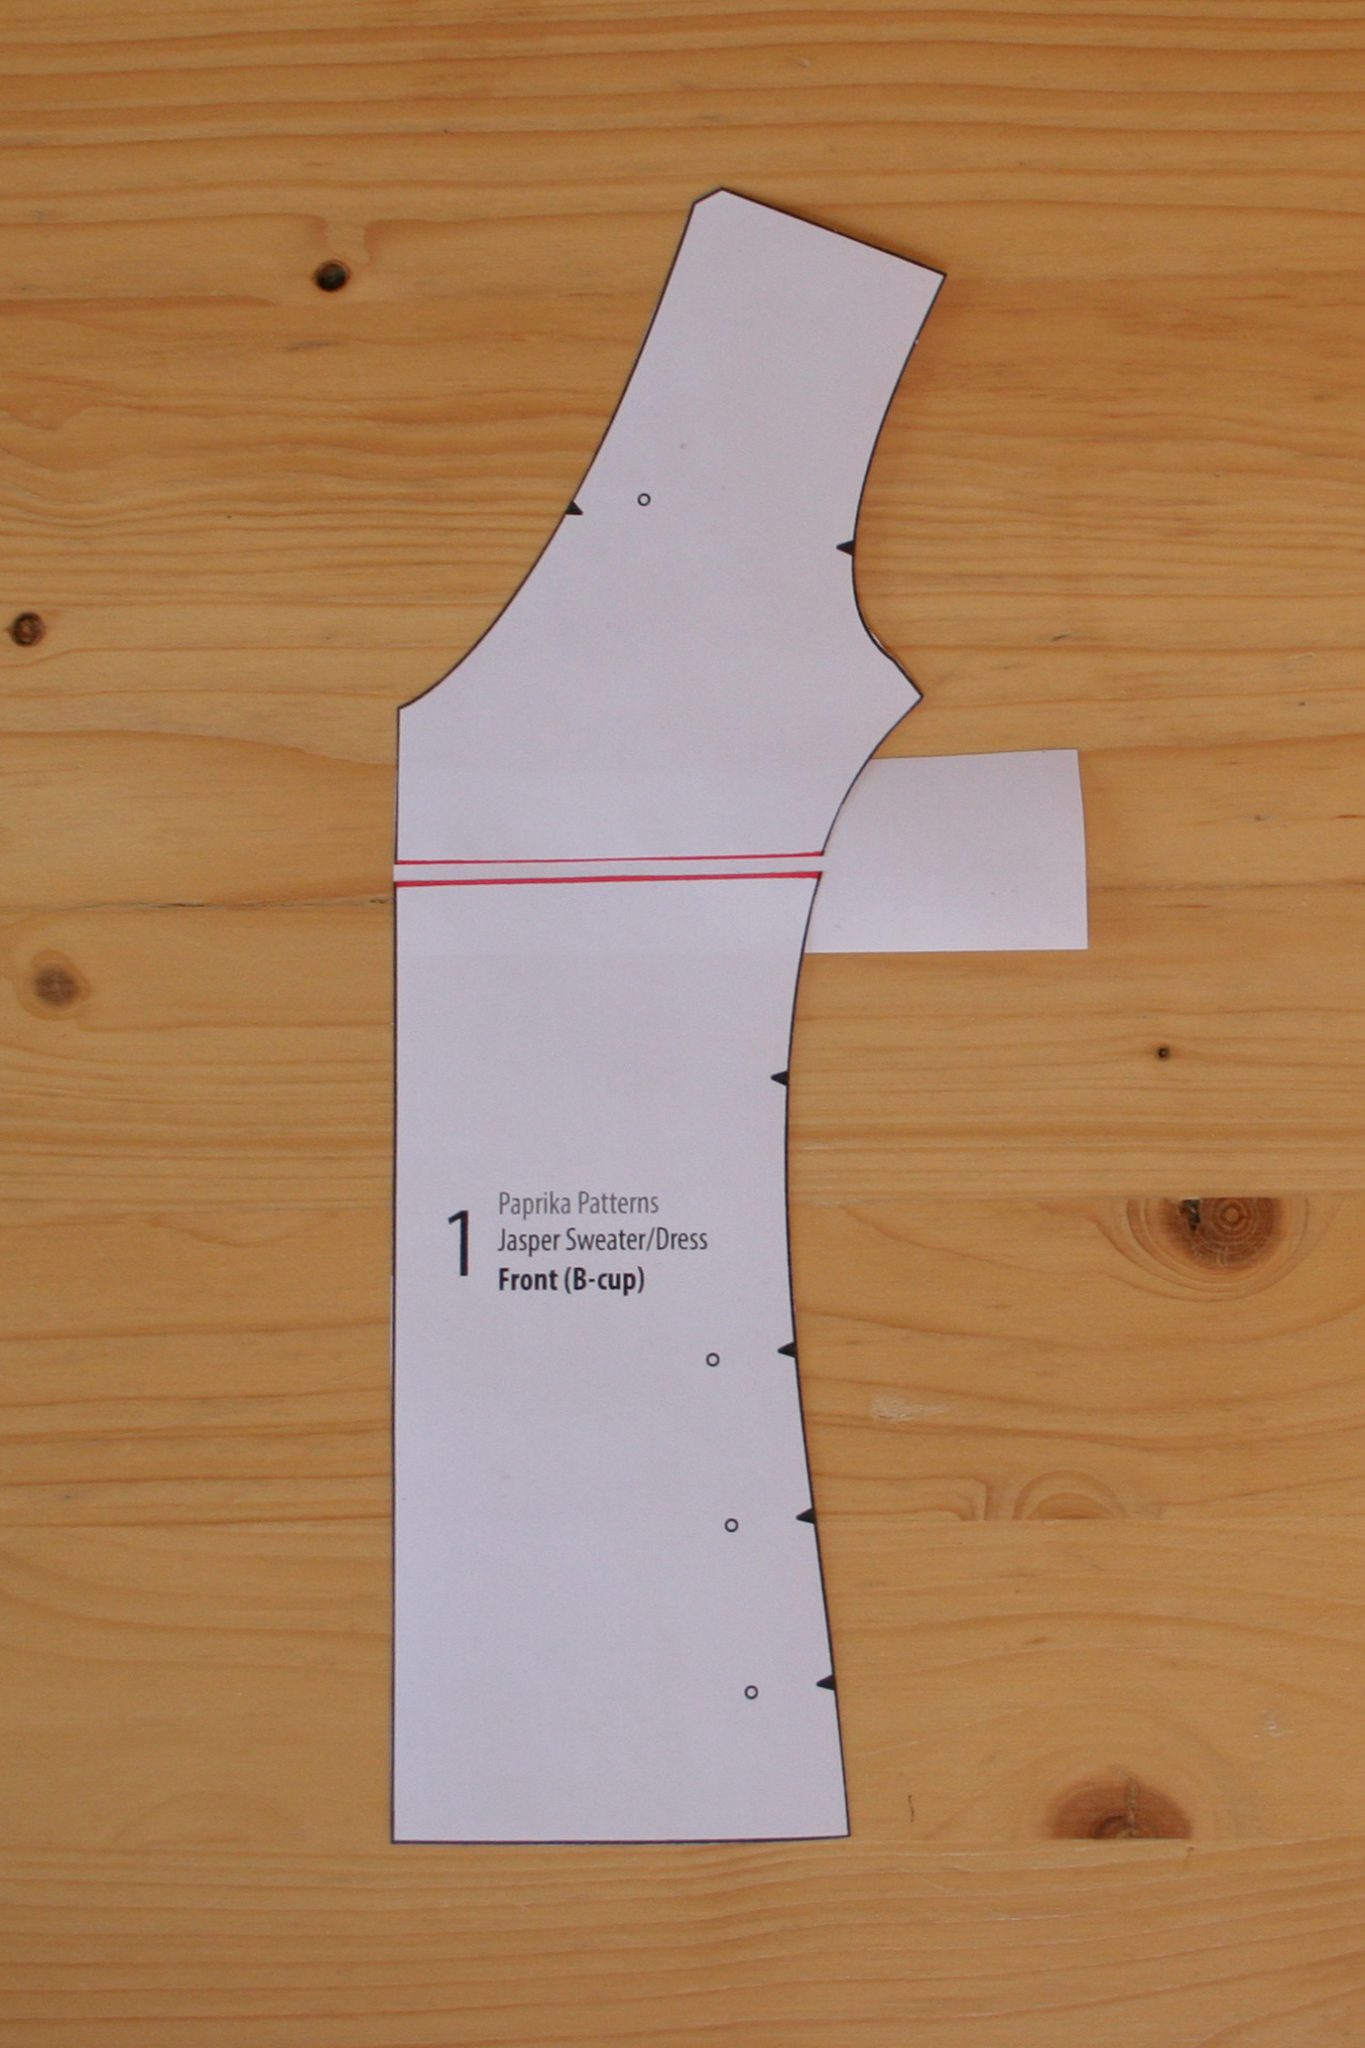
- Jasper pattern pieces, front and side panel
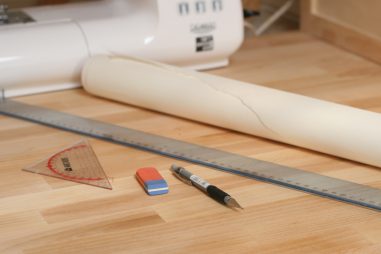
- a pencil
- a long straight ruler
- scissors
- extra paper
- tape
Step 1: Seam allowance

The Jasper has 5/8″ (1,5 cm) seam allowances included. To draft accurately, you need to measure the stitching lines. Draw those in your front piece and side panel, but only at the armhole and the front seam line.
Step 2: New bustline

For this minimal adjustment, we’ll only add a little bit to the side panel. Determine where the fullest part of your bust is located on the side panel. Tape some extra paper under that area. Draft a new line along the fullest part of the bust, but don’t let it extend more than 1/2″. Otherwise you might get a gap at the armhole. Also draft in the new stitching line at 5/8″ from the edge.
Step 3: Measure & Adjust front

That’s it, extra room for your bust with minimal fuss! This also works in reverse, in case you need a Small Bust Adjustment. Next up is the proper Full Bust Adjustment for an armhole princess seam.
Any questions, leave a comment!


You’ve illustrated doing a minimal FBA. What adjustments need I make for a FBA of 3.5″ difference between full bust and bust measurement?
Hi Nancy, check the next blogpost for a full FBA.
Thank you for this post! I always have to do a FBA but with a princess seam I was a little daunted – I never would have though to lengthen the side panel!
This tutorial is very helpful. Do I also need to lengthen the back panel? I only needed to do the minimal bust adjustment, and have added the length to the front panel to match the adjustment on the side panel piece.
No you shouldn’t have to since you’re only working with the front part of that side panel, and the front peice. The back part of the side panel isn’t getting anything added to it, and that’s the part that attaches to the back pieces