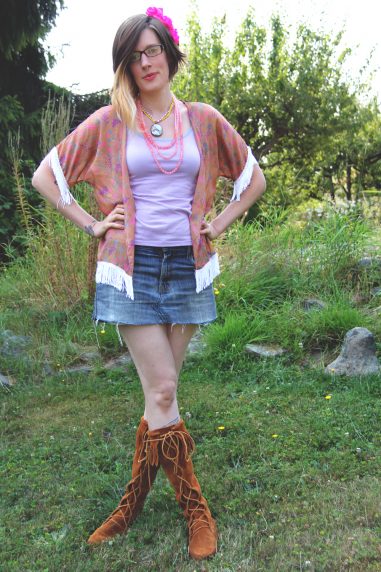
Full Bust Adjustment: Onyx Cropped Top
This tutorial for a Full Bust Adjustment is specifically meant for View B of the Onyx Shirt, the cropped top. It can also be used on other bodices with a waist dart but no bust dart. You can find the tutorial for View A, or bodices without any darts, here. If you have any questions, let me know in the comments. Before you start, please read the introduction to this post to decide whether you need and FBA to begin with.
What you need
- Onyx front pattern piece
- straight ruler
- pencil
- scissors
- extra pattern paper
Step 1: Prepare pattern piece
Start with drafting in the seam allowances on the armhole and side seam. They are 5/8″ (1.5 cm) for the side seam and 3/8″ (1 cm) for the armhole. Then hold the pattern piece to your body and determine your apex (that’s Latin for peak or top, so in this context a fancy word for nipple). Mark it on the pattern. It’s ok if your apex is not directly above the waist dart. You can shift it to the right position later in the process.
Step 2: Draft and shift
Starting from the apex mark, draft a line towards the side seam (red line 1). Draft a second line from 1/3 of the armhole to the apex and then straight down to the hem (green line 2). Draft a third line (blue line 3) from the center front to the green line.
- Cut the green line from the hem to the apex and up to the armhole stitching line (yellow dot).
- Cut the armhole seam allowance to the yellow dot, but not completely through.
- Cut the red line from the side seam to the apex, but not completely through.
- Cut the blue line.
Anchor the main piece while you shift the side seam down and right. Keep the pattern flat. The amount you create between the green lines should be half the amount you need, since it’s only one half of the bodice. Keep the green lines parallel to each other. When you have that piece in place, anchor it and shift the blue one down until it matches at the hem.
Step 3: Fill
When you have your pieces in the right position, fill the gaps with extra pattern paper and tape them down.

When you’d do an FBA on a bodice with a bust dart, you would now have a larger bust dart then before. In this case we have created a dart where there wasn’t any. You have two options: you can redraft the dart and sew it, or you can eliminate the dart altogether.
If you have added a lot in this FBA it might be best to leave the dart. It will give you a shirt that curves with your body instead of creating a boxy shape. But it’s a matter of personal preference, eliminating the dart might be preferable if you don’t want to break up a pattern in your fabric for instance.
Step 4: Redraft dart
If you want to keep the bust dart, you have to redraft it. You can skip this if you want to eliminate it. Only reposition the waist dart as described below. Draft two lines from the apex towards the side seam. Now make this triangle smaller, so the point is between 1 and 2″ (2.5-5 cm) away from your apex. This is the bust dart that you’ll sew.
As you can see the waist dart has shifted to the right. Cut out a rectangle (pink lines 4) around the dart and shift it to the left, so the top points toward the apex. Fill the gap(s) with pattern paper. The grey areas in the illustration show where you’ve added room by making this adjustment.

Step 5: Redraft and shift again
If you want to eliminate the bust dart, you also have to redraft it. Draft two lines from the apex towards the side seam (purple lines 5). Also redraft the waist dart in the same manner, extending it to the apex. Cut out the bust dart. Cut into the waist dart, but leave a hinge at the apex. Close the bust dart by pivoting at the apex and tape in place.
Fill the gap at the waist dart with pattern paper. Redraft the dart to its original height, but keep the new width. You now have a cropped top with more room at the bust and a larger waist dart. The grey areas in the illustration show where you added room. If you find it too wide at the hem you can take some width off the side seams while sewing. Before you cut your fabric, measure the front and back side seams and either subtract from the front or add to the back.
It’s quite an alteration, but worth it if it gives you a great fitting shirt! If you have any questions, please leave a comment.


This post is a sanity-saver!! I have been looking everywhere(incl. the BIG fitting books,without success, for just this FBA,for an empire line dress with only a waist dart. It’s a bit of work, but at least I know now how to do it. Many many thanks!!!
I’m happy to hear that! Thanks!
So happy to find your explanations. Same as Aless here: pattern with only a waist dart and could not find any guide that would not add a bust dart or change the side length. Thank you.