How To Make a Smaller Jasper Hood
The hood on the Jasper is big. This is an intentional design feature and it makes the hood different than standard sweatshirt hoods. It is not meant to envelop your head, but to rest on it lightly, not pulled all the way to the front. For those who would like the hood to be less big, today I’m showing how to make the hood smaller. We’ll make it more narrow at the sides, and make it sit more towards the back.
First you need to know this: because the hood is set into a wide-ish neckline, you can’t take out took much volume. You’d create a strange effect, having a hood that is wide at the bottom and narrow at the top. So I’d advise to make a quick muslin to see if the shape is not distorted too much.

What you need
- two Jasper hood pattern pieces (nr. 6 and 8)
- curved ruler (optional)
- measuring tape
- pencil
- scissors
Step 1: Take out width

First you have to determine how much you want to take out. If you have made a muslin of the original design, you can pinch out the excess fabric at the joining seam of the hood bottom and the hood top. Say this is 1/2″ on either side.
First you have to determine how much you want to take out. If you have made a muslin of the original design, you can pinch out the excess fabric at the joining seam of the hood bottom and the hood top. Say this is 1/2″ on either side.
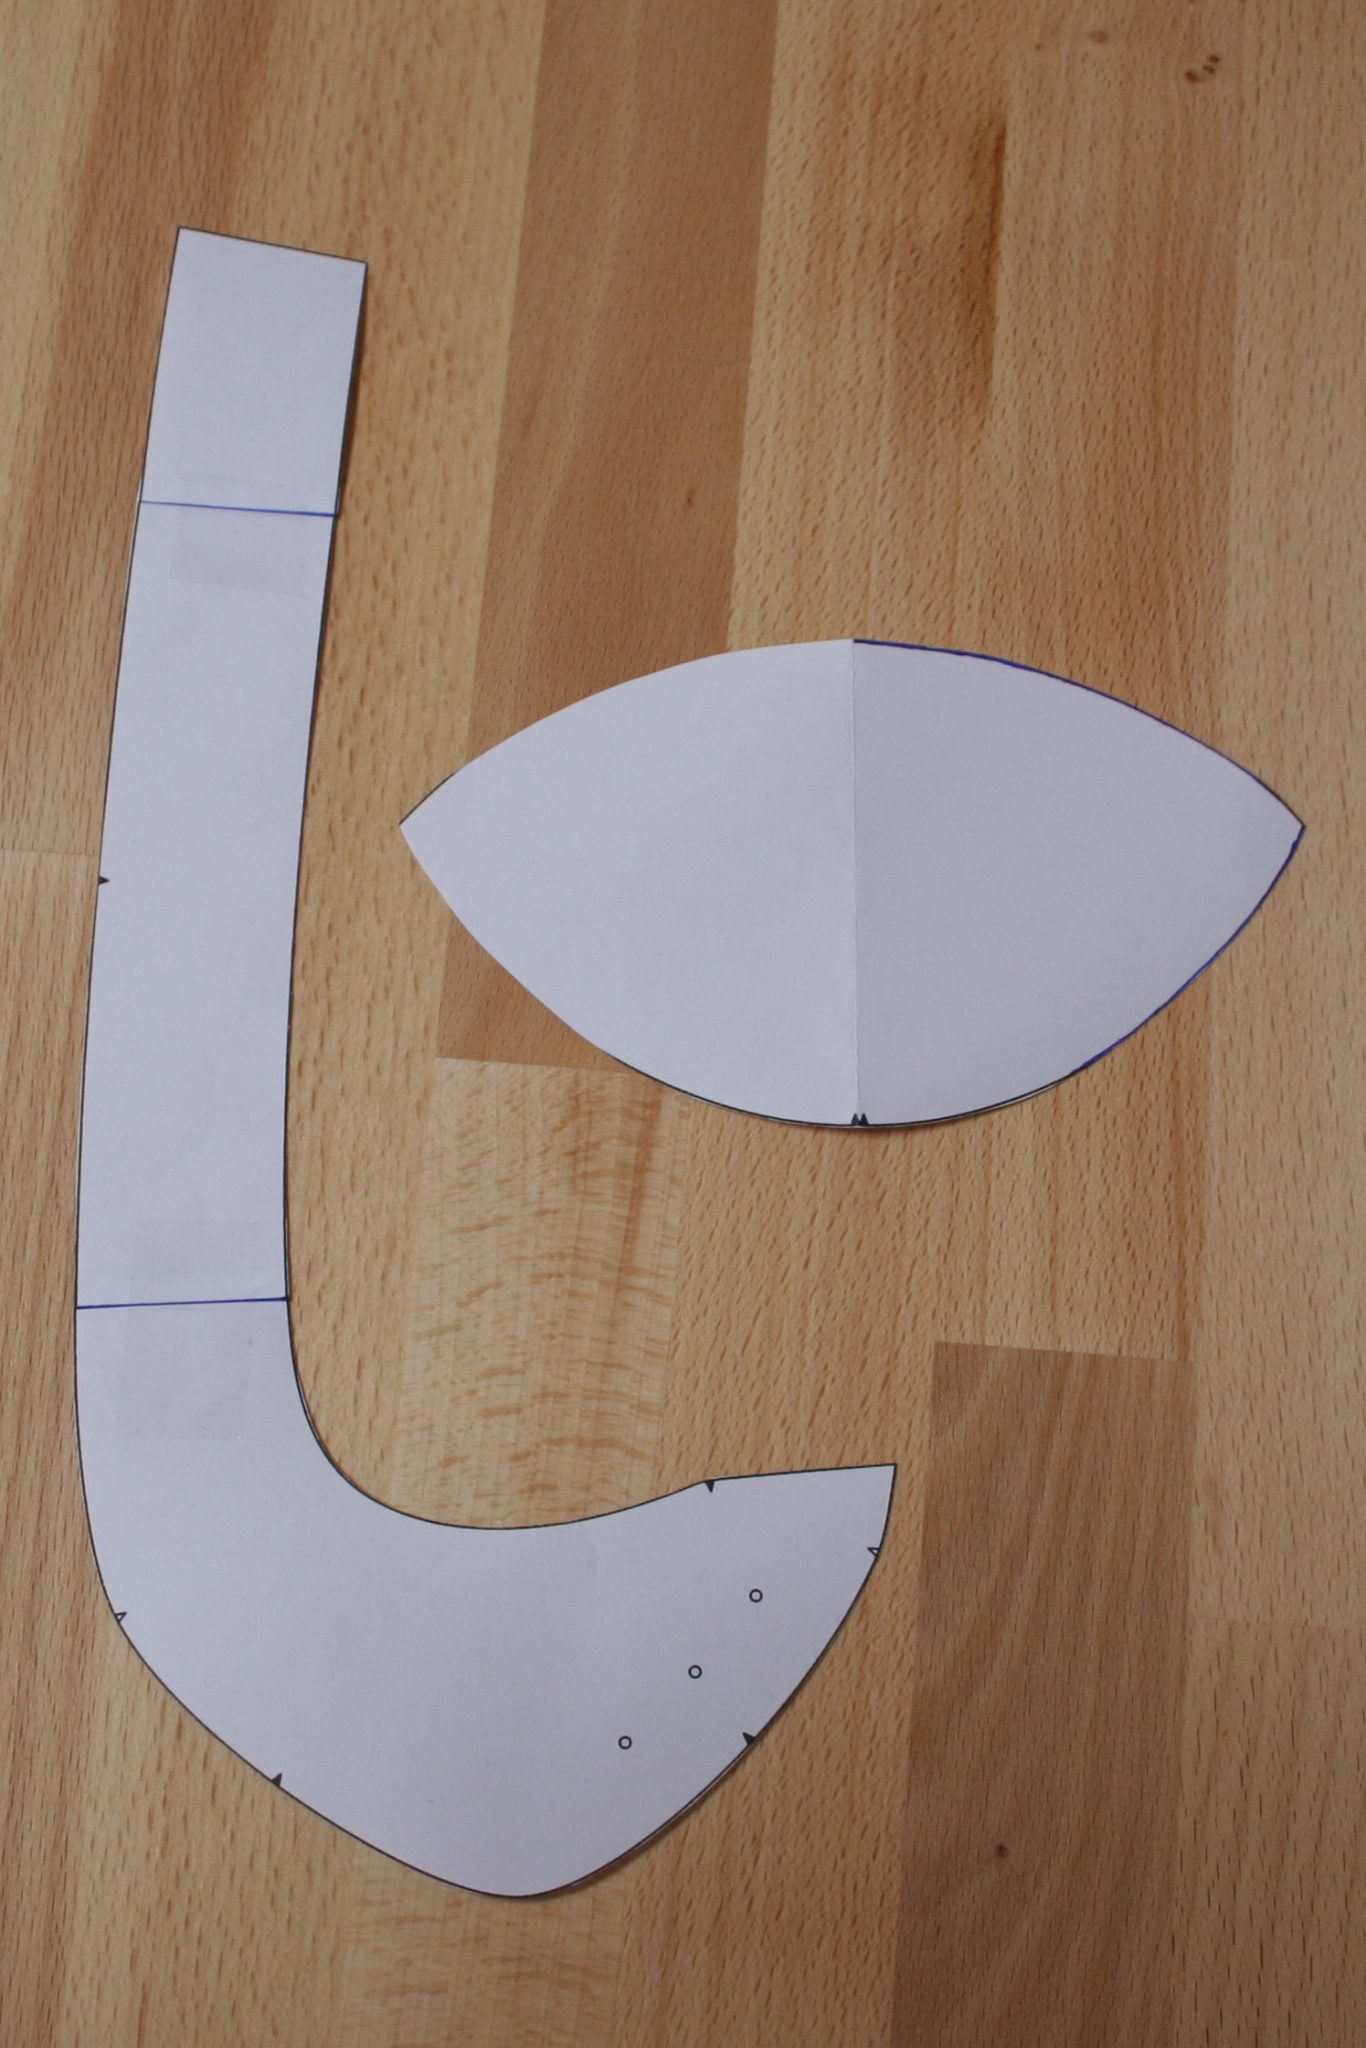
Fold the top hood piece in half. You’ll make the adjustments on one side so the pattern piece will stay symmetrical. Measure 1/2″ from the point, on the front side of the piece (the side with the single notch) and mark. Draw a new line from that mark towards the double notch.
Step 2: Take out depth

Measure the original edge from the double notch to the point. Mark out this distance on the new line. In the example, both lines were the same length. Measure 1/2″ (or the amount you want to take out) and make a mark on the folded edge. Draw a new line from the mark on the folded edge towards the mark on the new line.
Measure the original edge from the double notch to the point. Mark out this distance on the new line. In the example, both lines were the same length. Measure 1/2″ (or the amount you want to take out) and make a mark on the folded edge. Draw a new line from the mark on the folded edge towards the mark on the new line.
Cut along the new lines while the piece is folded.
Step 3: Adjust hood piece


The rim of the hood is now too long. Draw two lines before and after the notch, the roughly the same distance as half your top hood piece. Cut the lines and overlap the pieces with the same amount you took out at the hood top. By taking it out in those places and not in one place, you can still match up your notches.

That’s it! If you have any questions, leave a comment.


