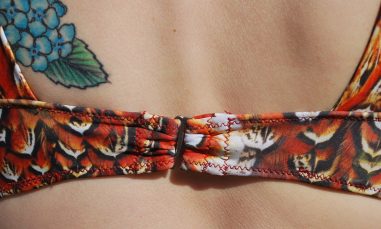
Nautilus Swimsuit View A
All views of the Nautilus Swimsuit start the same, so if you haven’t already, go sew the steps in the Nautilus Swimsuit Top and then pop back on over here. The steps are numbered like they are in the illustrated instructions included with the pattern so you can go back and forth between them as you see fit.
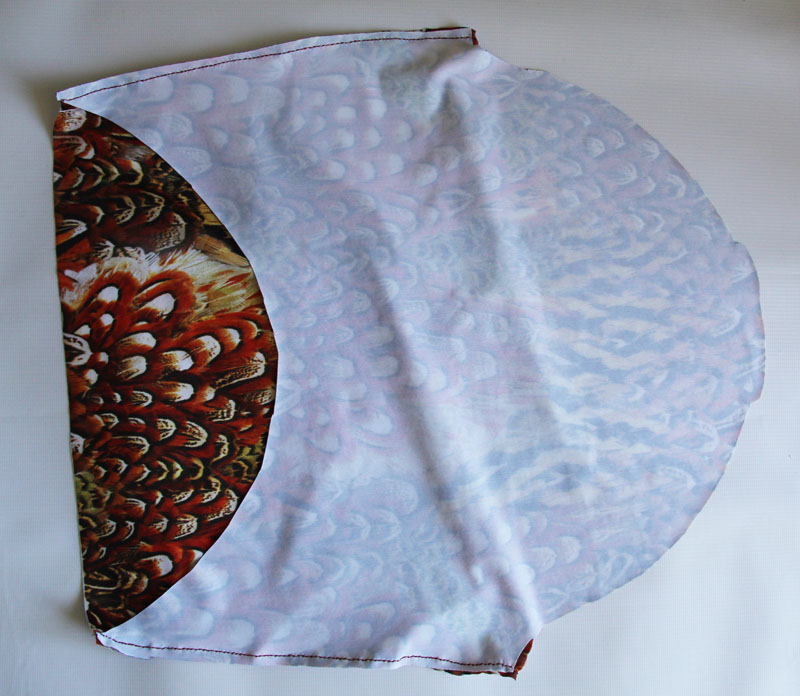
[47] Sew the Bottom Front to the Bottom Back along the sides, right sides together.
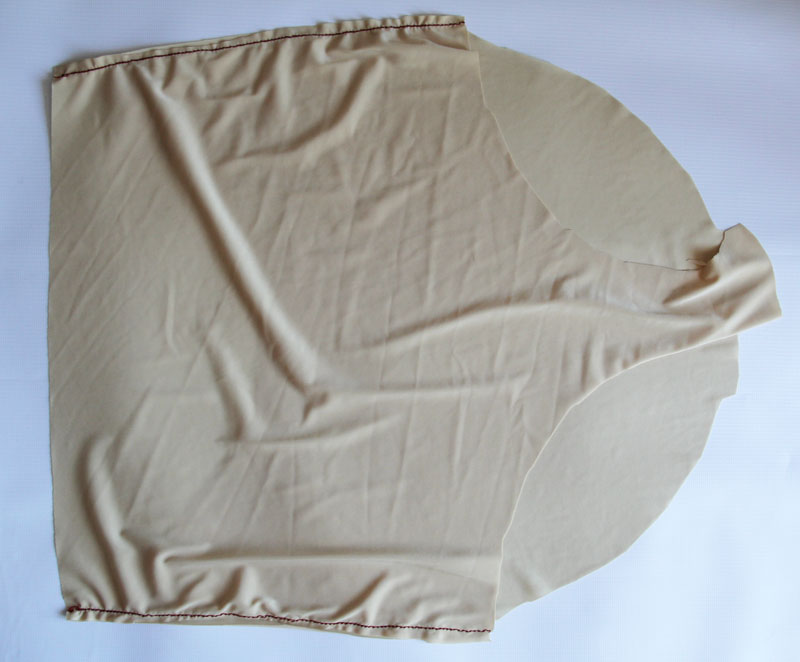
[48] Sew the Bottom Front Lining to the Bottom Back Lining along the sides, right sides together.
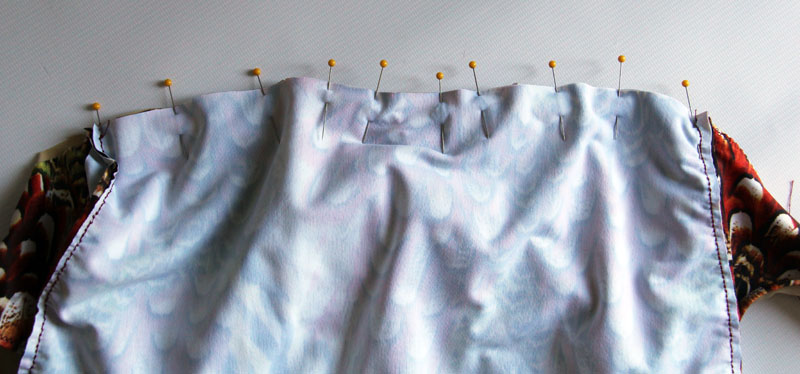
[49] Pin the Bottom Front to the Bottom Front Lining, right sides together, with the Top in between. You want the side seams to match and the notches on the Bottom Front to match those on the Bottom Front lining and to line up with the seam between the Top Front Facing and Top Front Lining on the Top. The right side of the Top should be against the right side of the Bottom. The sandwich is ordered so that from bottom to top it goes Bottom Front Lining (right side up), Top (lining side down), Bottom Front (right side down).
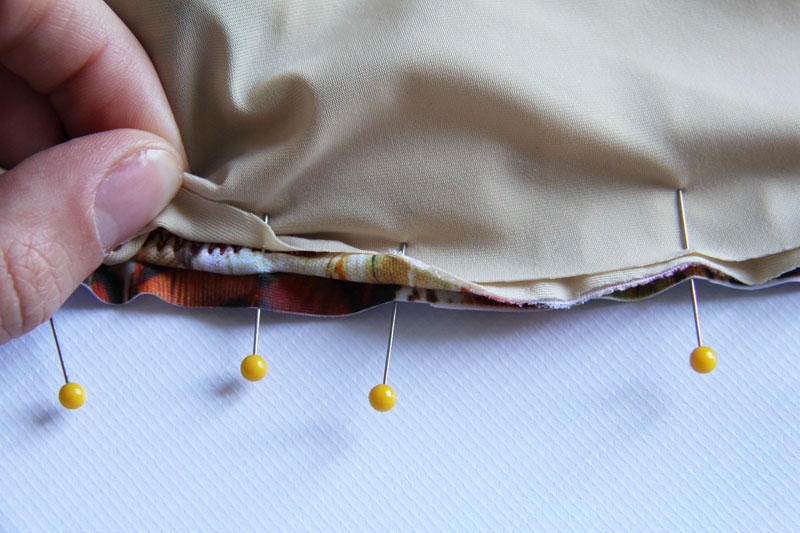
[50] The unfinished part of the Top (between the side seam and the seam between Top Front Facing and Top Front Lining) is sewn in the seam while the finished part of the Top pokes out of the seam between the notches on the Bottom Front.
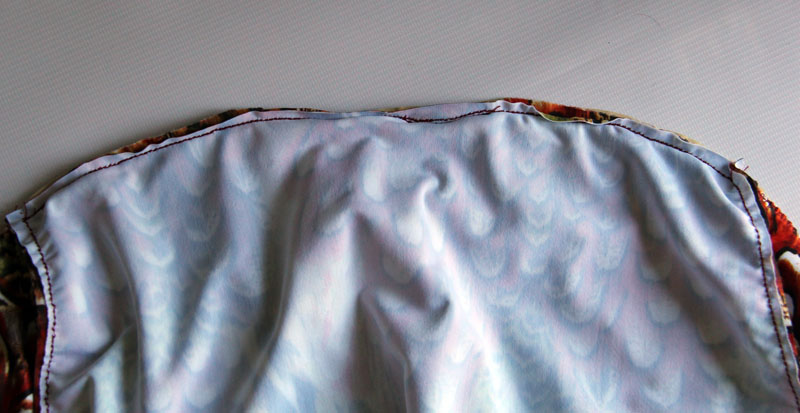
[51] Sew the seam. You may want to baste the seam first to make sure that your Top is curves out and back into the seam in the right manner.
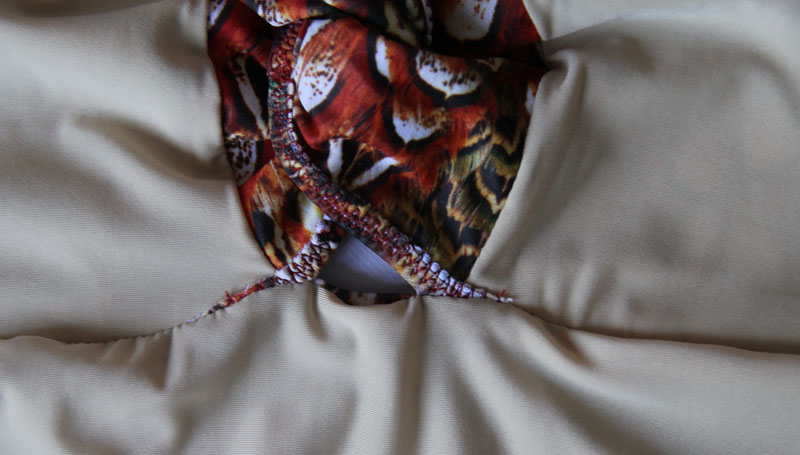
From the inside, this is what the Top looks like poking up out of the seam.

[52] Understitch the triangle by sewing through the seam allowances and lining but NOT the Bottom Front. Alternatively, you can topstitch through all layers across the entire seam. This keeps the lining from being visible in the triangle. A line of topstitching across the suit can add a tiny bit extra bust support.
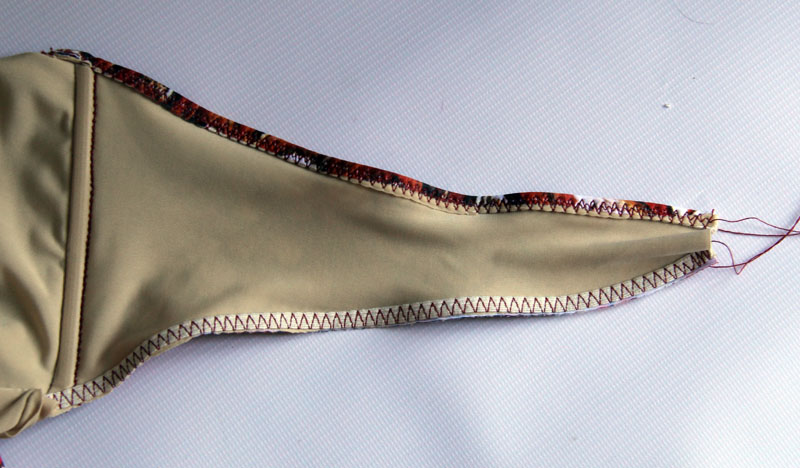
[53] Sew elastic to the bottom of the Top Back.
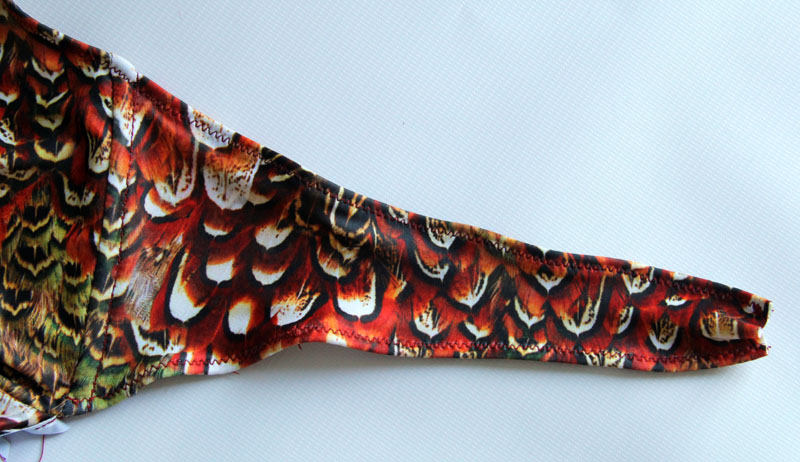
[54] Fold the elastic to the inside and topstitch it in place. (You can see that I used a narrow zig-zag stitch for the topstitching on this suit. You can compare it to a straight stretch stitch as topstitching on the top used for most of the first part of the sewalong).
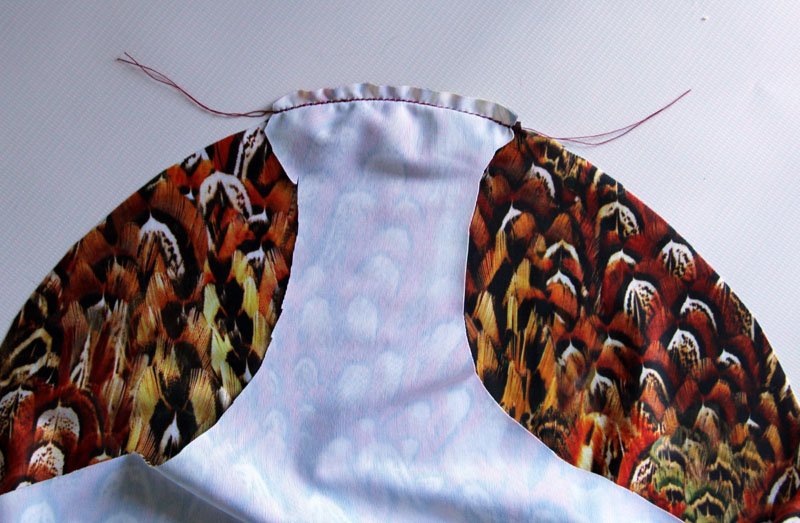
[55] Sew the crotch together between the Bottom Front and Bottom Back, right sides together.
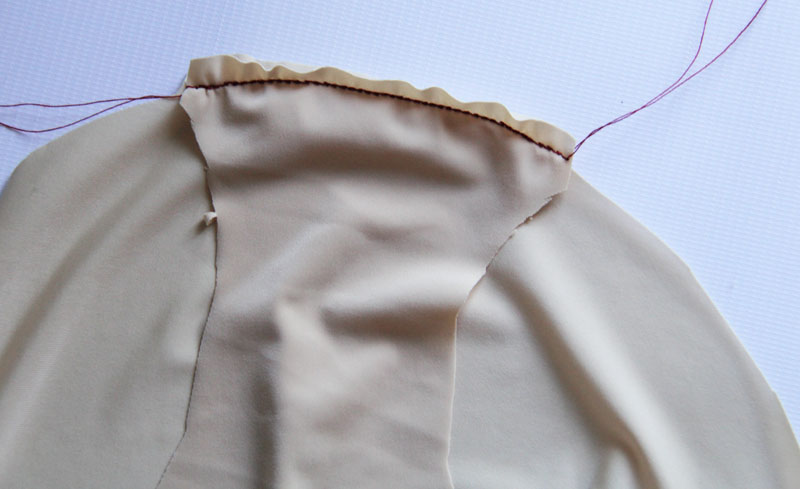
[56] Sew the crotch together between the Bottom Front Lining and Bottom Back Lining, right sides together.
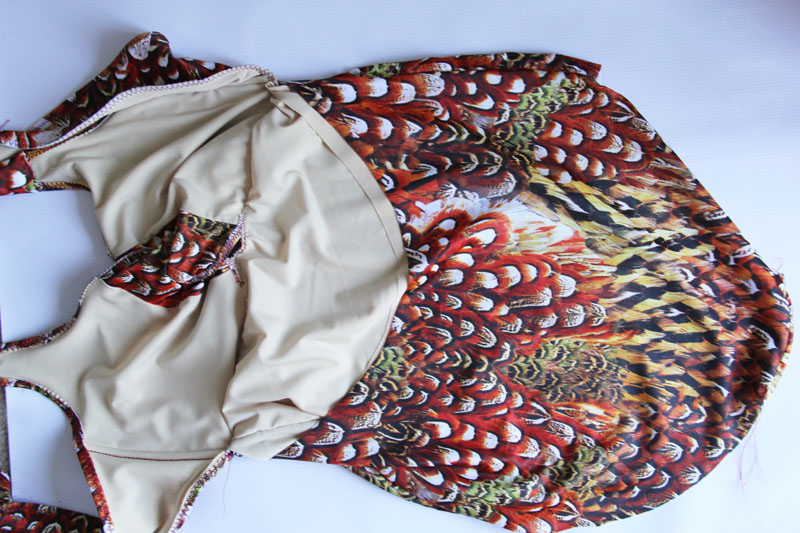
[57] Tuck the lining into the swimsuit like it’s going to be worn. (Doesn’t it get exciting at this point! It looks like a real swimsuit!).
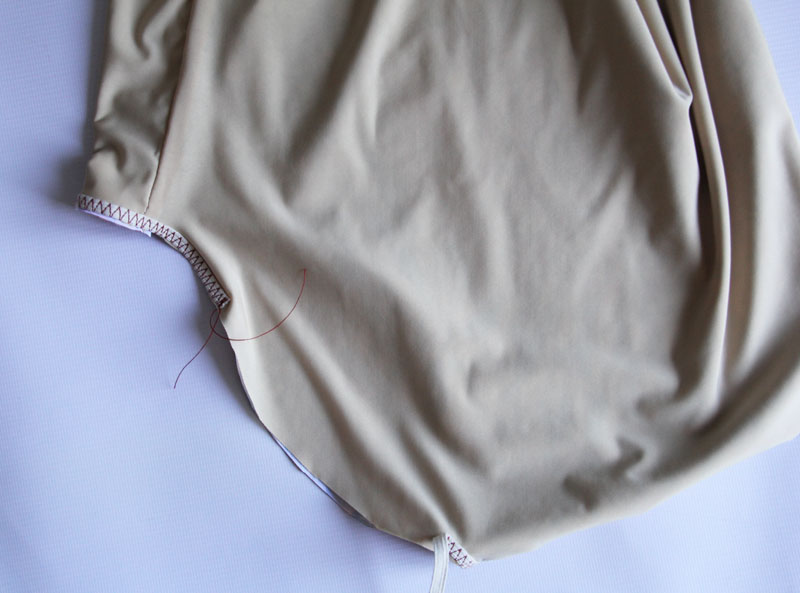
[58] With the lining and outer wrong sides together, sew elastic to the inside of the leg openings starting at the upper back notch and ending at the lower back notch, sewing the long way around so the majority of the cheek is unsewn, being careful not to stretch the elastic or the fabric as you sew. Do NOT cut the elastic at this point. This is what it looks like from the rear. You can sew the elastic on with the suit turned right side out or inside out as long as you are sewing the elastic to the inside.
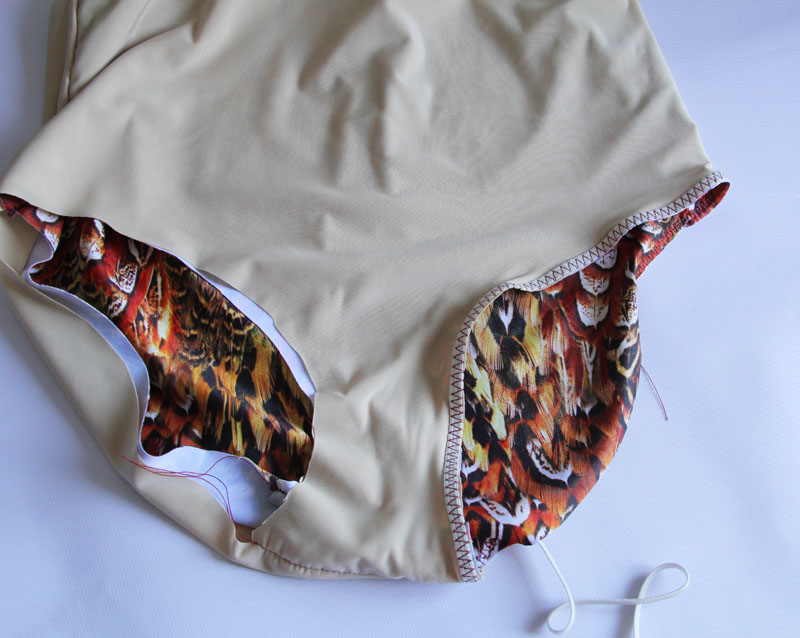
This is what it looks like from the front.
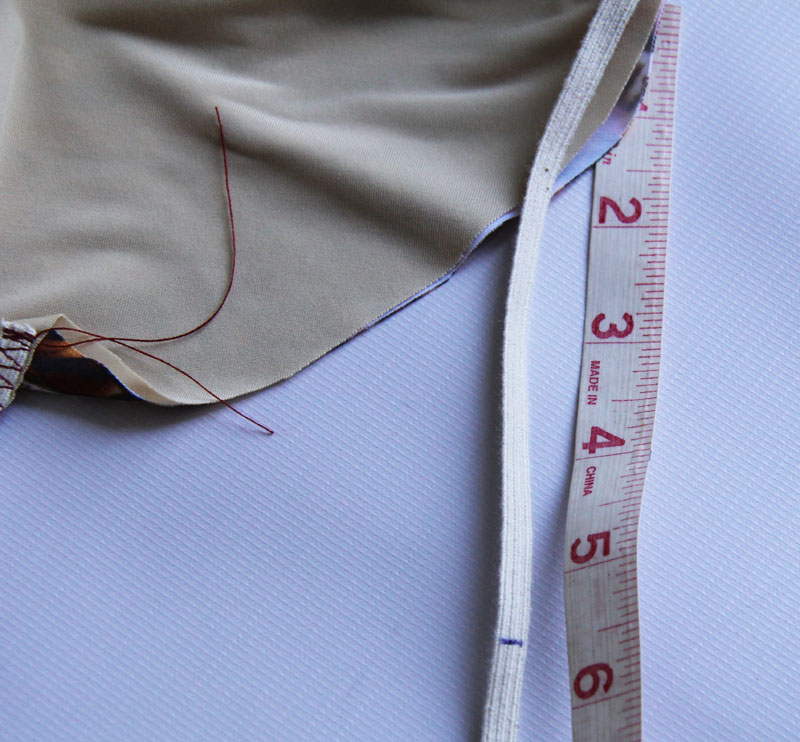
[59] Measure and mark the elastic a distance according to your swimsuit size. (This is 5.5″ because the sample is a size 8).
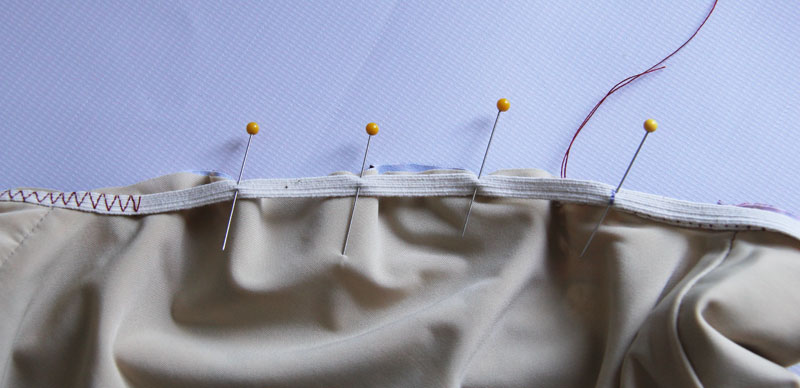
[60] Stretch the elastic so that the mark meets the start of the elastic at the notch. I find it easiest to sew it down by stretching the elastic to fit as I go, but you will be greatly aided by adding a few pins so that your ease is distributed properly.
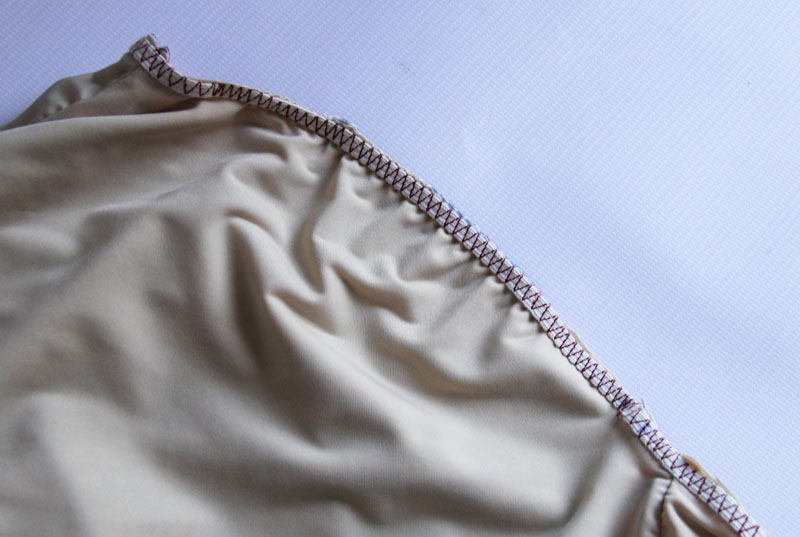
[61] Sew the elastic down and cut it.
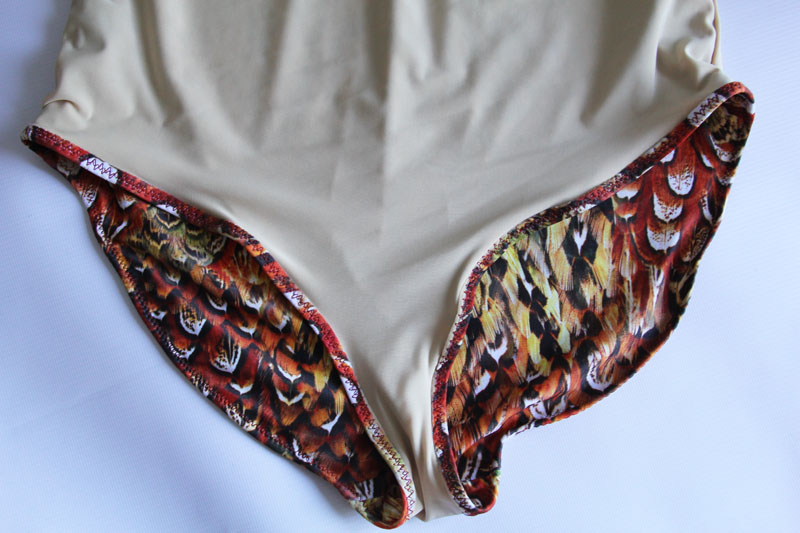
[62] Fold the elastic to the inside and stitch it down. Repeat on the other leg opening.

[63] Measure a length of elastic according to your size.
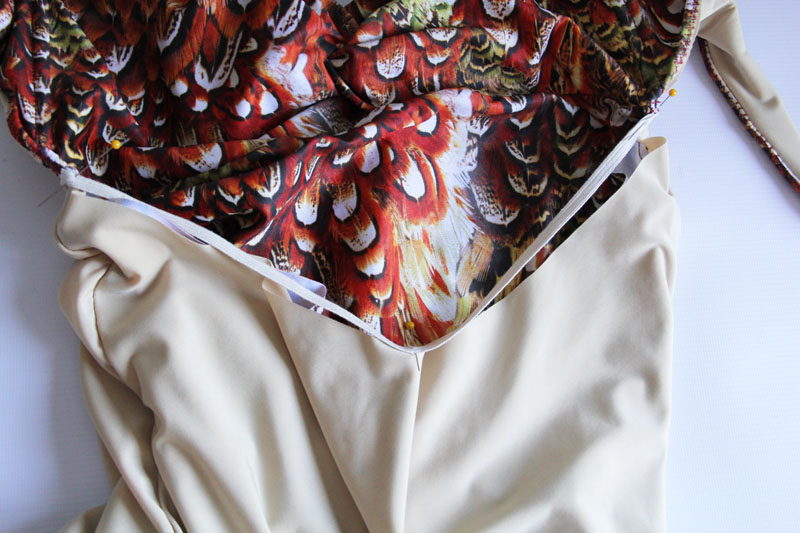
Pin the elastic to the top of the Bottom Back making sure that the center of the elastic meets at the center of the Bottom Back. (You probably want a few more pins than this).
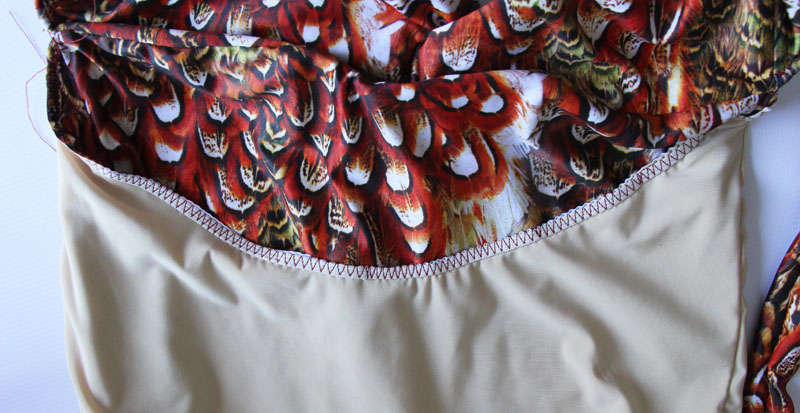
Sew the elastic down. Fold it to the inside and topstitch it in place.

