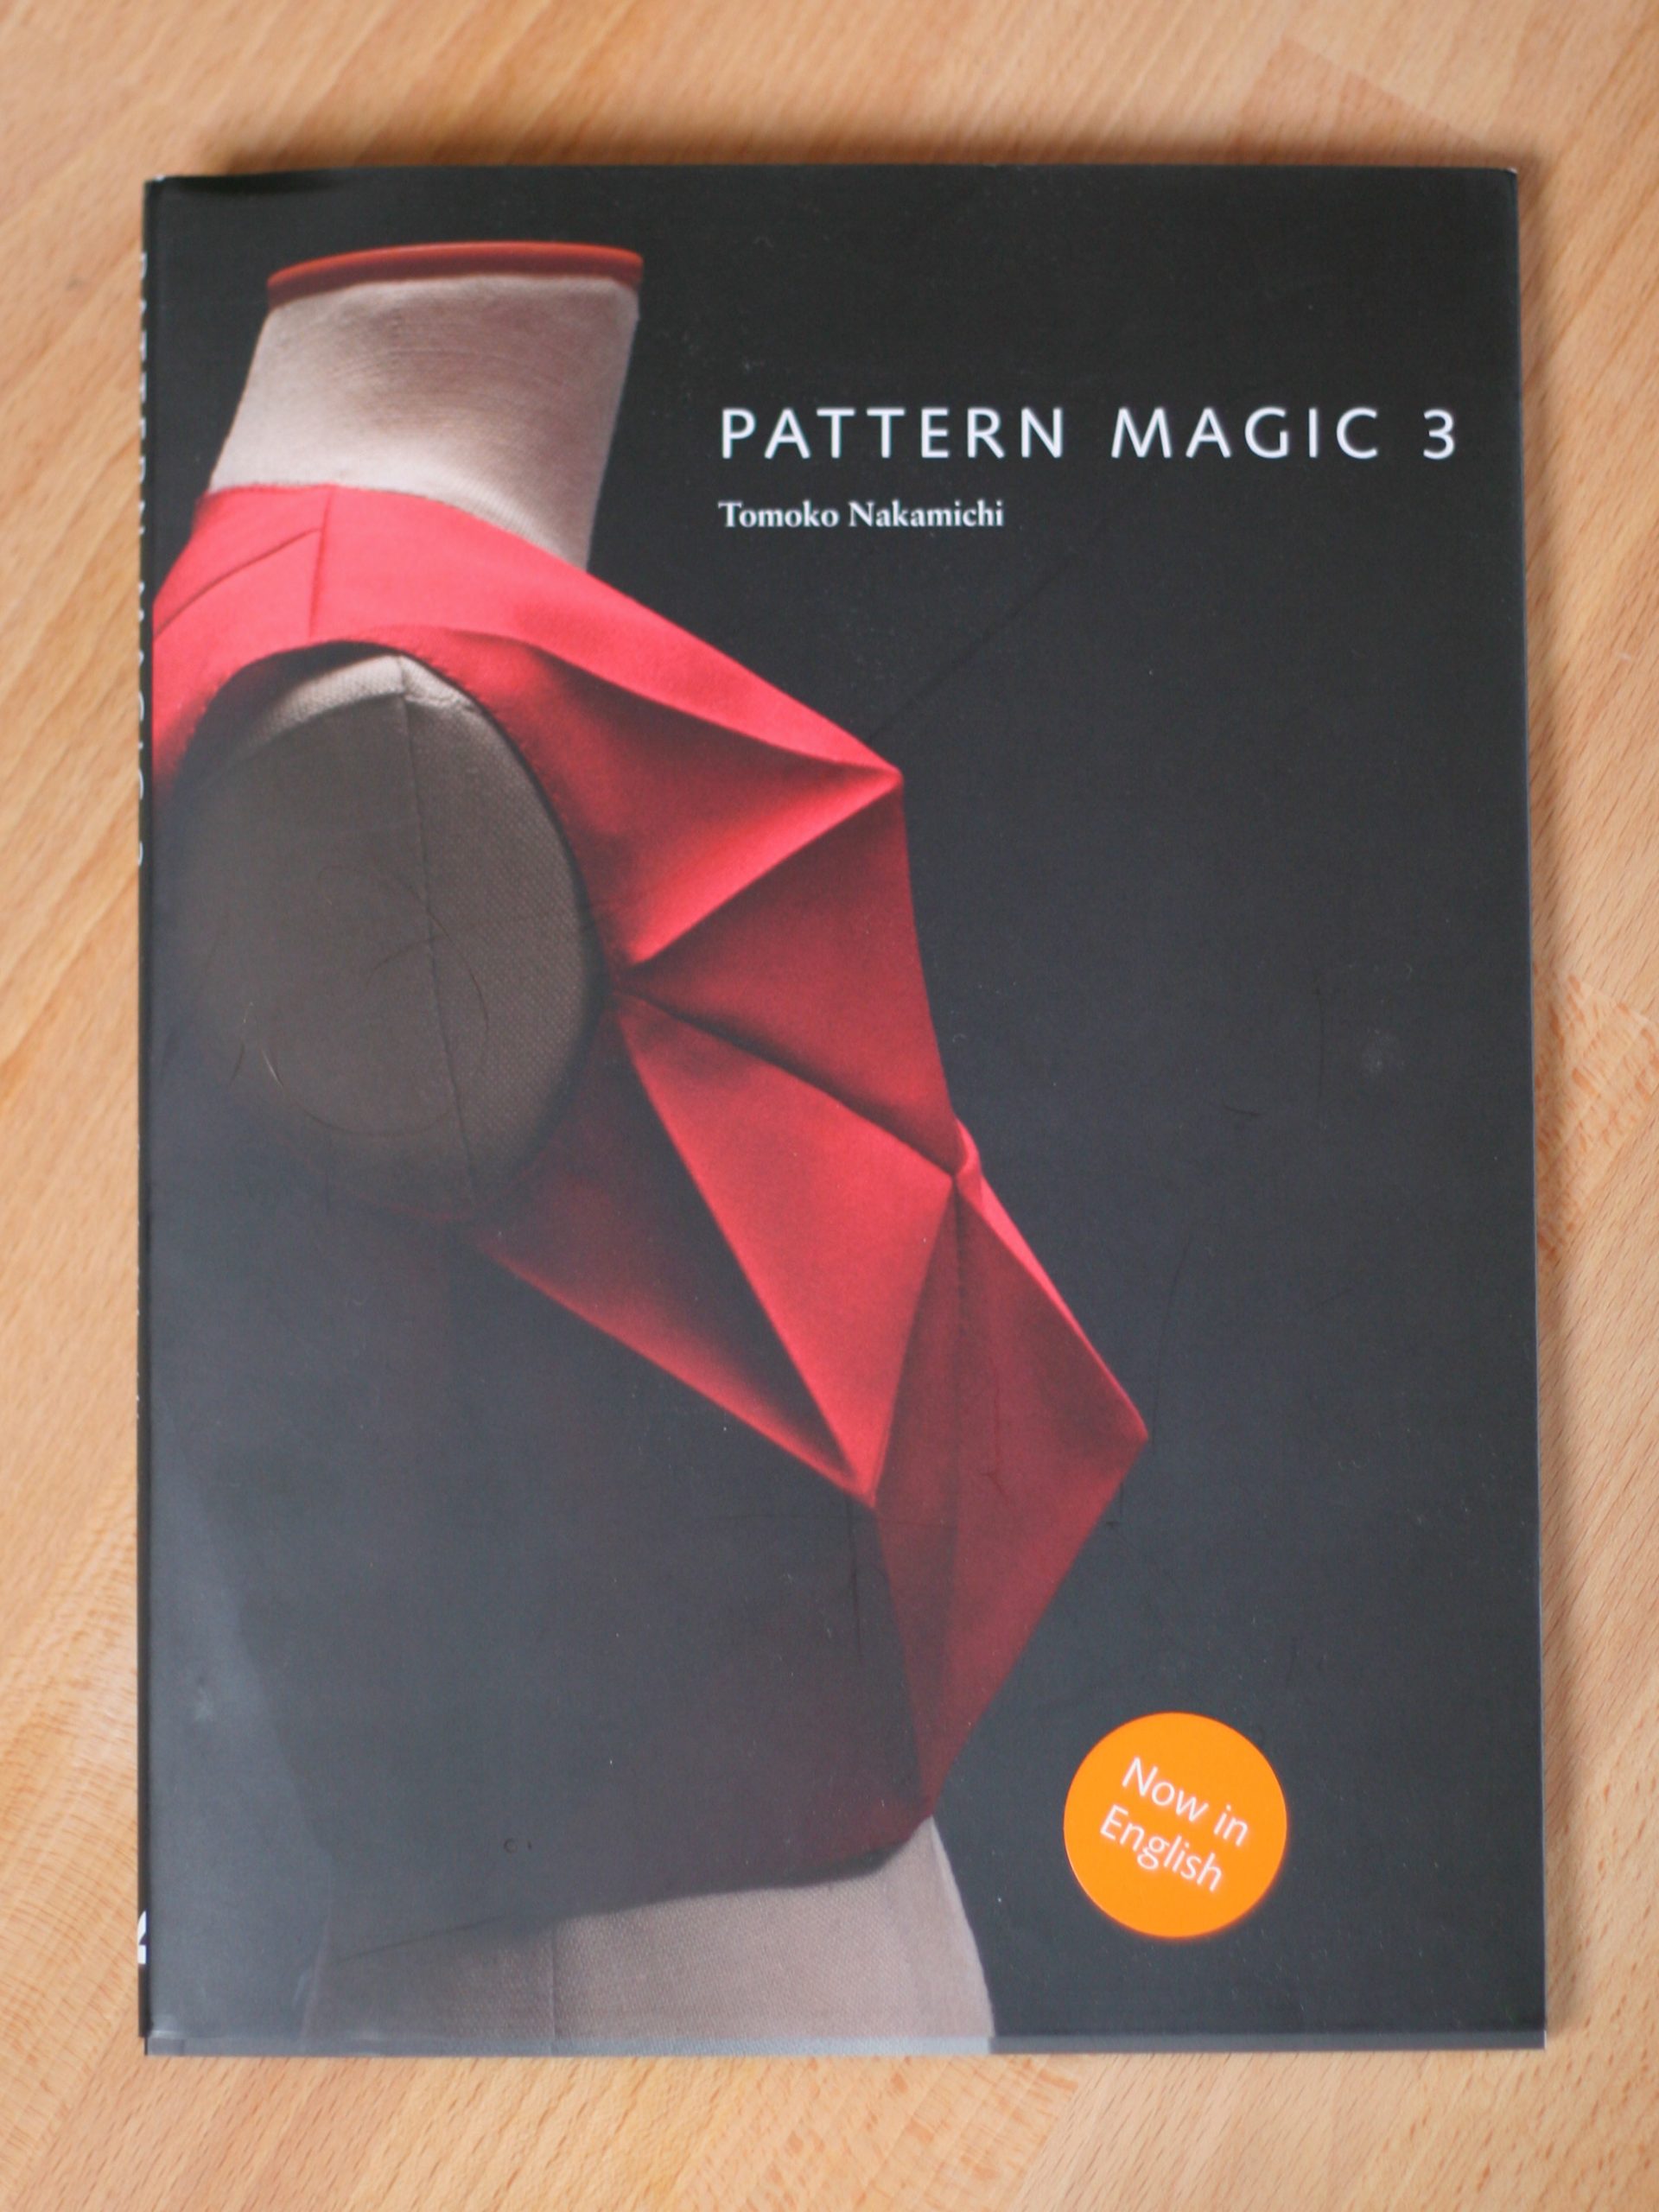
Pattern Magic 3 – Review
This year on my birthday I was surprised with a book I didn’t even know was coming out – Pattern Magic 3, by Tomoko Nakamichi. I have the other three books, 1, 2 and Stretch Fabrics, and as you know I’m fascinated by them. A few years back I attempted to make something from the books each month, but I didn’t get further than May. If you click the tag ‘patternmagic’ at the top of this post you’ll see what else I made in this category. I still long to go back to this project, the pattern manipulation is just mind boggling and really gives you a totally different perspective on what you can do with a flat piece of paper/fabric. For now, I’ll stick to discussing this new addition to the series. Enjoy!

My first impression when flipping through the pages is that this one seems to have moved further away from what most people consider wearable. Creating wearable garments with a pretty silhouette isn’t the point of these books anyway, rather a search for authenticity and craftsmanship, as stated in the intro. The first half of the book is called ‘Bring beautiful workmanship to your patterns’, and contains more angular designs. The second half is titled ‘Look at the dynamic movement in fabrics’ and has more flowing designs. As with the other books, it is set up in themes, each with a basic technique that is explained first. This is then followed by some examples of what you could do with such a technique. I won’t discuss all the themes, but I’ll give some highlights.


The first one above is ‘Making Waves’ (aka ‘droopy boob’ :)). The basic technique is to draft a wave, and then slash and spread the upper wave. This way it becomes bigger than the lower wave and protrudes from the bodice. A gusset is then fit in to fill the gap between the waves. In the photo, the left lower and right upper wave have been slashed and spread out so they overlap the wave underneath.
The second photo is ‘Pairing down and opening out’, a particularly interesting one. The basic technique is to first remove all the darts from the bodice, so it is just a flat piece and wouldn’t fit a three dimensional body. Then you make some new slits, which will open up when the pattern is placed on a body. By playing with the shapes of these slits and the way you fill them in again you can create really interesting shapes over curved areas.


The first photo is from the theme ‘Wearing a polyhedron’. As Nakamichi says in the intro: “It looks like a beautiful objet d’art.”. The basic technique is to divide the pattern into triangles and then enlarge one point of these, so they will stick out when put back together. They are not all stitched together, it looks complicated but doesn’t have many seams. It’s a bit hard to explain without the technical drawings, but it does look very interesting. I could imagine using this technique to make a suit of armour for cosplay.
The black and white garments are called ‘Outlining a surface’ and are easy to accomplish. You draft a line across the pattern, make one side a different shape and then slash and spread the other side to be the same length. ‘Sculpting a surface’ is similar to ‘Wearing a polyhedron’. You divide the pattern into angular shapes, and then add a little bit to all the corners so they will stick out. It kind of reminds me of a deflated soccer ball.


These two images are from the second half of the book. To be honest I’m not able to grasp the basic technique of the ruffle without thoroughly reading the instructions. I do see how the ruffle above works and the pattern making does not look too complicated. The sewing part does though, illustrated by the fact that they included sewing instructions at all. It does make for a beautiful garment that could be worn to a fancy party maybe.
About ‘Wearing a bag’, Nakamichi writes: “Pairing shoulder bags with a dress turns a simple garment into something glamorous and pretty.”. I’m not sure agree with that, but if this is your thing, it doesn’t look too complicated. There are also examples of wearing a bag as a sleeve and around the neck.

Now these to could actually be everyday – wearable. In fact, I once tried to make something like the elastic shirring dress, and it’s cool to understand now how I should have done it. It’s not just a case of just shirring a circle, you should first create the extra fabric for the shirring to bunch up, so your final piece will still have its straight edges and isn’t pulled into the middle.
The basic technique for ‘Serrated lines’ is to draft a zig zag, leave the upper part the same but make the bottom zig zag more shallow, while maintaining the length of the lines. It’s like stretching out the bottom line. When you then put them back together, the bottom part will be larger and create volume. This technique is also shown on a sleeve to create a cool version of a leg of mutton sleeve, and how to use a minimal version on a normal seam.
Even though you shouldn’t buy this book if you’re looking for wearable garments, it would be great if you’re looking to make them for the sake of the experiment. As all pattern magic books, understanding these technique definitely stretches your mind. For me that’s all I want – to understand how things work and to know the possibilities.
I hope you’ve enjoyed this peek into Pattern Magic 3! Is this book on your wish list? Which technique would you want to try?


Oooh I love the serrated edge dress, I would totally wear something like that & previously tried to make a half pleated half not dress, this would’ve worked much better I think! The red polyhedron one could be wearable too…
It really is an easy technique too, but it could be tricky to sew with all those points. The polyhedron could be best paired with a simple flared skirt maybe, I’m curious what it would be like to wear because the fabric would need to be a bit stiff.
That dress with the swirly ruffle is beautiful! Looks very wearable. But I’m really intrigued by the last one, those zig zag pleat shapes. It’s be really fun to make a dress with skirt in this shape – I might even try it!
It would! Let me know if you need more info on how to do it.
All of those examples look like cool works of art, or maybe the base for a fascinating costume. Besides an armor for cosplay, maybe a dragon with scales or an exotic bird… ☺ Thanks for giving US a peek into the book!
Hello,
Does any of the pattern magic books comes with attached pattern at the back?
Thanks,
Tito
I think the idea is to take the concept and interprete it in your own way and how you do it will determine how wearable your dress is. You can manipulate it, increase it, add it to some parts of your dress,make it smaller or bigger, the options are endless. As for me, I m making a jacket with one of the techniques.
True! You could do some on a small scale to make a shirt really interesting. What technique are you using?