Presidio Purse: External Pockets

This customization option was the brainchild of Tia Cuervito. She wanted her cell phone and keys to be even more readily accessible than using pockets inside the purse and decided to add an additional pocket to the outside. In this tutorial we’ll show you how!

One way to add an extra pocket on the outside of your purse is to exactly follow the instructions for the internal pocket/s but instead sew them out of your main fabric and sew them to the purse Back instead of the Back Lining. You will want to cut the pocket pieces out of your main fabric instead of your lining fabric. If you follow the alternative fully finished internal pocket instructions, you will want to use one piece of main fabric and one piece of lining fabric for each pattern piece.

I’m going to walk you through how to sew a basic patch pocket to the back of the purse that has a velcro flap, is lined, and has fully finished edges.
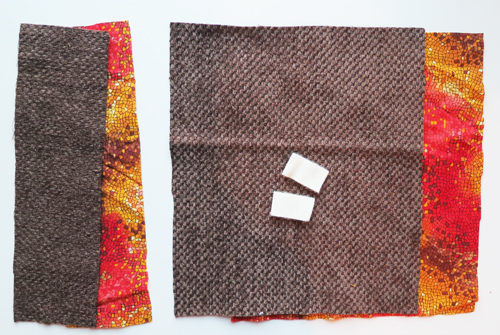
You will need to cut a Large Pocket out of your main fabric and lining fabric. You will also need a rectangle of main fabric and lining fabric that is 3″ by 9″ (the width of the large pocket) to use as your Pocket Flap. I also used two 1″ lengths of velcro for the flap closure but you can also use snaps or buttons instead.
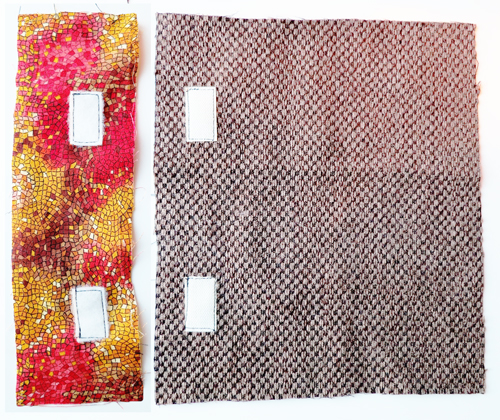
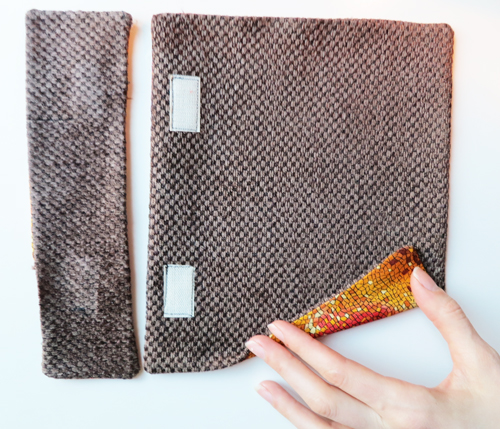
Sew the velcro to the Pocket Flap Lining and the Pocket fabric. Exact placement doesn’t matter too much as long as they are the same width away from each other on both the flap and pocket. You want the velcro to be near the bottom of the Flap and the top of the Pocket but remember that you have a seam allowance so don’t sew them too close! If you are using snaps, apply them as for the velcro, adding a scrap of fusible interfacing to the back of the fabric and lining where you apply the snap to reinforce. If you are using buttons, sew them on to the Pocket as for the velcro. (You will make the buttonholes in the last step.)

Sew the Pocket Flap to Pocket Flap Lining, right sides together, using a 1/4″ seam allowance and leaving an opening on the top. Sew the Pocket to Pocket Lining, right sides together, using a 1/4″ seam allowance and leaving and opening on the side.
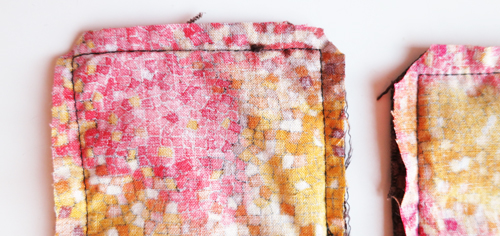
Trim the corners.
Turn both the Flap and Pocket right sides out and press them, making sure you press the fabric across the gap in as if it were stitched.
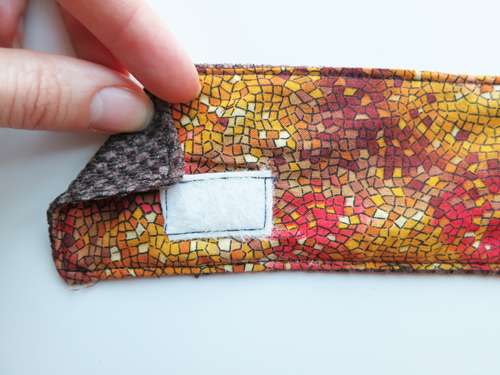
For extra definition, if your fabric is hard to press, or if you like decorative topstitching, edge stitch (less than 1/4″ seam allowance) around the edges of the Pocket and Pocket Flap, making sure that you catch both main fabric and lining across the gaps.
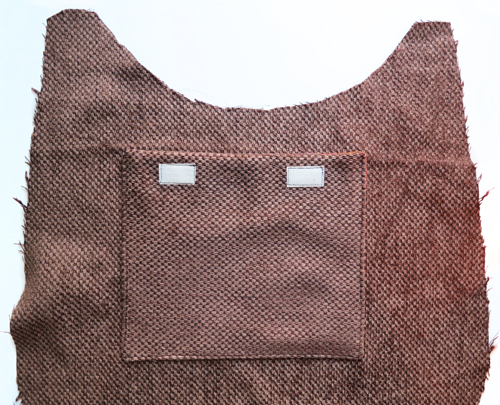
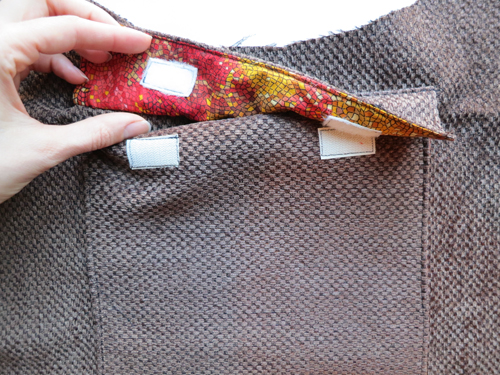
Sew the Pocket to the purse Back along the sides and bottom of the Pocket, edgestitching and making sure that you stitch the gap closed. I recommend using the same pocket alignment (marked on the pattern) as for the inside pockets. If you do want to play with pocket placement, remember that you have a 1/2″ seam allowance at the top of the purse when you assemble the body.
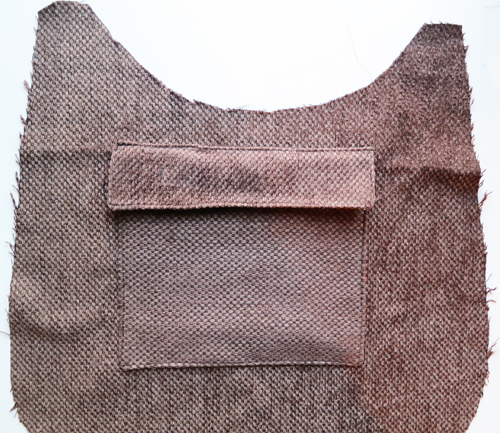
Velcro the Pocket Flap to the Pocket so that it is properly aligned and then stitch along the top of the Pocket Flap to stitch it to the purse Back. If you are using buttons, align the Pocket Flap to the Pocket. Using the buttons as a guide, mark where you will need buttonholes on the Pocket Flap and then make the buttonholes. Button the Pocket Flap to the pocket and then stitch along the top of the Pocket Flap to stitch it to the purse Back.


Ah! I should have taken a better picture of that pocket : )
I like your velcro version! Taking note of that.