Sewing the Nautilus Swimsuit Top
With information on selecting swimsuit fabric, swimsuit pattern size, and grading/fitting a swimsuit pattern under our belts, lets jump in to sewing the Nautilus Swimsuit! This part of the sewalong will take us through sewing most of the Top which is the same for Views A, B & C. The steps are numbered like they are in the illustrated instructions included with the pattern so you can go back and forth between them as you see fit.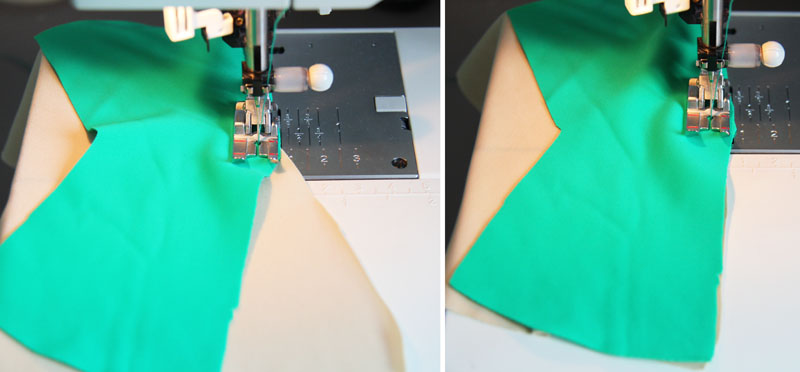
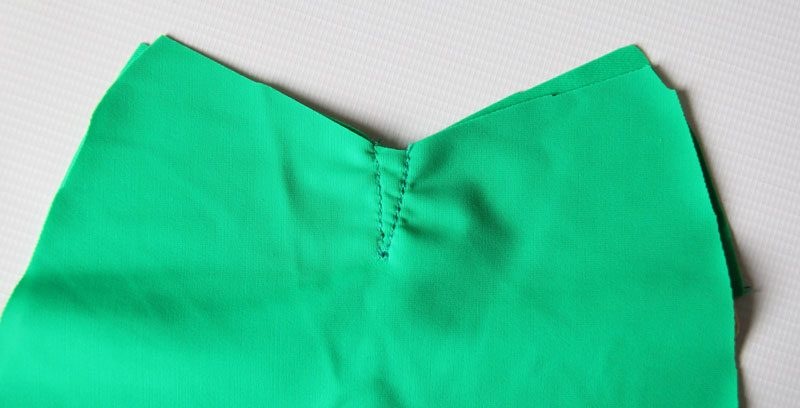
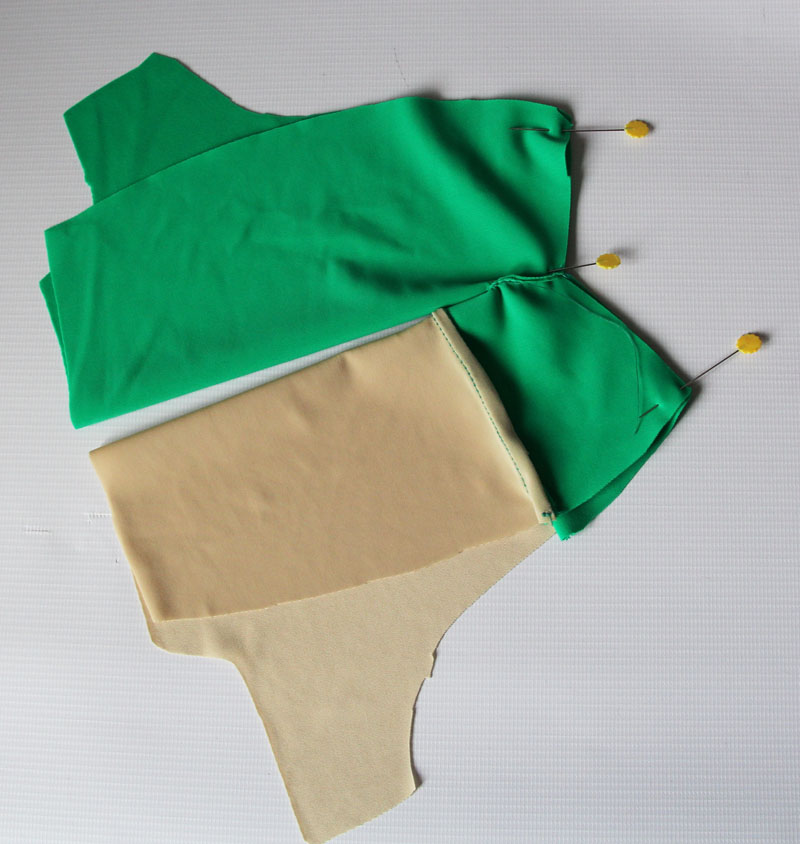
[8] Take the Top Front Facing and place it right sides together against the Top Front Lining. You will be matching a single notch to do this. Sew until you have reached the center point of the V – this is a convex point on the Facing and a concave point on the Lining. With your needle down, pivot the fabric so that it lines up for the rest of the seam and finish sewing it.
Your Facing won’t lie flat when it is right sides together with the Lining.
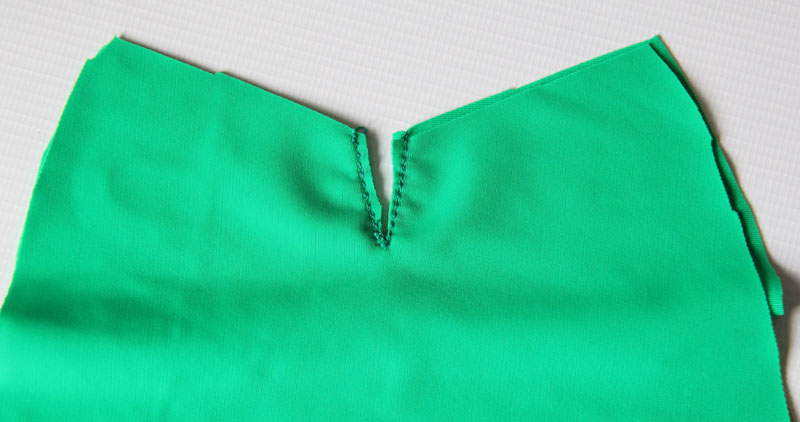
[9] Make a small snip in the center of the V, being careful not to snip into the seam line. This allows the fabric to relax at that point so that the Facing will lie flat.
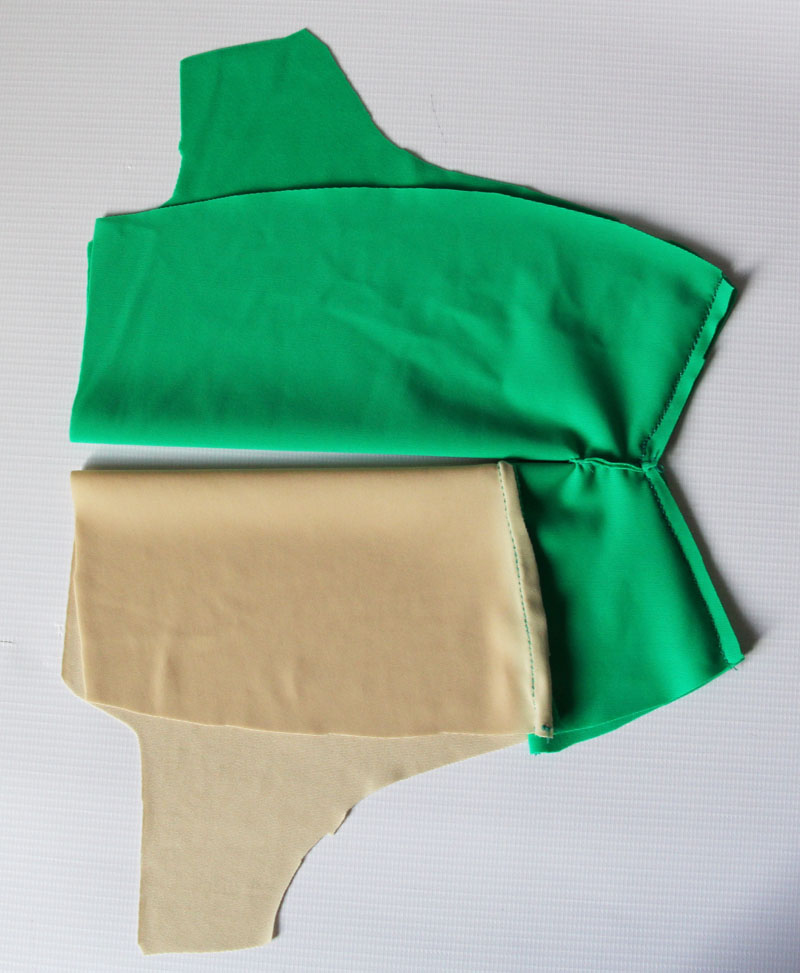
[10] Voila. The facing lies flat. Repeat steps [8]-[10] with the other side of your suit. Remember that you should end up with two pieces that are mirror images of each other and not identical!
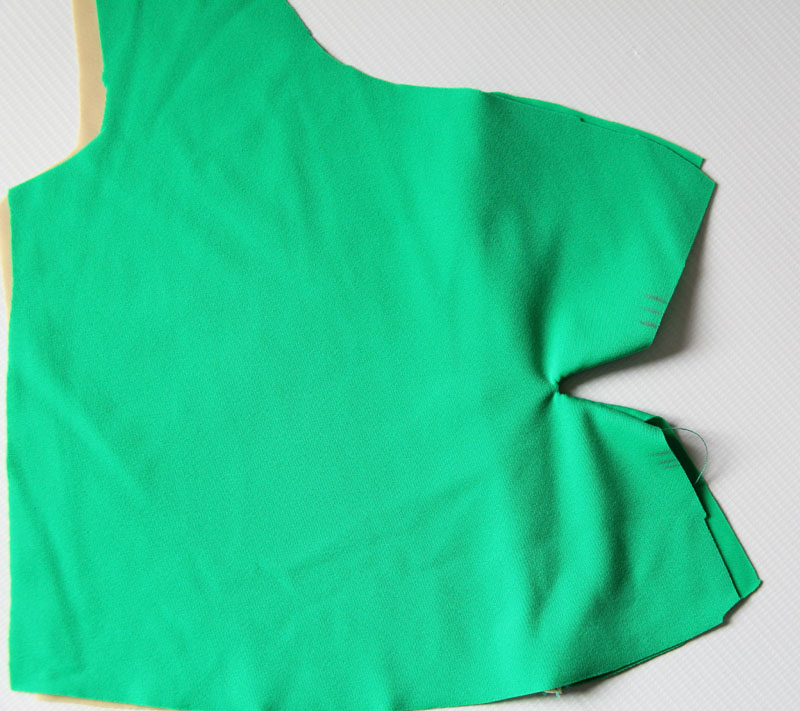
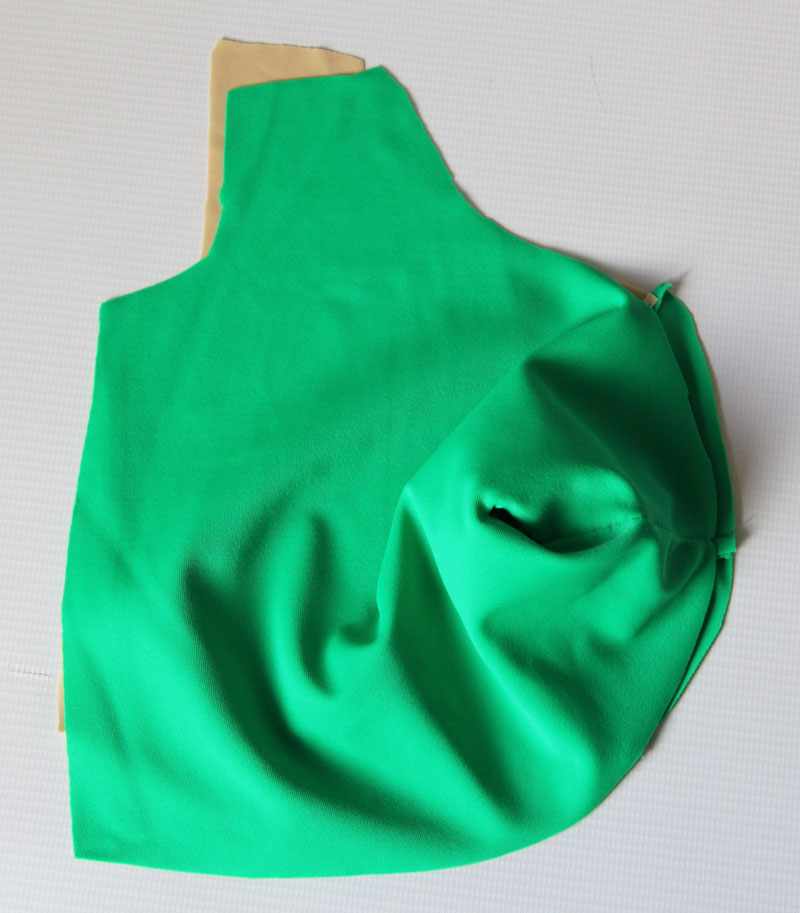
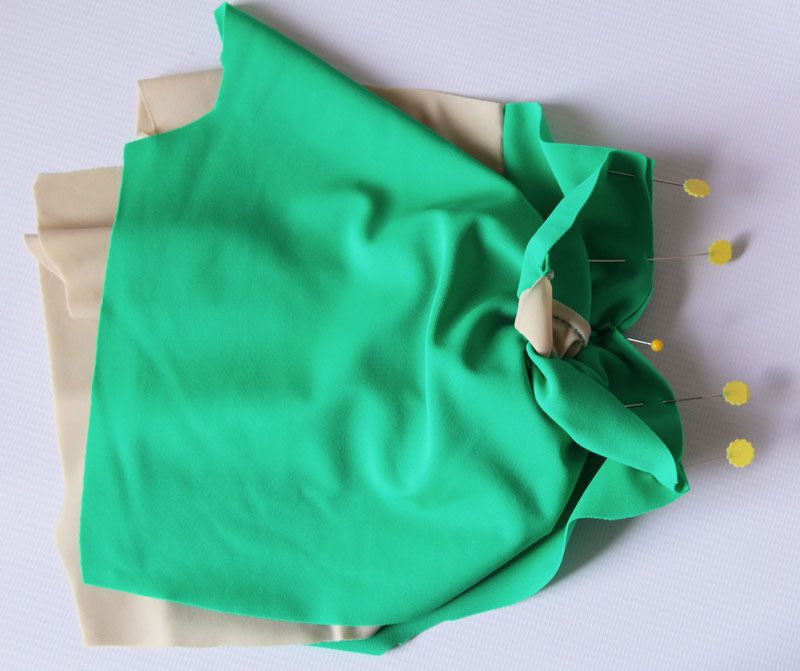
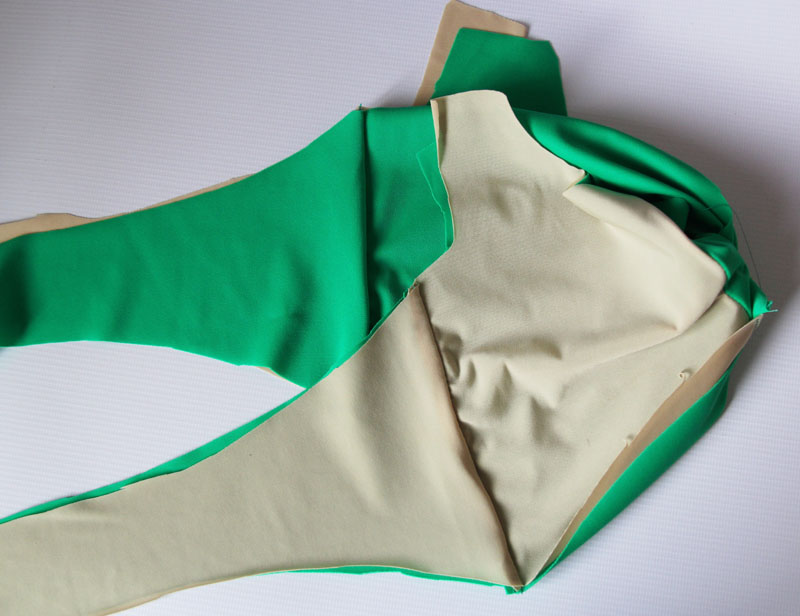
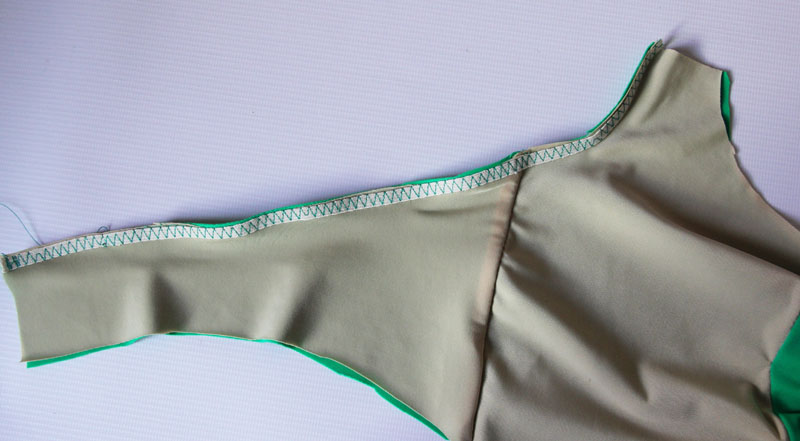
[11] Place the Top Front and the Top Front Facing right sides together. Sew along the front twist stitch line and ONLY along the front twist stitch line. This line is a different size and shape for each cup size option, so don’t worry if yours doesn’t look exactly like this. When you are sewing the V, you will get the best shape if you stitch a single vertical stitch at the point before pivoting and sewing down the other side.
[12] Trim out the fabric out of the front twist stitch lines, as close to the center point of the stitching as possible without snipping through the stitch line.
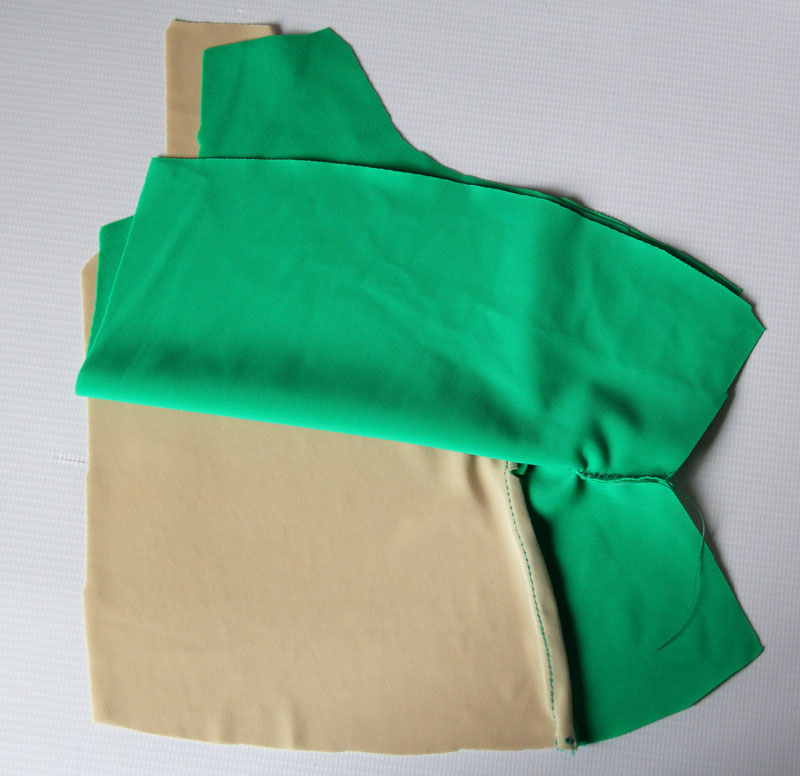
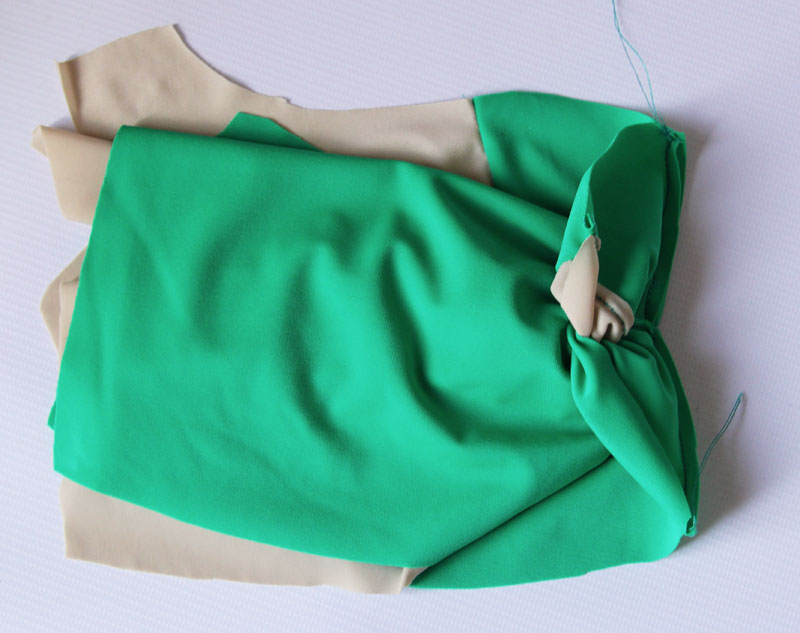
[13] Turn the fabric right side out and use your fingers to press it into place (since you can’t use an iron on swimsuit fabric!).
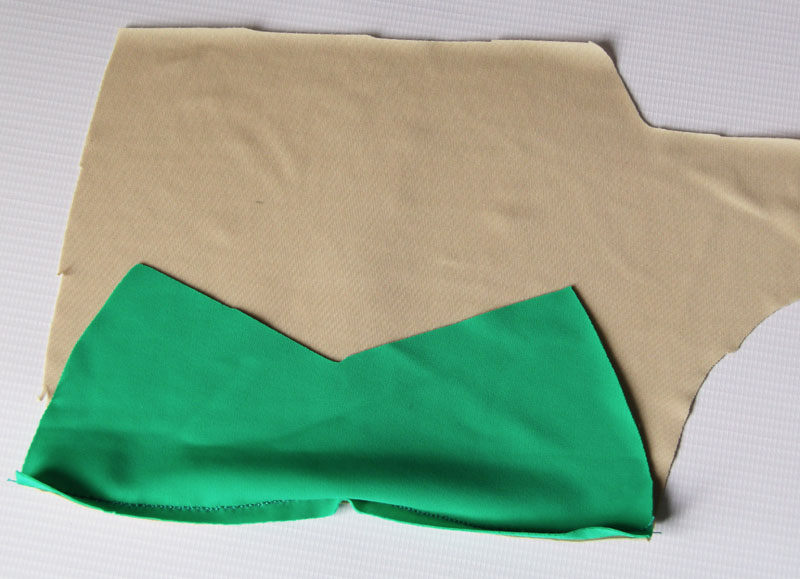
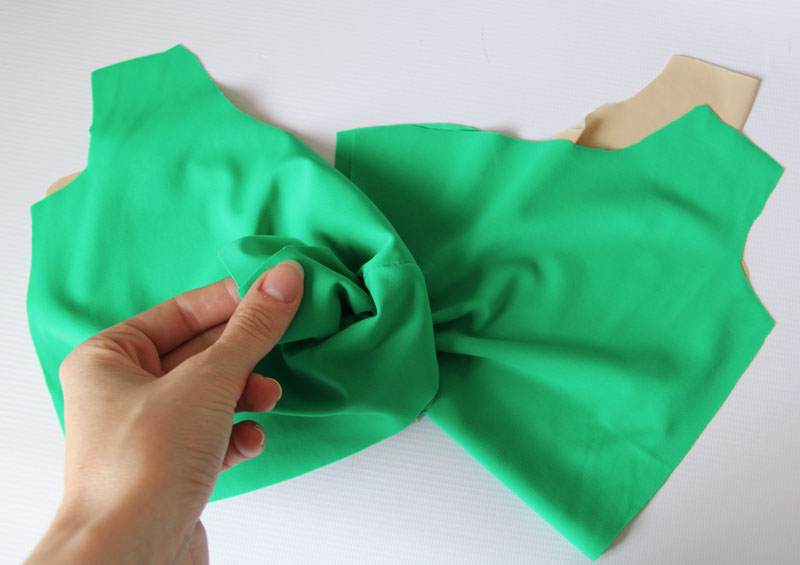
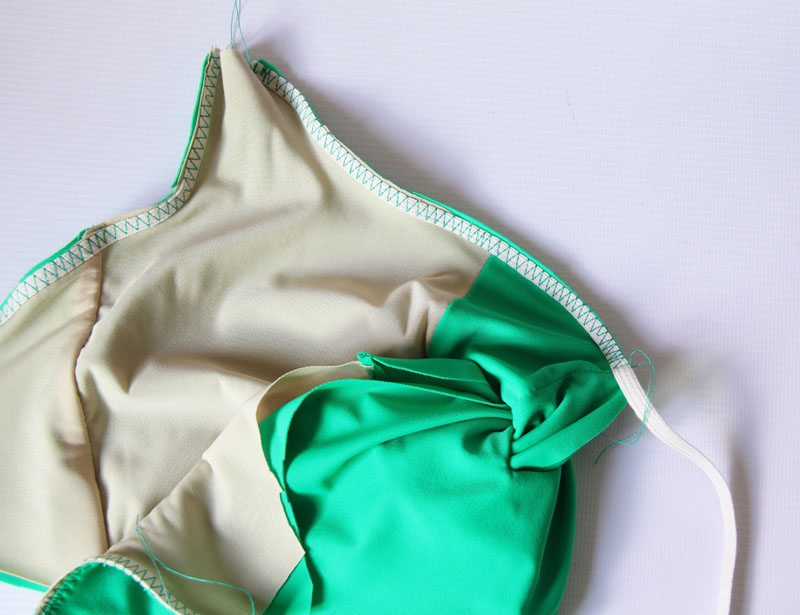
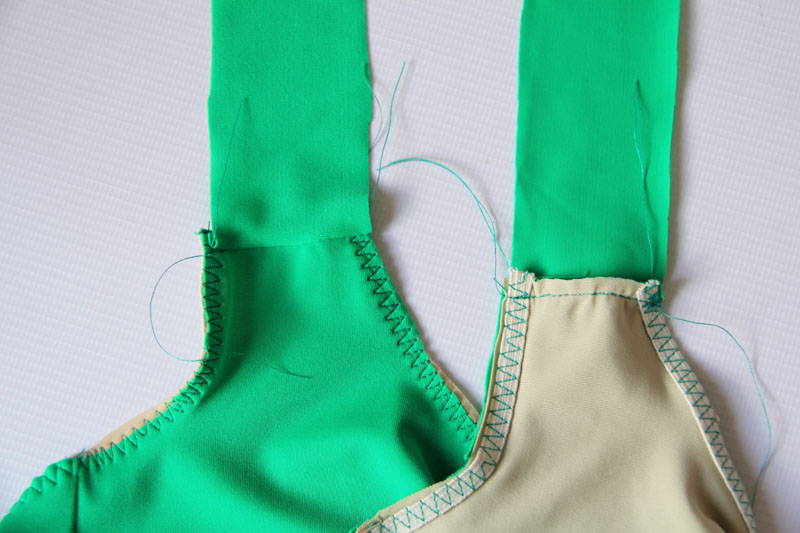
[14] To shape the twist, we are going to match the double notches to the double notches and the triple notches to the triple notches with the fabric right sides together. Starting with the right side of the fabric facing up (like in the last photo), fold the bottom of the Top Front up.
The reach underneath and fold the top of the Top Front Lining down.
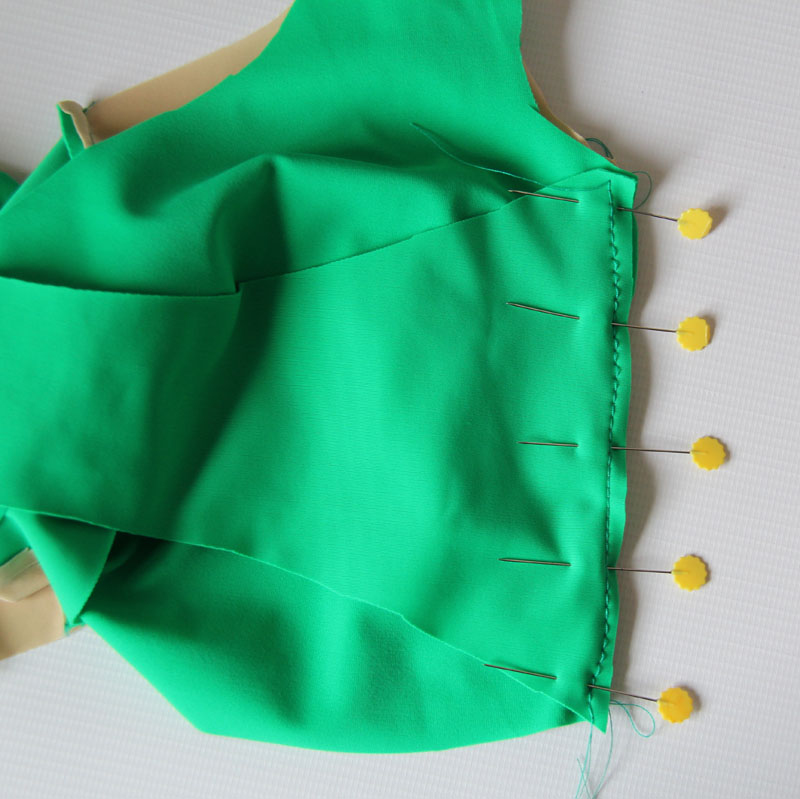
[15] Sew the Top Front Facing to itself and the Top Front to itself by sewing the seam along the side of this funny looking shape you have put together. Pivot your sewing at the V for best results. Ideally, your twist stitch lines will line up, but you don’t need to worry if they don’t meet perfectly at the center because they won’t be seen.
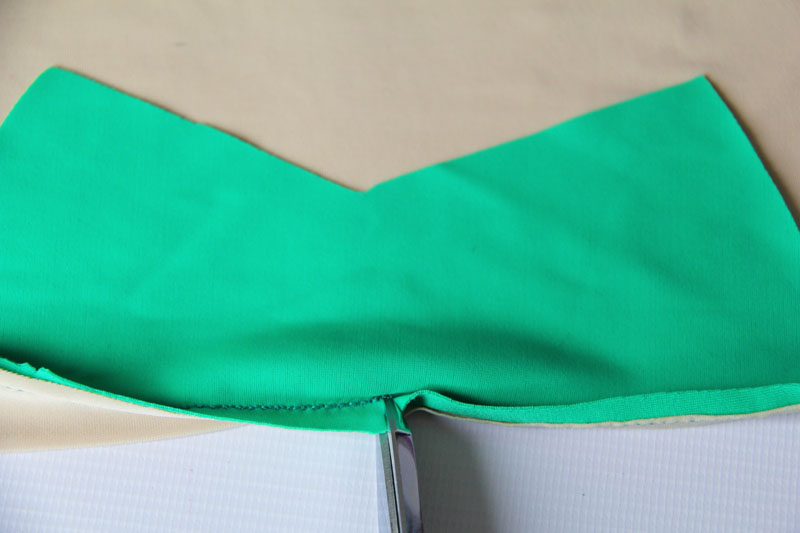
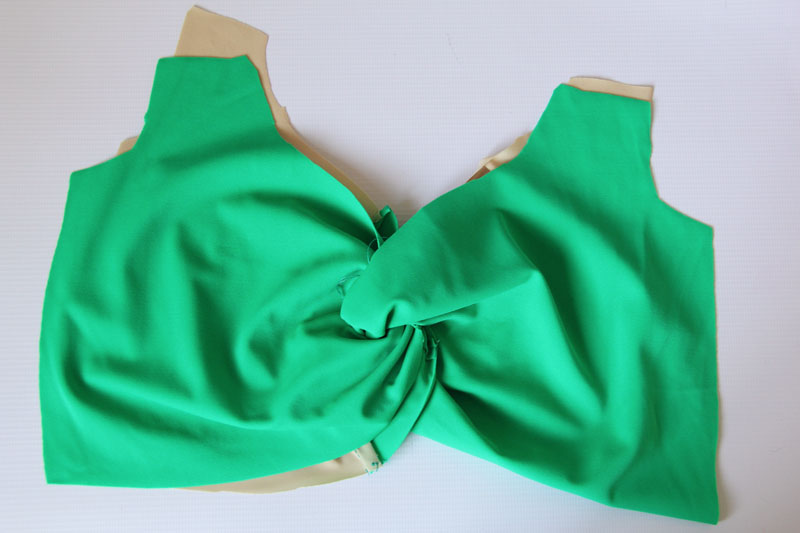
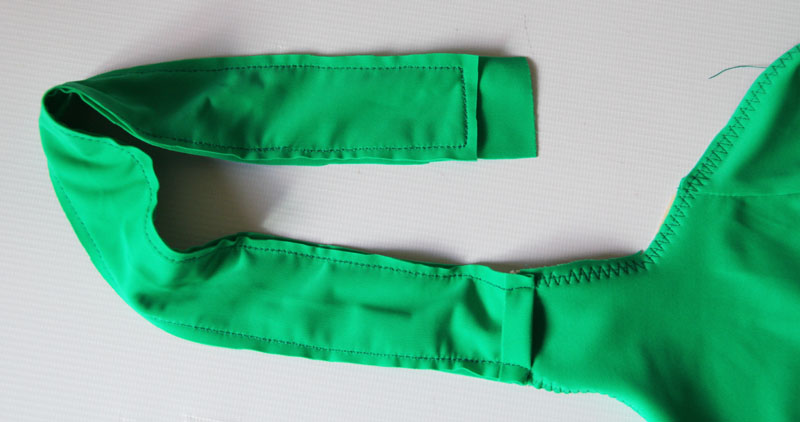
[16] Press the shape open and this is what one side of your suit looks like! (The shape and bulginess may differ a bit depending upon your band size and cup size, so if yours isn’t exactly the same, don’t worry). Do NOT repeat the same steps with your other side.
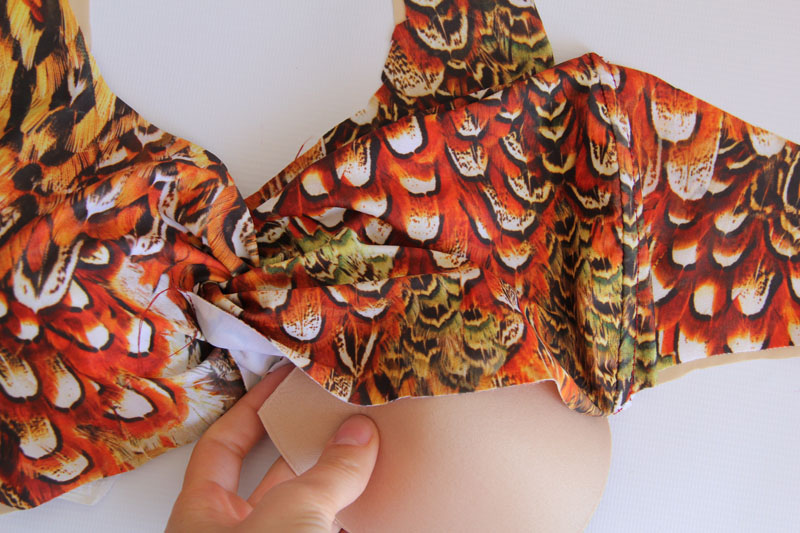
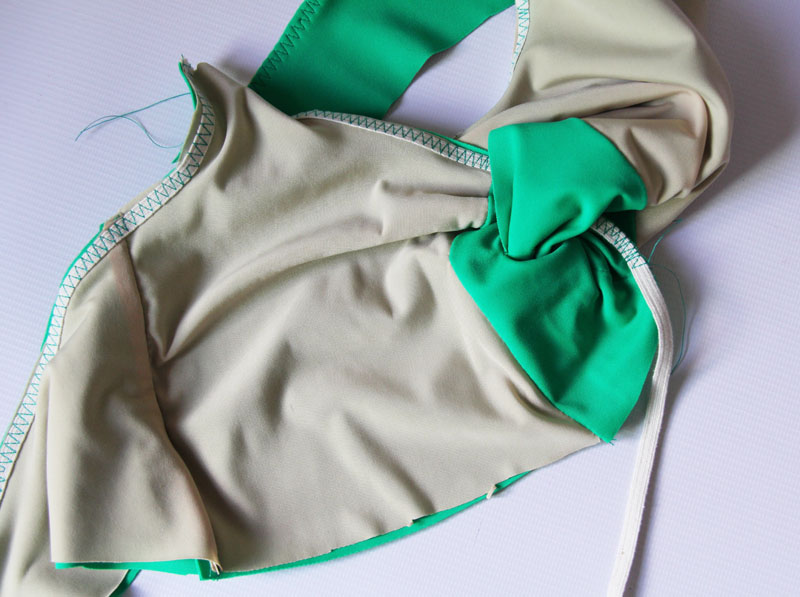
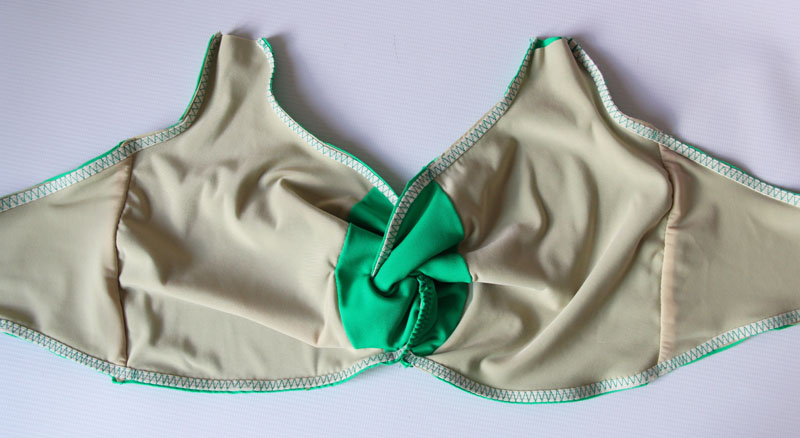
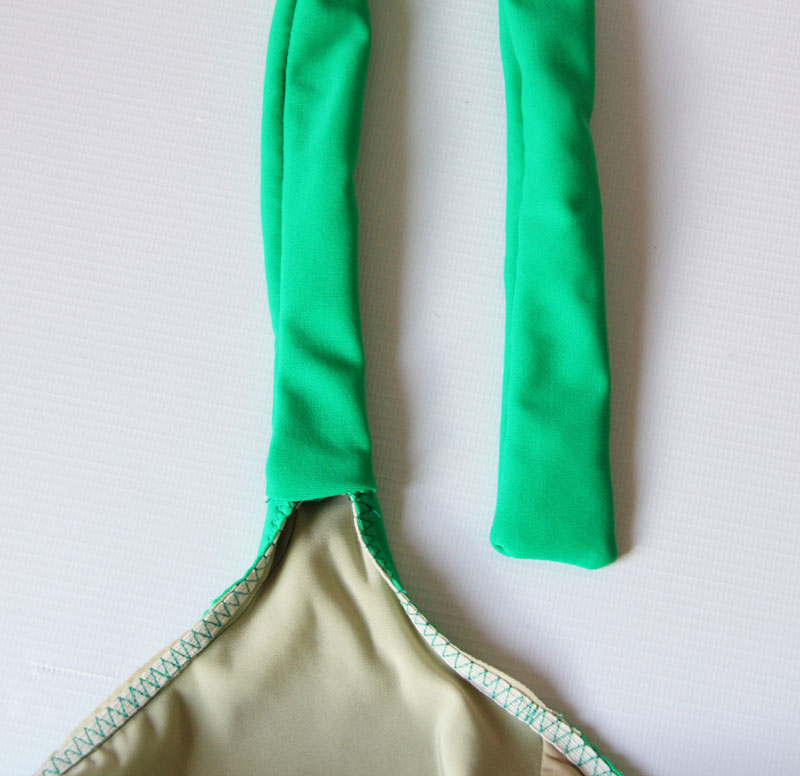
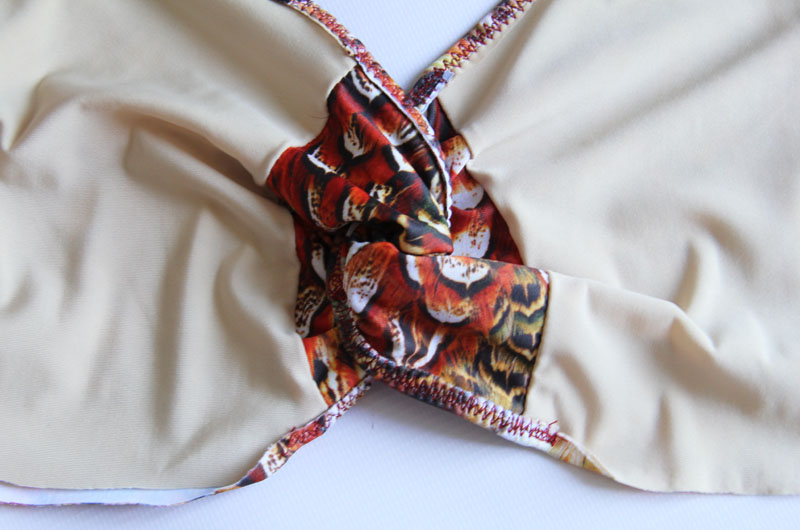
[17] Take one leg of the twist from the other side of your suit and thread it through the hole in the twist of the other. It doesn’t really matter if you thread from top to bottom, bottom to top, if you thread the top leg or the bottom leg, or if you sew the left or right sides first, so if your topology is a little different don’t worry.
[18] With the one leg sticking through the hole, you match double notches to double notches and triple notches to triple notches in order to sew the Top Front Facing to itself and the Top Front to itself. I know the description and picture are a bit confusing, but it’s the exact same thing as you did with the first half of the swimsuit, you just have a loop of fabric going through the loop of fabric you are creating.
How tightly smushed everything is together depends a bit upon cup size, but this is generally what your suit should look like.
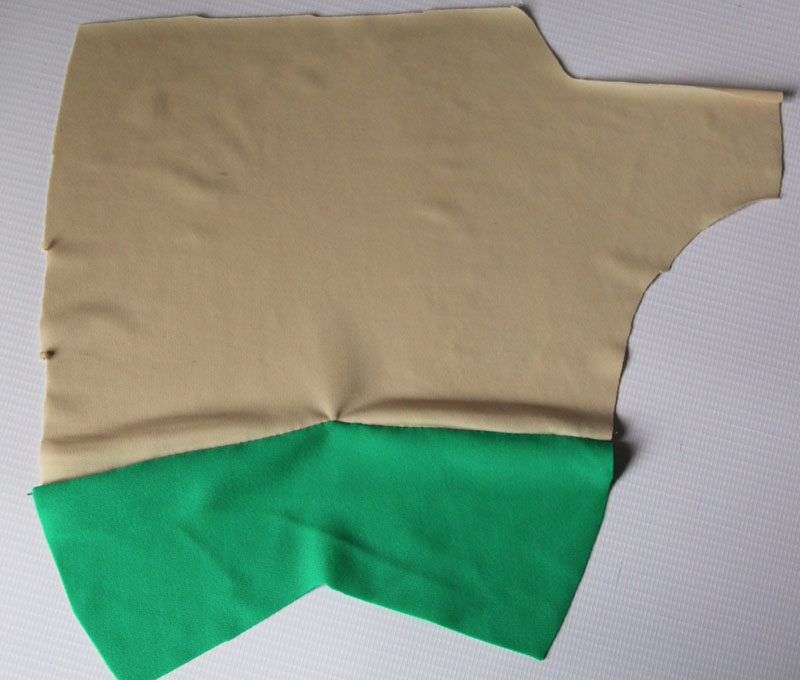
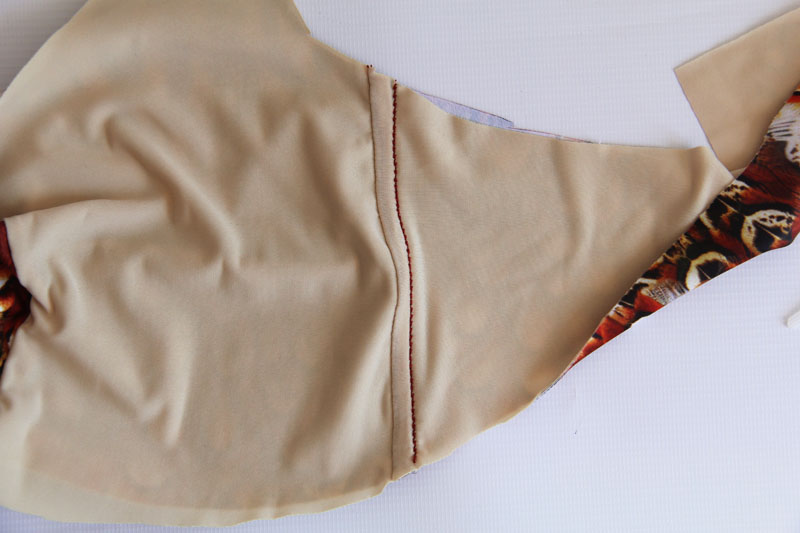
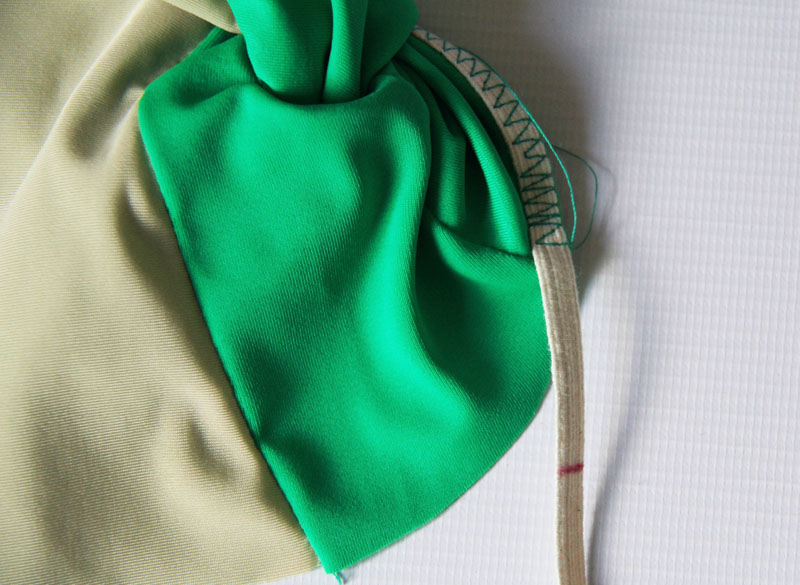
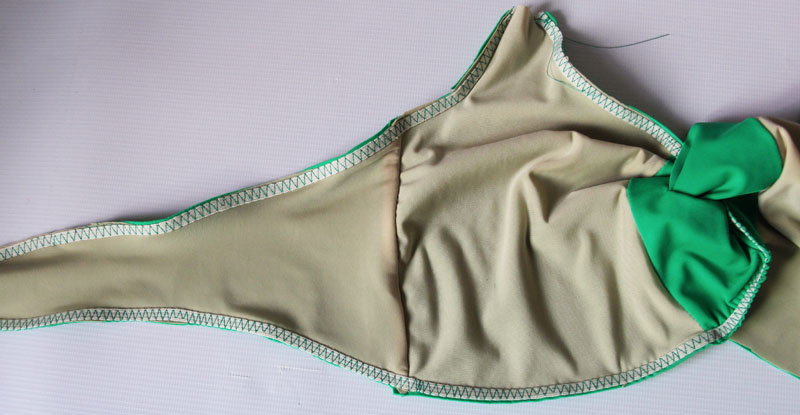
[19] Untangle everything and lay it flat and your center front twist is complete!

[20] Run a gathering stitch (a stitch with a long seam length) along the side of each Top Front and Top Front Lining. Note that the larger the cup size the more you will gather the fabric so AA doesn’t actually need a gather, for A/B the line of the gathering stitch may be enough without cinching it and for DD+ you will be doing a fair bit of gathering.

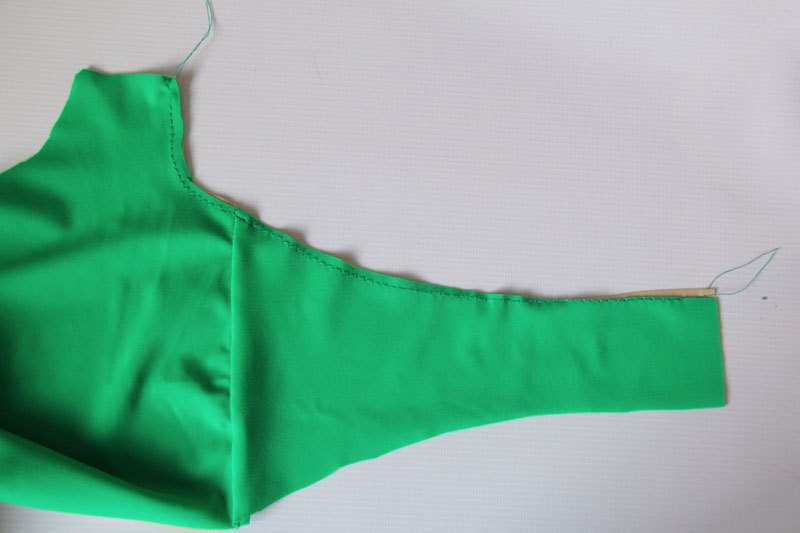
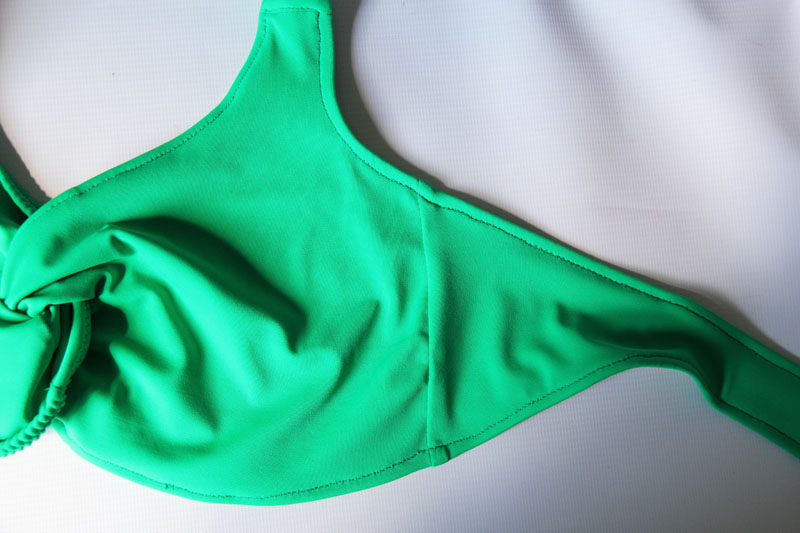
[21-22] Pin the Top Front to the Top Back at the side and gather the Top Front so that it is the same length. Baste the two together. Do the same for the Top Front Lining and Top Back Lining.
[23] Stack the suit together at the side so that it goes from bottom up Top Back Lining, Top Front Lining, Top Front, and Top Back. Sew the side seam. NOTE: There was a mistake in the initially published version of the pattern that had this in the wrong order. The illustration was correct but the words were scrambled.
[24] Open up the swimsuit and finger press the seams.
[25] Optional Cups: If you want to insert swimsuit cups into your suit, do so now. Slip them between the main fabric and the lining fabric. You can tack them in place, but I prefer to do that after I can try on the finished suit to make sure that they are positioned properly. In the meantime, you can safety pin them in place.
Optional Boning: [27] To insert boning into the side of your swimsuit, stitch a line on the Top Back, 1/4″ from the side seam.
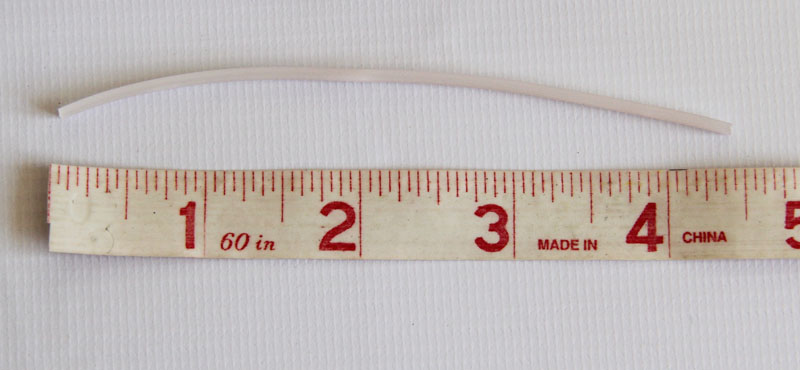
[28] Cut a 4.5″ piece of plastic boning and, if it comes in a cloth sleeve, remove it.
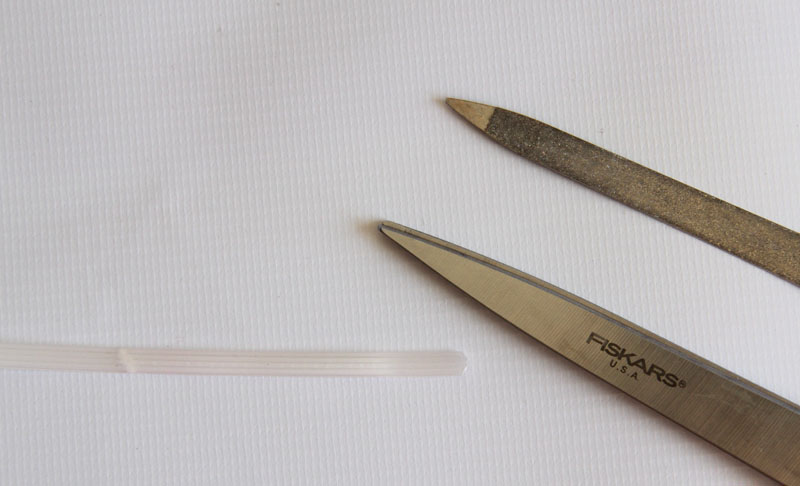
Round the edges of the plastic boning by cutting a curve or filing them with a nail file.
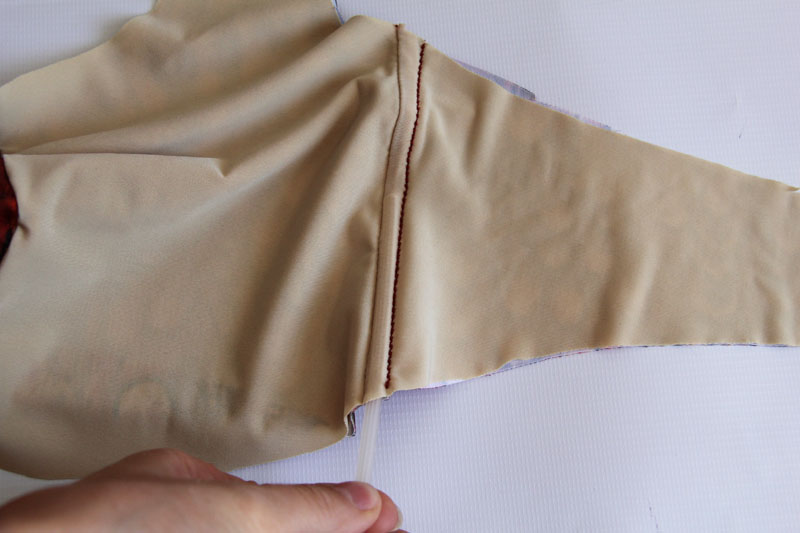
[29] Insert the boning between the layers of fabric. It won’t extend from end to end because there will be elastic sewn onto the edges, so don’t worry about it being too short.
[30] From here forward the main fabric and the lining fabric are treated as one. To make this easier, you can run a line of basting stitches along the edge although you will need to remove them in the finished suit or they will snap. You can also use a fabric basting adhesive or washable glue to keep the edges together.
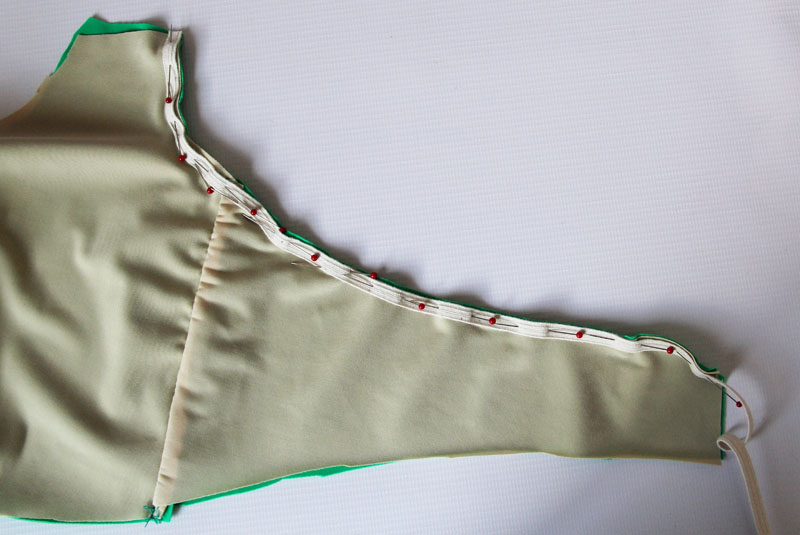
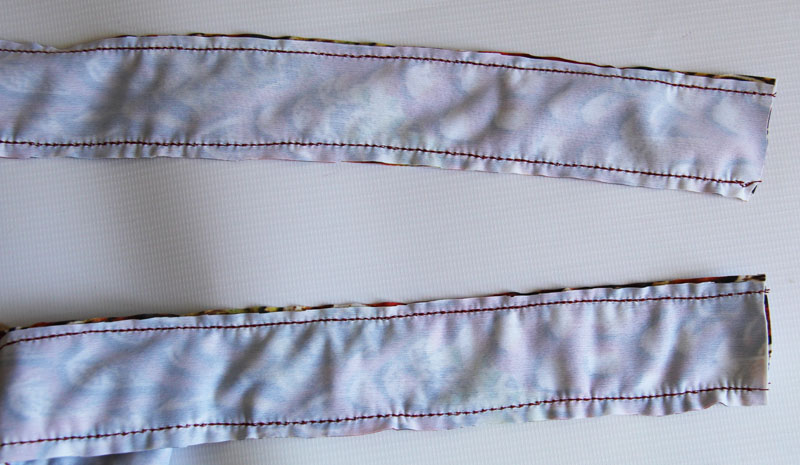
[31] Sew elastic to the wrong side of the underarm curve. Don’t stretch the fabric or elastic as you sew but make sure that you keep tension on the elastic so that it doesn’t stretch out as it is applied.
Trim the elastic to length.
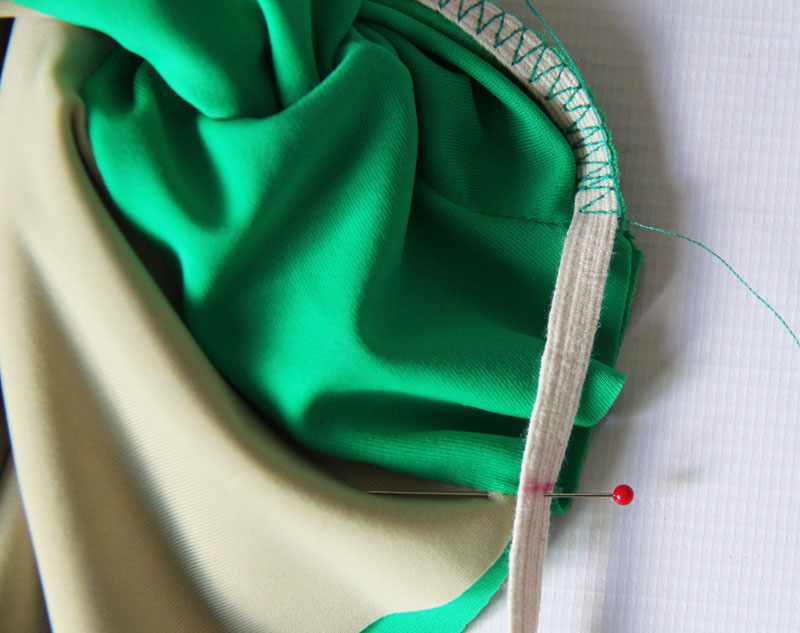
[32] Sew elastic along the top of the cup, stopping at the center of the twist, and remove it from under your machine. Make sure that you stretch the elastic a tiny bit along the convex curve of the top of the cup so that it grips nicely to your body.
[33] Rotate the twist around and thread your elastic through the twist.
[34] Measure 1.5″ (for sizes 0-16) or 2″ (for sizes 18-24) on your elastic.
[35] Pin the mark to the seam between Front Facing and Front Lining and sew until that point, stretching the elastic so that it fits on the fabric.
VIEW A ONLY [36] Extend the elastic another 3/8″, stitch it down, and cut the elastic.
VIEW B & C [37] Continue sewing the elastic along the bottom of the suit top until you reach the back being careful not to stretch elastic or fabric as you sew except for along the convex curve on the bottom of the cup where you should have a small amount of stretch in your elastic.
Repeat the elastic insertion for the other side of the suit.
[38] Sew one Strap to the top of the suit, right sides together.
FOR HALTER [39] Fold the bottom of one of the Straps up 3/8″ and sew the Strap to the Strap that is attached to the suit already. Sew along both sides and the top. The Straps may not meet at the end (though they should be closer than this photo). The folded part of the strap should extend just beyond the seam between the Top and Strap.
FOR BACK ATTACHED Sew the straps similarly to those for a halter, omitting the stitching on the end of the straps (so they are an open tube).
[41] Turn the Straps right side out.
VIEW A [42-46] Fold the elastic to the inside and stitch it in place. When you reach the point at which the elastic stops on the center front of the suit, stop stitching. Sewing the folded over elastic is the same process as sewing the elastic to the suit in the first place with the same stops and rotations necessary to get around the front twist.
VIEW B [42-26] Fold the elastic to the inside of the suit and sew it in place across the entire edge of the suit.
That’s it so far for the top, next up is View A.