
Presidio Purse: Handles
Drumroll please….. This is the last step of construction for the Presidio Purse! There are still a few posts to come on different customization options, but this is the last post you’ll need to sew your own, from start to finish. So, let’s get going!
Handle A
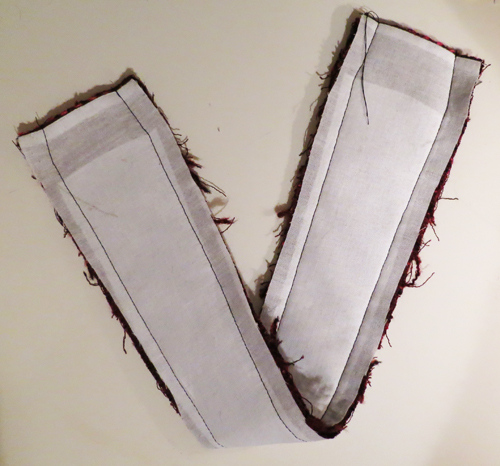
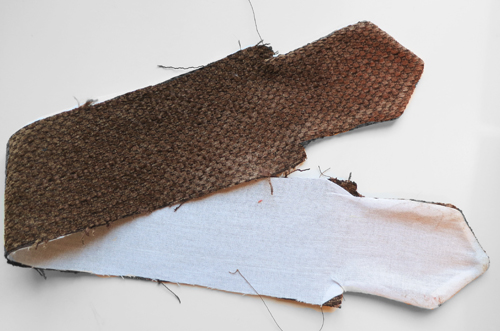
Sew Handle A interfacing to Handle A on the short ends using a 1/4″ seam allowance, with the non-fusible side of the interfacing against the right side of the fabric.

Turn the fabric right side out and fuse the interfacing to the Handle. You can see here that I added an extra layer of interfacing to the center of the handle (it’s more opaque). In all honesty, it was leftover from when I was experimenting with different handle construction techniques. However, if your fabric is lightweight, loose weave, or otherwise not up to a lot of wear and tear, you may opt to add a second layer of interfacing to the handle pieces. Don’t extend it to the very ends of handle as they will get too bulky to manipulate around the hardware. Again, this isn’t necessary if you are using a recommended fabric for the Presidio Purse, only if you are pushing the limits or breaking the rules!
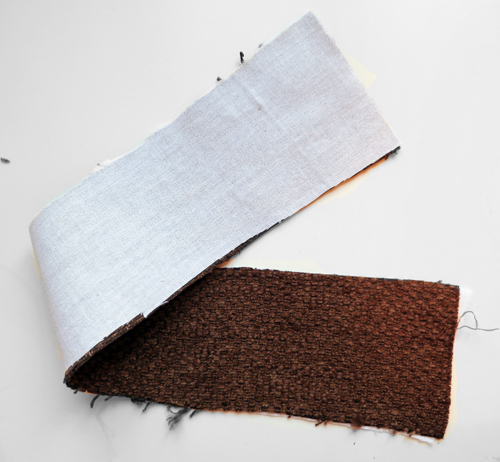
Sew the two Handle A pieces, right sides together using a 1/2″ seam allowance.
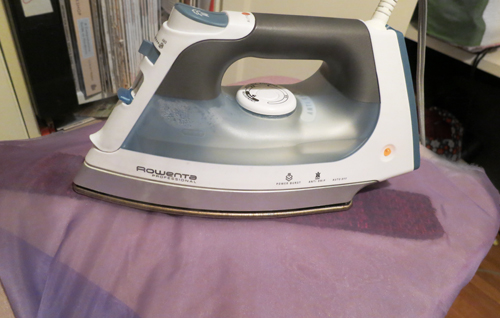
Turn the handle right side out and press. This is bulky and can be hard to manipulate (i.e. hard to get the darn thing to turn right side out). A good pressing will help it to hold its shape. If you are using anything other cotton, it’s easy to damage your fabric with ironing that’s too vigorous, so I heartily recommend using a press cloth to press the handles. Here I’m using silk organza but a piece of muslin works just fine too. After a hearty pressing, topstitch along the long edges of the handle.
Sew the Handle Anchor A to it’s fusible interfacing piece along all edges but the top using a 1/4″ seam allowance. Turn it right side out and press.
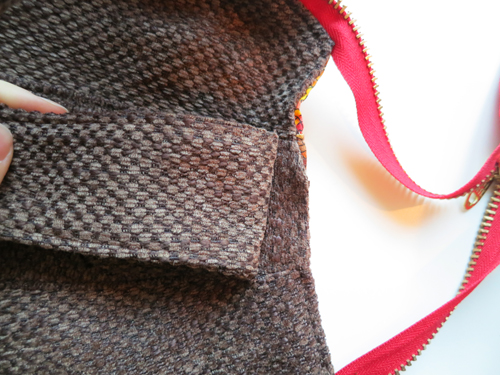
Insert the Handle A through the hardware and fold it back along the fold line (marked on the pattern). Run a line of stitching along the folded over piece to secure it to the hardware. I like to stitch the seam twice (and/or use a triple-stretch stitch) for extra security. Insert the Handle A anchor through the hardware and fold it back along the fold line. Pin in place.
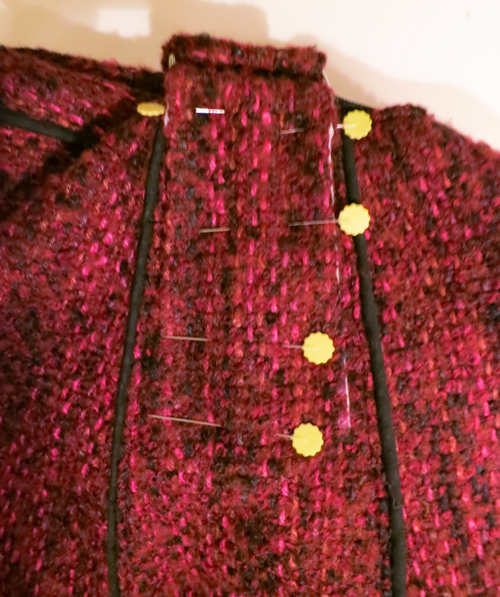
Pin the anchor onto the purse side using the anchor alignment marks.
Edgestitch along all sides of the anchor to secure it to the purse. My stitching isn’t visible on the sides here because I ran it in the ditch between the fabric and the piping. If you don’t have piping, your stitching will be visible. you can add a second layer of toptstitching for decorative and extra security purposes. (The piping isn’t pictured in the previous steps because I finished the whole purse without piping on the anchor and then decided that it really needed it, ripped the anchors off, and sewed them again with piping).

Handle B
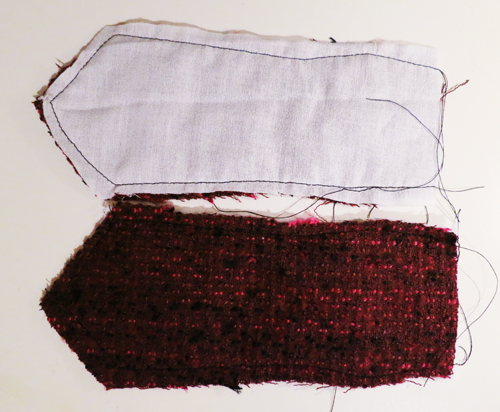
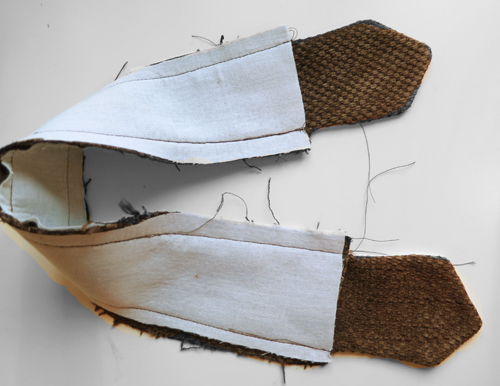
If you are sewing a handle without hardware, sew the fusible interfacing to the Handle Top B along the pointed ends (stitching between the points marked on the pattern) with the non-fusible side of the interfacing against the right side of the fabric, using a 1/4″ seam allowance.
Turn the handle right side out and fuse the interfacing.
Fuse the interfacing to the wrong side of the Handle B bottom.
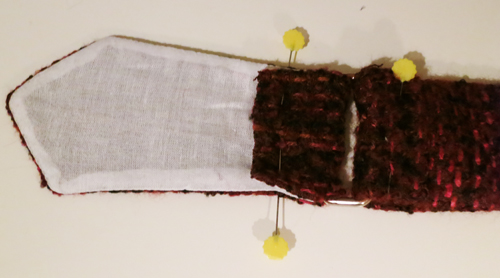
Sew the Handle Top to Handle Bottom along the long straight edges using a 1/2″ seam allowance.
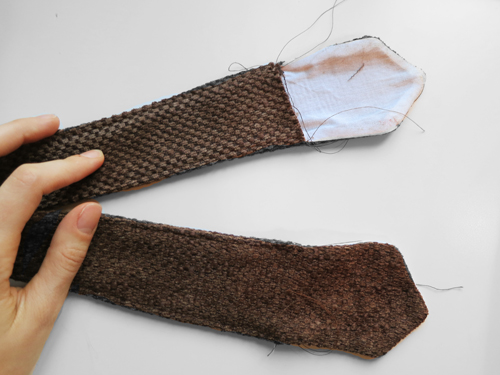
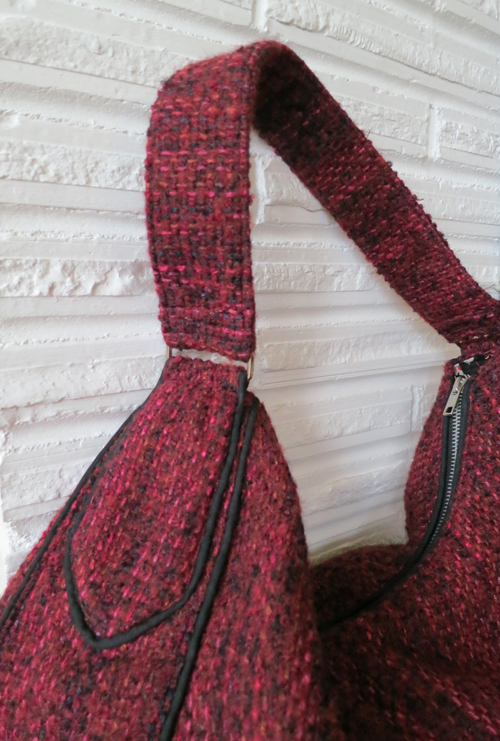
Turn the handle right side out, press (see my comments on pressing above) and edgestitch along the long straight edge.
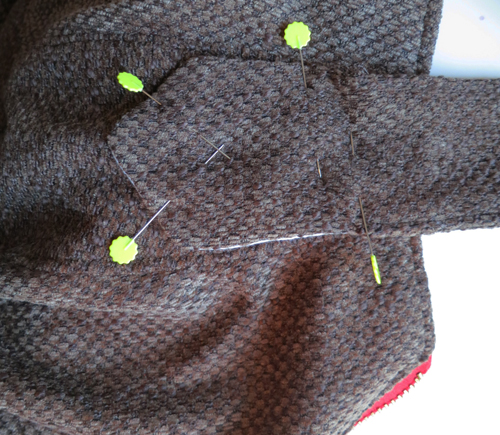
Align the handle anchor using the guide marks on the purse side and pin in place.
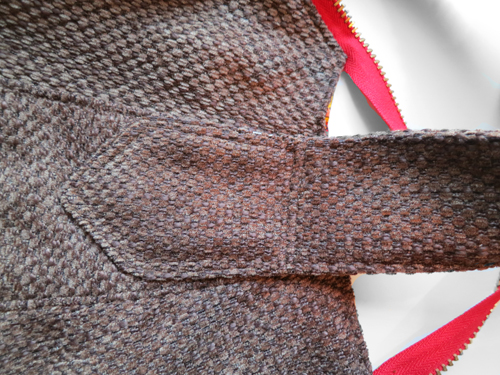
Edgestitch along all sides and the top. Add a second layer of topstitching for decorative purposes and extra-sturdiness.
Make sure that your stitching along the top of the anchor has caught the raw edge of the Handle Bottom. And you’re done!
This video about interfacing deals with the interfacing part of the handles.
And here’s the handle video!


I like the looks of the piping on the handle anchor- a really nice detail. I also can’t believe you ripped the anchors off and then decided to add the piping…Oh, wait a minute I think I’ve done something like that before (many times)!
Nice sewalong !
It sounds crazy when someone else does it, but I know every single sewist is guilty of something similar!! So glad you enjoyed the sewalong.
Hi Erin,
Just letting you know I’m still sewing in this sew-along. I’ll post a picture when I’m done.
Can’t wait to see what your finished bag looks like! Take your time and enjoy the sewing – no need to rush as you’re welcome to sewalong forever!
OK, now I feel an idiot. Turns out the handle problem with my first (second) bag was that I sewed the interfacing on to my no hardware handle “between the dots” in two parallel lines, along the sides, rather than around the ends. Then when I sewed the underneath of the handle on it was too thin (width ways) and too thick (fabricwise) to turn. And if I had managed to turn it out the anchor bits would have had raw edges.
This is entirely my fault as I now realise that the instructions mark the stitching lines very clearly.
Anyway, bag no 2/1 is now successfully finished, with piping and handles attached as you intended and it was used today. It carried 10 library books, a bottle of wine and some paperwork home from town with room to spare and had a couple of admirers neither of whom could believe I made it as it had piping.
Pictures and blog post to follow!
Thanks for the pattern and sew along.
So glad that you’ve figured out what was challenging you the first time! Please don’t feel bad about it. Every sewist has “oh goodness how did I make that mistake?” moments!! Glad to hear that you’re carrying it and loving it and getting compliments already!!
Oh, I don’t feel bad thanks, both bags are fine, I just a little frustrated that I failed to read the instructions – reading instruction is supposed to be what I’m good at! And I didn’t want anyone to think that the instructions weren’t clear, because they were, very.
Anyway, all photographed now….http://prolificprojectstarter.wordpress.com/2014/02/03/spotty-bag-for-me/ if you want a peek. (How does it feel seeing all these different bags all around the world that you designed?)