Sewing the Side Seams of the Citrus Leggings
Sewing the side seams of View A and View B of the Citrus Leggings can seem a bit tricky because of the weird pattern piece shapes, but no need to fear! It’s not actually hard to sew them. Here are some photos and extra information to help you through the process.
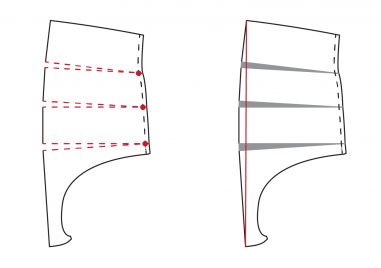
View A: When you sew the Side Front and Side Back together, the pieces will be curved around (even if you sew them to the Front/Back as pictured above (this is a different construction order than suggested in the instructions because I was doing a pattern hack. If you’re following the instructions you’ll just have Side Front & Side Back at this point. It doesn’t make it any different)). If you were to finish the leggings and wear them without adding any elastic to the side they would actually wear just fine. We add in the elastic to help keep the gathering distributed evenly and to give them a little more hanger appeal.
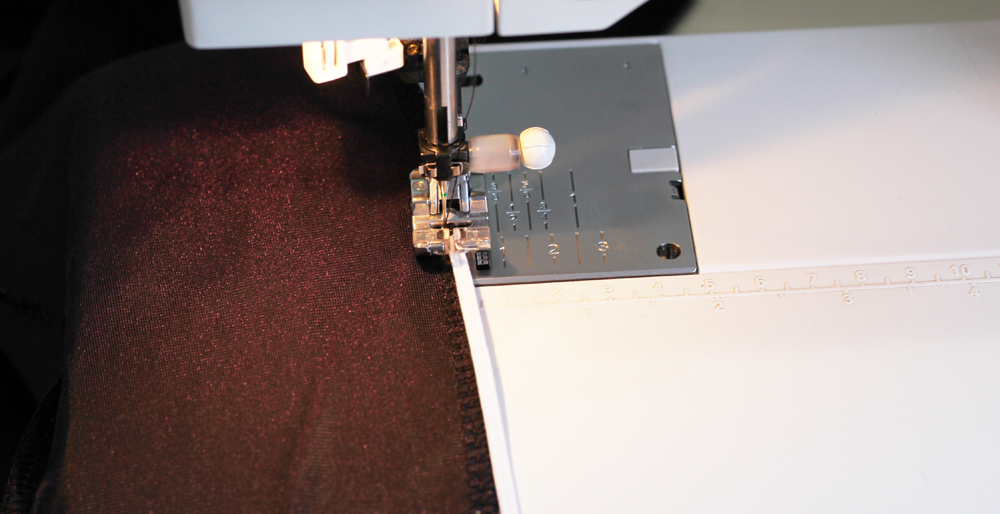
To sew the elastic in the side seam, I like to set the 1/8″ elastic on the seam allowance and tack it down at the top with a few zig-zags, needle staying down throughout the sewing process. This keeps it from pulling out of the way as we start to put tension on it in the next step. I set a fairly narrow zig-zag because you don’t want it to go wider than your seam allowance and you want to make sure it is stitching into your 1/8″ elastic (instead of zig-zagging on either side of it and thus creating a channel).
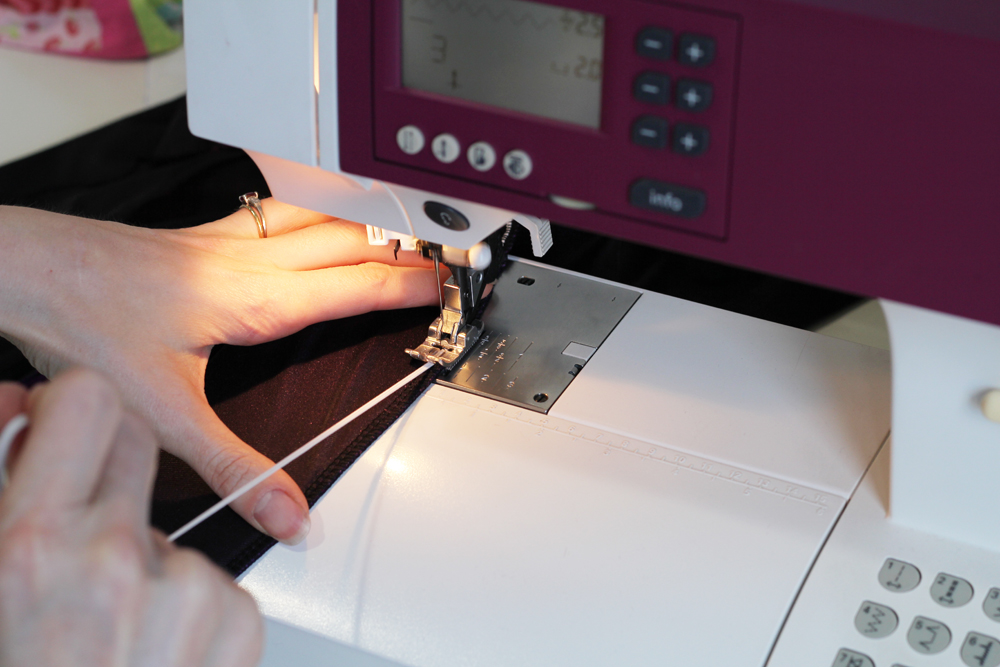
Then, grab your elastic in your right hand and pull it tightly while using your left hand to apply some counter-pressure and help the fabric continue to feed (it needs a little help because you’re pulling against it feeding by pulling on the elastic). If you’re feeling unsure about this, you can always practice on a piece of scrap fabric. You shouldn’t really be pulling the fabric with your left hand (because that can pull too much and risk breaking your needle as you force the fabric) but instead think of it as just balancing out the pull from your right hand. You don’t need to worry about the exact length of the elastic you end up using, as with the negative ease on the leggings it will all stretch into place when worn.
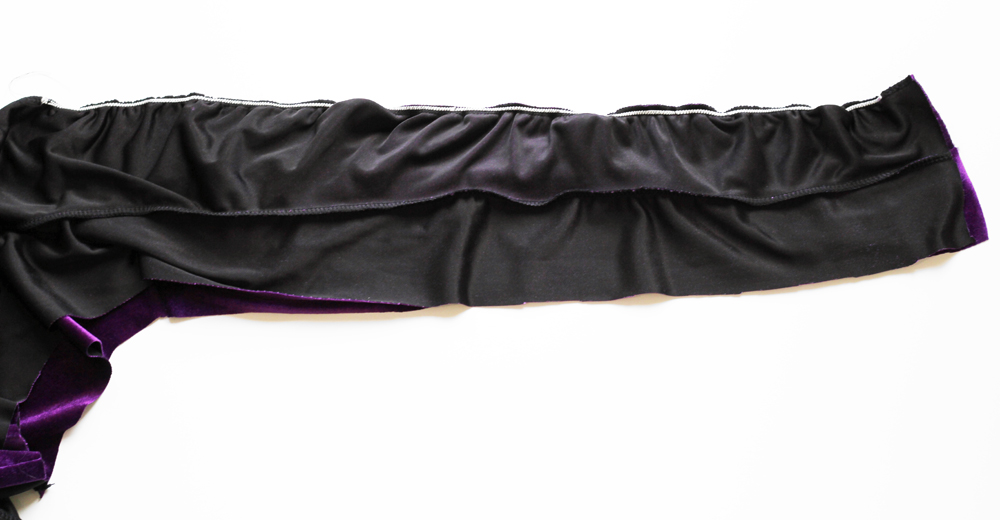
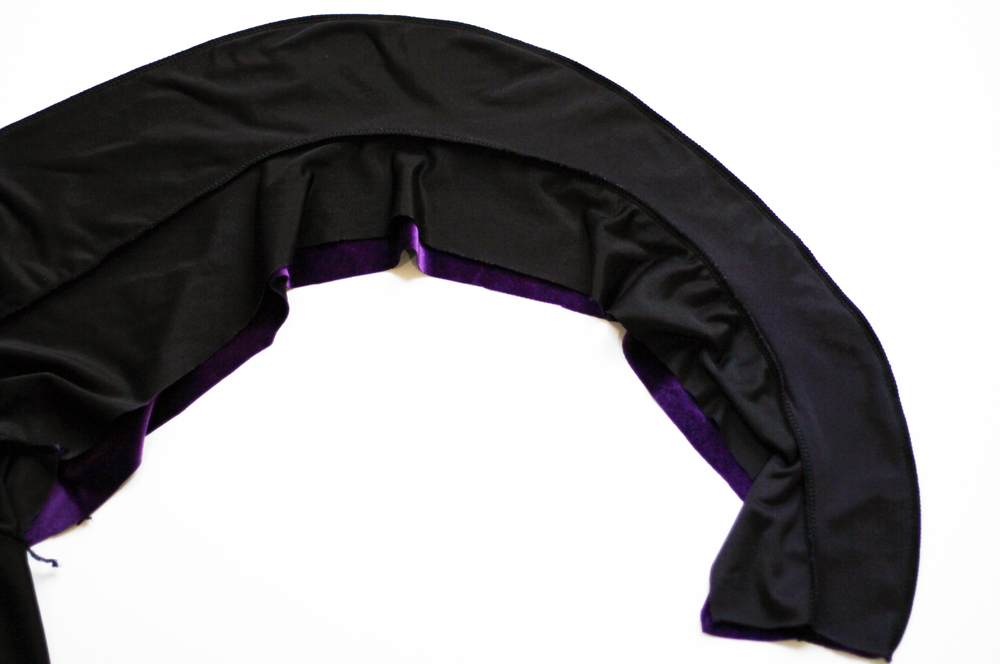
After being sewn in, this is what it will look like. Our funky curved piece is now straight. You can see that my elastic is actually pulling the side seam a little short as the hem pulls up. You won’t see this at all when you wear the leggings so don’t worry about exact length.
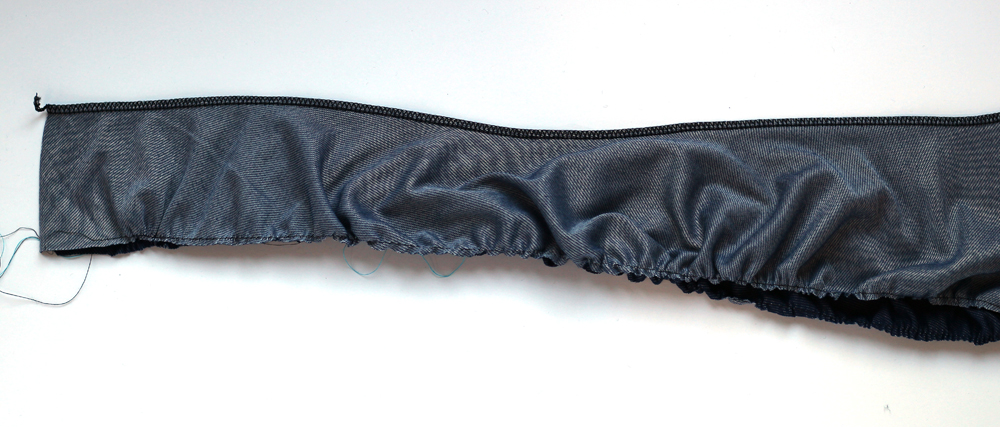
For View B: You run a gathering stitch on the long outside edge. When you gather it, it will make the pieces look straight. I like to do a gather that makes it roughly straight without measuring just to make it easier to sew the un-gathered edges together. Then, when you pin the Side Front/ Side Back to the Front and Back you can make sure your gathering is the exact perfect length.
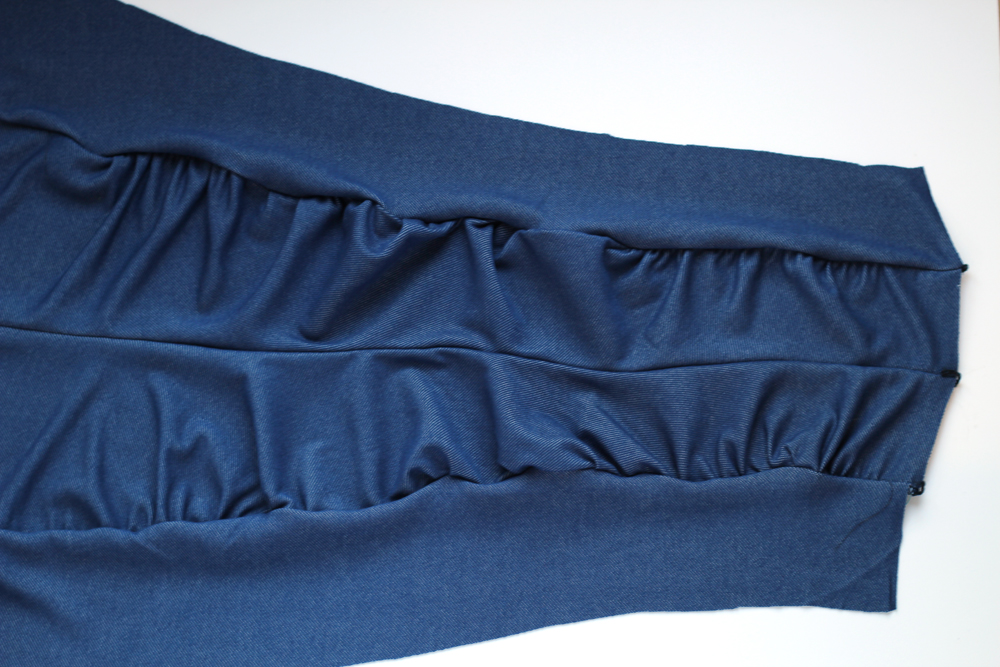
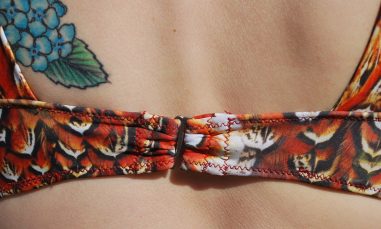
After sewing the gathered portion to the Front and Back you see that the side seam is straight and un-gathered while the gathers all ruche into the seam between Front/Side Front and Back/Side Back.
Thanks to Minerva Crafts for supplying the purple stretch velvet used in the View A photos.